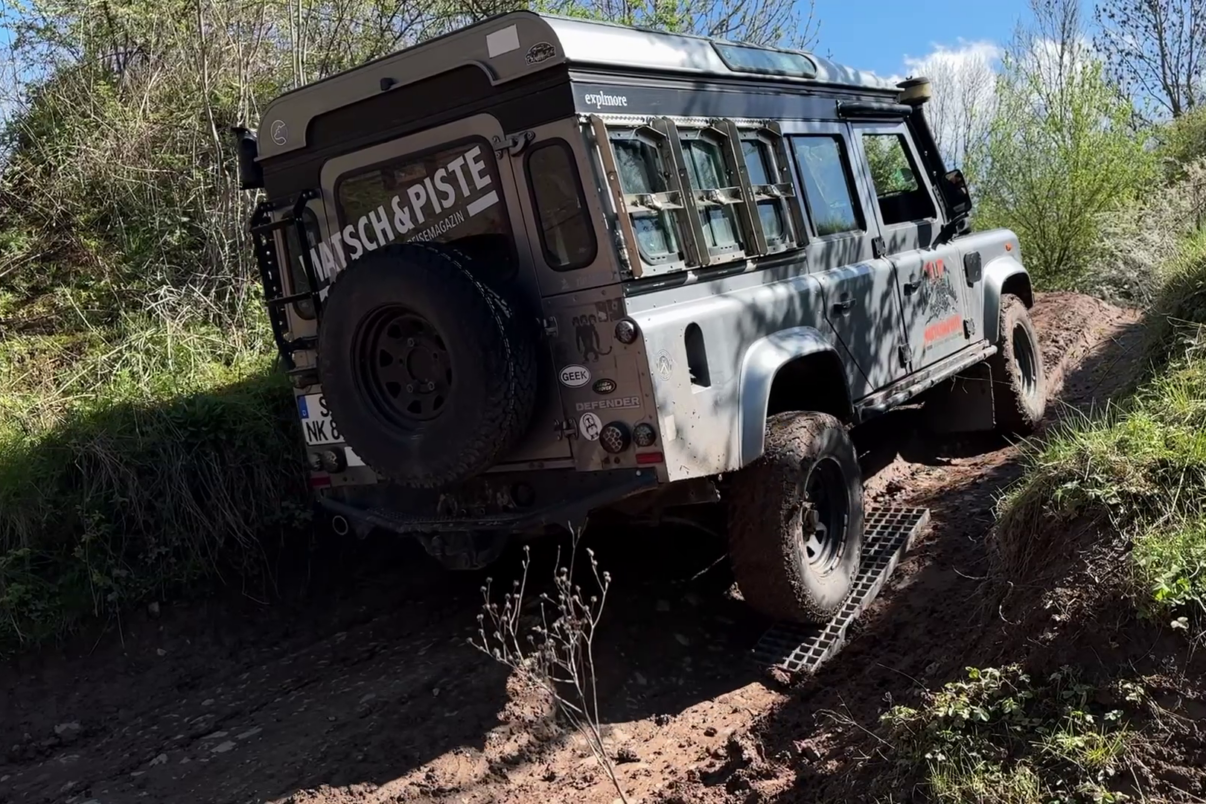

Sand ladder, traction aid, recovery board: those are probably the most common names for this kind of off-road helper. We tested a few common models, though more by European standards. Not in sand, but in mud, on uphill starts and as a bridge.
Look at the market for these recovery aids and you notice that many come from countries where people often drive on sand, on the beach for example. Most are made from a plastic composite. So the makers usually show them being used in sand. In our part of the world we tend to see metal plates instead, which are in turn called sand ladders, even though Europe has comparatively less sand and beach to drive on.
A look at the history helps. Today’s sand or recovery plates, their shape and material, typically descend from the classic sand ladders used in the Second World War to build makeshift runways in the jungle and the desert. Back then they were still called landing mats. Later vehicle expeditions used these plates as off-road aids, because what gives an aircraft traction will surely do the same for a 4×4. The originals were heavy and had hooks on the sides to link them and form larger surfaces. It was easy to hurt yourself on those hooks. Genuine originals are rare today, replicas less so.
Over time the material grew lighter, the plates lost their sharp edges, and the aim was to keep the traction and the strength. Where the first plates were simple, profiled metal with plain punched holes (round holes with an upturned collar), they were refined further and adapted more to off-road needs. The holes got smaller, the tread more pronounced and stronger, so they could now serve as a bridge too.
Lately, thanks to modern composites, plenty of shapes and colours have come along. Today’s light recovery boards are no longer suited to building a runway. But they are far lighter, springy and specialised for off-road use. The material is mostly nylon-reinforced plastic. In principle that works like reinforced concrete. There the steel inlays let the concrete take tensile loads, because those forces are carried by the steel. This tensile load always occurs on the underside, where the material bends, and in the plastic the nylon fibres take up those pulling forces.
Which recovery board is right for you?
So which term do we settle on for this article? I’ll use recovery boards as the umbrella for all of them. That still leaves you with the hard choice. Which is the right recovery board? This test is meant to help you decide. Check our result against how you’ll use it. One thing can be said up front: as ever, THE one board that meets every possible demand sadly doesn’t exist. The choice is always a compromise between light, cheap, strong, able to be driven over and maximum traction on every surface. How they stack and how you can mount them matter too.
But you can pick the best candidate for your own trips and plans, and you’ll learn what to look out for if you widen the field and want to look at other recovery boards too.
The ideal Matsch&Piste dream recovery board
You’re still allowed to dream… So we’ve put together the best recovery board for you. We don’t know one yet that ticks every box, but at least each of our candidates ticks several of them. You then have to weigh up for yourself what matters most to you.
- Weight: the ideal recovery board is light. That saves payload, keeps the vehicle weight down and, depending on where it’s mounted, lets the brackets be lighter too. Less weight of course also makes handling easier and less sweaty. The lightest boards in the test weigh 2.5 kg each.
- Traction to the tyre: the ideal board gives the tyres the grip they need, whether in sand, mud or dry. The tread doesn’t wear when the wheels spin, and it doesn’t get damaged. Only metal boards manage that for good. Everything else wears down sooner or later. There are boards outside this test where the tread lugs can be swapped, like the studs on football boots, the ARB Tread XTREME for example.
- Traction to the ground: the ideal board doesn’t just hold the tyre, it also „digs“ into the ground itself, because it needs its own grip on the surface so it isn’t simply pushed through. That should work in sand, in mud and on firmer ground too, like steep, dry or slightly damp tracks. For that the board needs a certain flex, so it builds up as much contact area with the ground as possible, and it should have a grippy, hard-wearing tread on the underside.
- Temperature range: the ideal board works reliably below freezing too. That isn’t a given with plastic boards, because flex and resistance to breaking depend heavily on the material’s temperature.
- Stackability: the ideal board nests inside another and so takes up little depth. That saves space, and with side mounting in particular it doesn’t block the view (in the mirror) and doesn’t widen the vehicle needlessly.
The recovery board test candidates
We tested six boards: four plastic, one fibreglass and one metal.
- GMB Mount Pionierblech H1300
- Maxtrax MKII / MK2
- Rock Foxx, plastic recovery board
- Nakatanenga Maximum Traction
- ARB Tred Pro
- Nakatanenga Waffle Board
The test candidates in detail
The plastic boards are all meant to double as shovels. We see that on all of them as more of a stopgap. A shovel still shovels best. The handles on the Maxtrax MKII / MK2 and the Nakatanenga Maximum Traction are already very tight for medium hands, and too small for larger hands or hands in gloves. The ARB Tred Pro handles this better: there are no grip holes, you grip the edge instead.
Apart from the ARB Tred Pro, all boards are symmetrical with a flat ramp at both ends. The ARB Tred Pro only has a flat ramp on the drive-on side. The drive-off side is as tall as the board. It turns out later that this has no effect in sand and mud, but it does on firmer ground, because the board rises at the far end as you drive off. The same happens driving on and off the Nakatanenga Waffleboard and the GMB Mount Pionierblech, simply because they have hard, higher edges.
Specifications compared
| Recovery board | Material | Weight | Length x width x height | Load capacity | Temperature range | Bridge / ramp |
|---|---|---|---|---|---|---|
| GMB Mount Pionierblech H1300 | Steel plate | 7 kg | 1,300 x 450 x 27 mm | n/a | n/a | yes |
| Maxtrax MK2 | Reinforced nylon | 2.5 kg | 1145 x 330 x 80 mm | 5,000 kg | to -20°C | no |
| Rockfoxx recovery board | Plastic, n/a | 2.9 kg | 1,060 x 350 x 60 mm | n/a | n/a | no |
| Nakatanenga Maximum Traction | Plastic, n/a | 2.7 kg | 1,060 x 350 x 75 mm | 3,500 kg | n/a | no |
| ARB Tred Pro | Reinforced nylon | 3.7 kg | 1,160 x 330 x 65 mm | 5,000 kg | -15°C to 70°C | yes |
| Nakatanenga Waffleboard | Steel plate | 7.5 kg | 1,300 x 450 x 27 mm | n/a | yes |
The tests
Many tests show recovery boards being used in sand, the classic domain for this kind of aid. With few deserts and beaches to drive on here in Europe, other recovery scenarios are at least as interesting. We thought about where we’d use these boards when travelling in Europe, situations that have nothing to do with driving on sand. We saw three main ones: driving straight through mud and on softened tracks, uphill on wet, slippery ground, and use as a bridge. Looked at closely, these boards are the fastest and simplest recovery option you can use. If you’re travelling alone, maybe even the only one.
Using them as a bridge is ruled out in the description and the manual of every plastic board we tested. That’s important to know. We still tested them that way, because misuse was on our list too. Why? Because people tend to grab whatever is there, especially when there’s no other option. But if the plastic boards don’t do well at that, it isn’t a fault.
Even for proper use we tried two variants. The first drive-on on the flat went by the book: slow and controlled. On the second run we deliberately let the wheels spin. Because that’s part of reality too, it doesn’t always go by the book. We wanted to find out how tolerant the boards are of mistakes and how much misuse they forgive. Keep that in mind when you look at the results.
For the test vehicle we used a Land Rover Defender 110 with permanent four-wheel drive, a centre diff lock and traction control, which is equivalent to a diff lock in the axle.
Test 1: Stuck in mud, driving out on a straight line
A situation that can happen in one form or another on any trail. The wheels end up on soft, low-traction ground like mud or mire. We recreated that in a mud puddle. The right front wheel has no traction left. So that no other system could help us move on, we left the centre lock off and switched the traction system off. For that, on this vehicle, we only had to pull the fuse for the ABS brake system. Moving on now depended solely on the left front wheel and the recovery board.
Test 2: Uphill with no traction
In the next scenario the vehicle gets stuck on a slope. The ground is broken up and slippery. Because the front wheels are a little unloaded and spin more easily on the slope, the centre lock is engaged, so the rear axle definitely stays driven too. That’s where the board was placed. On top of that, traction control was switched on, so that once the board creates grip at at least one rear wheel, the other is driven as well. Here the boards have to show whether they can deliver the much greater traction demand, both to the tyre and to the ground.
The recovery board test video, terrain
Test 3: Crossing / bridge
When you need to cross a deep hole or keep the vehicle from tipping over in particular, the recovery boards’ moment has come. There’s hardly an alternative, unless you build something from what’s on the ground or shovel the hole or dip full. In the Gorafe Badlands of southern Spain we saw holes where you’d be shovelling for a good while, since it sometimes drops a good 40 or 50 metres or more there.
For the only two boards suited to being driven over (Nakatanenga Waffleboard and GMB Mount Pionierblech), we had to move the ramps further apart, because otherwise the boards’ length would have made it impossible to drive onto them at all.
As mentioned above, none of the plastic boards in the test are suited to bridging. We still tested them that way. Not so you copy it or end up trusting that the boards will hold after all, but because we deliberately wanted to find the boards’ limits under misuse and whether they still worked afterwards. It was also meant to simulate, to a degree, very soft ground where the boards bend in the middle. So the result for these boards shouldn’t be seen as representative.
With two ramp stands we bridged two gaps. Once with a 50 cm gap, where the boards had almost half their length resting on the stands, and then 80 centimetres, where the boards had only a good 15 cm of contact at each end.
We were mainly interested in whether the boards hold up at all, whether and how far they bend, and whether they return to shape afterwards.
The recovery board test video, bridge
Results of the recovery board test
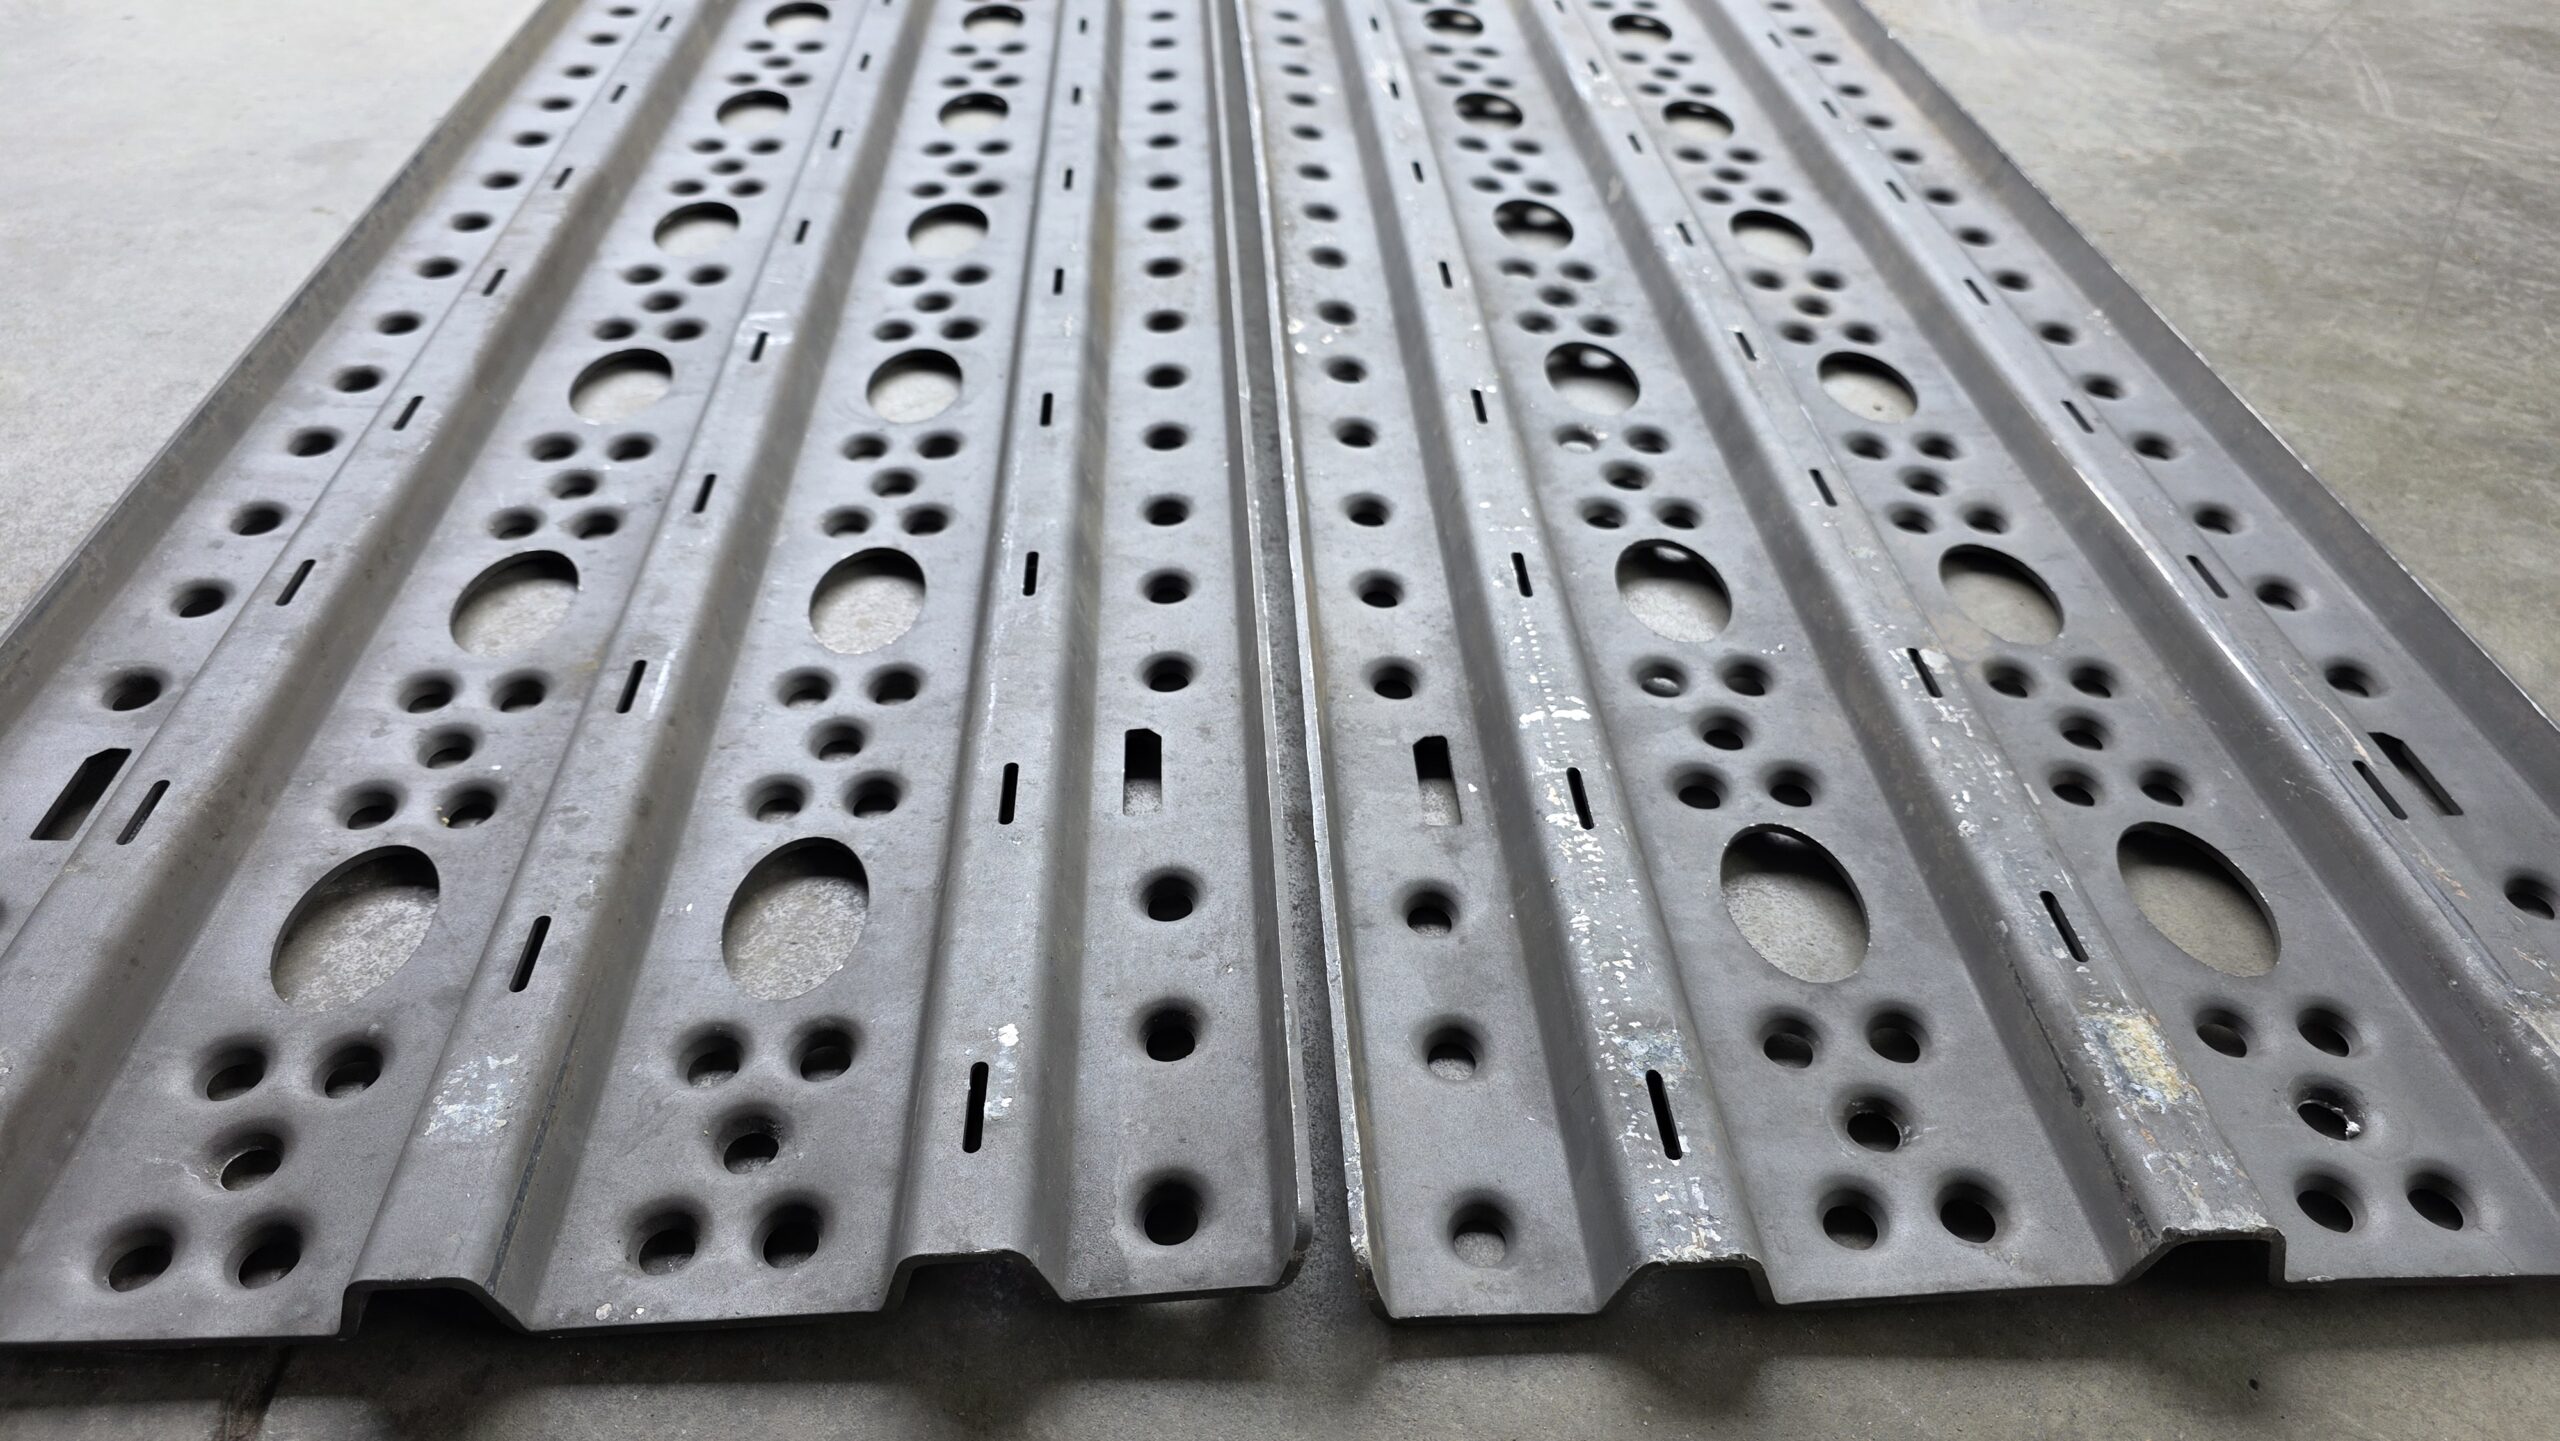
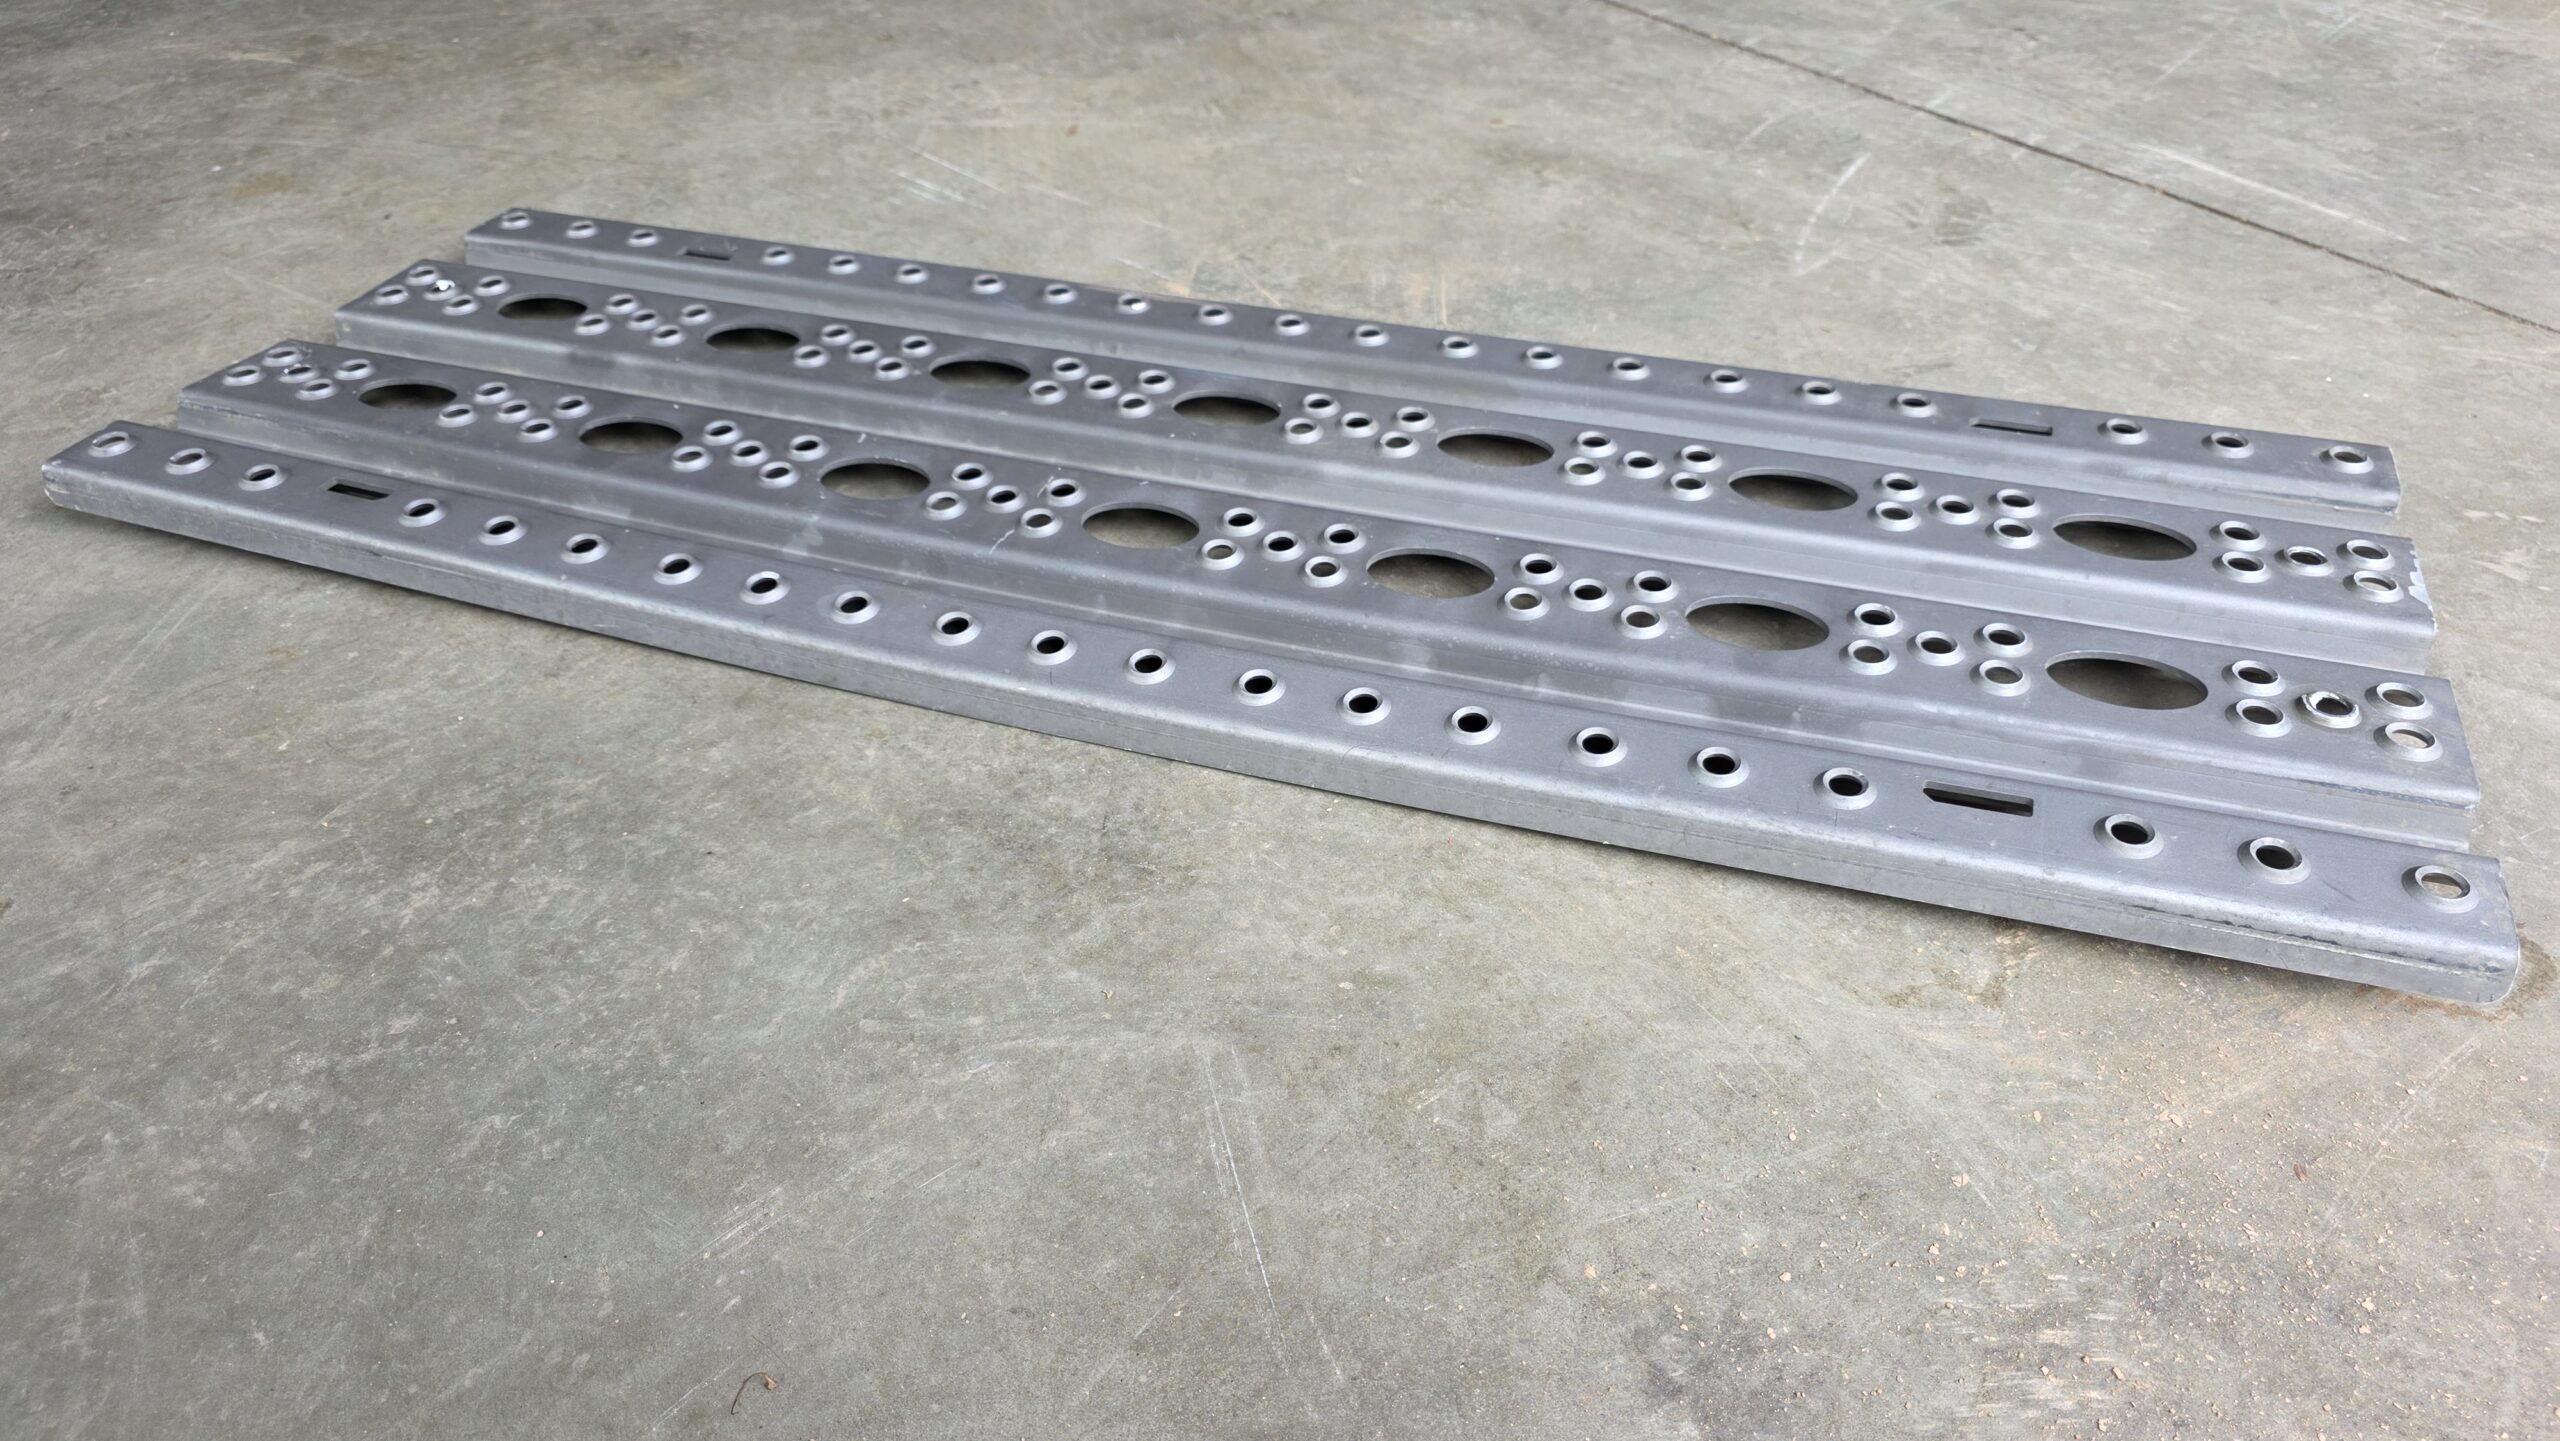
GMB Mount Pionierblech
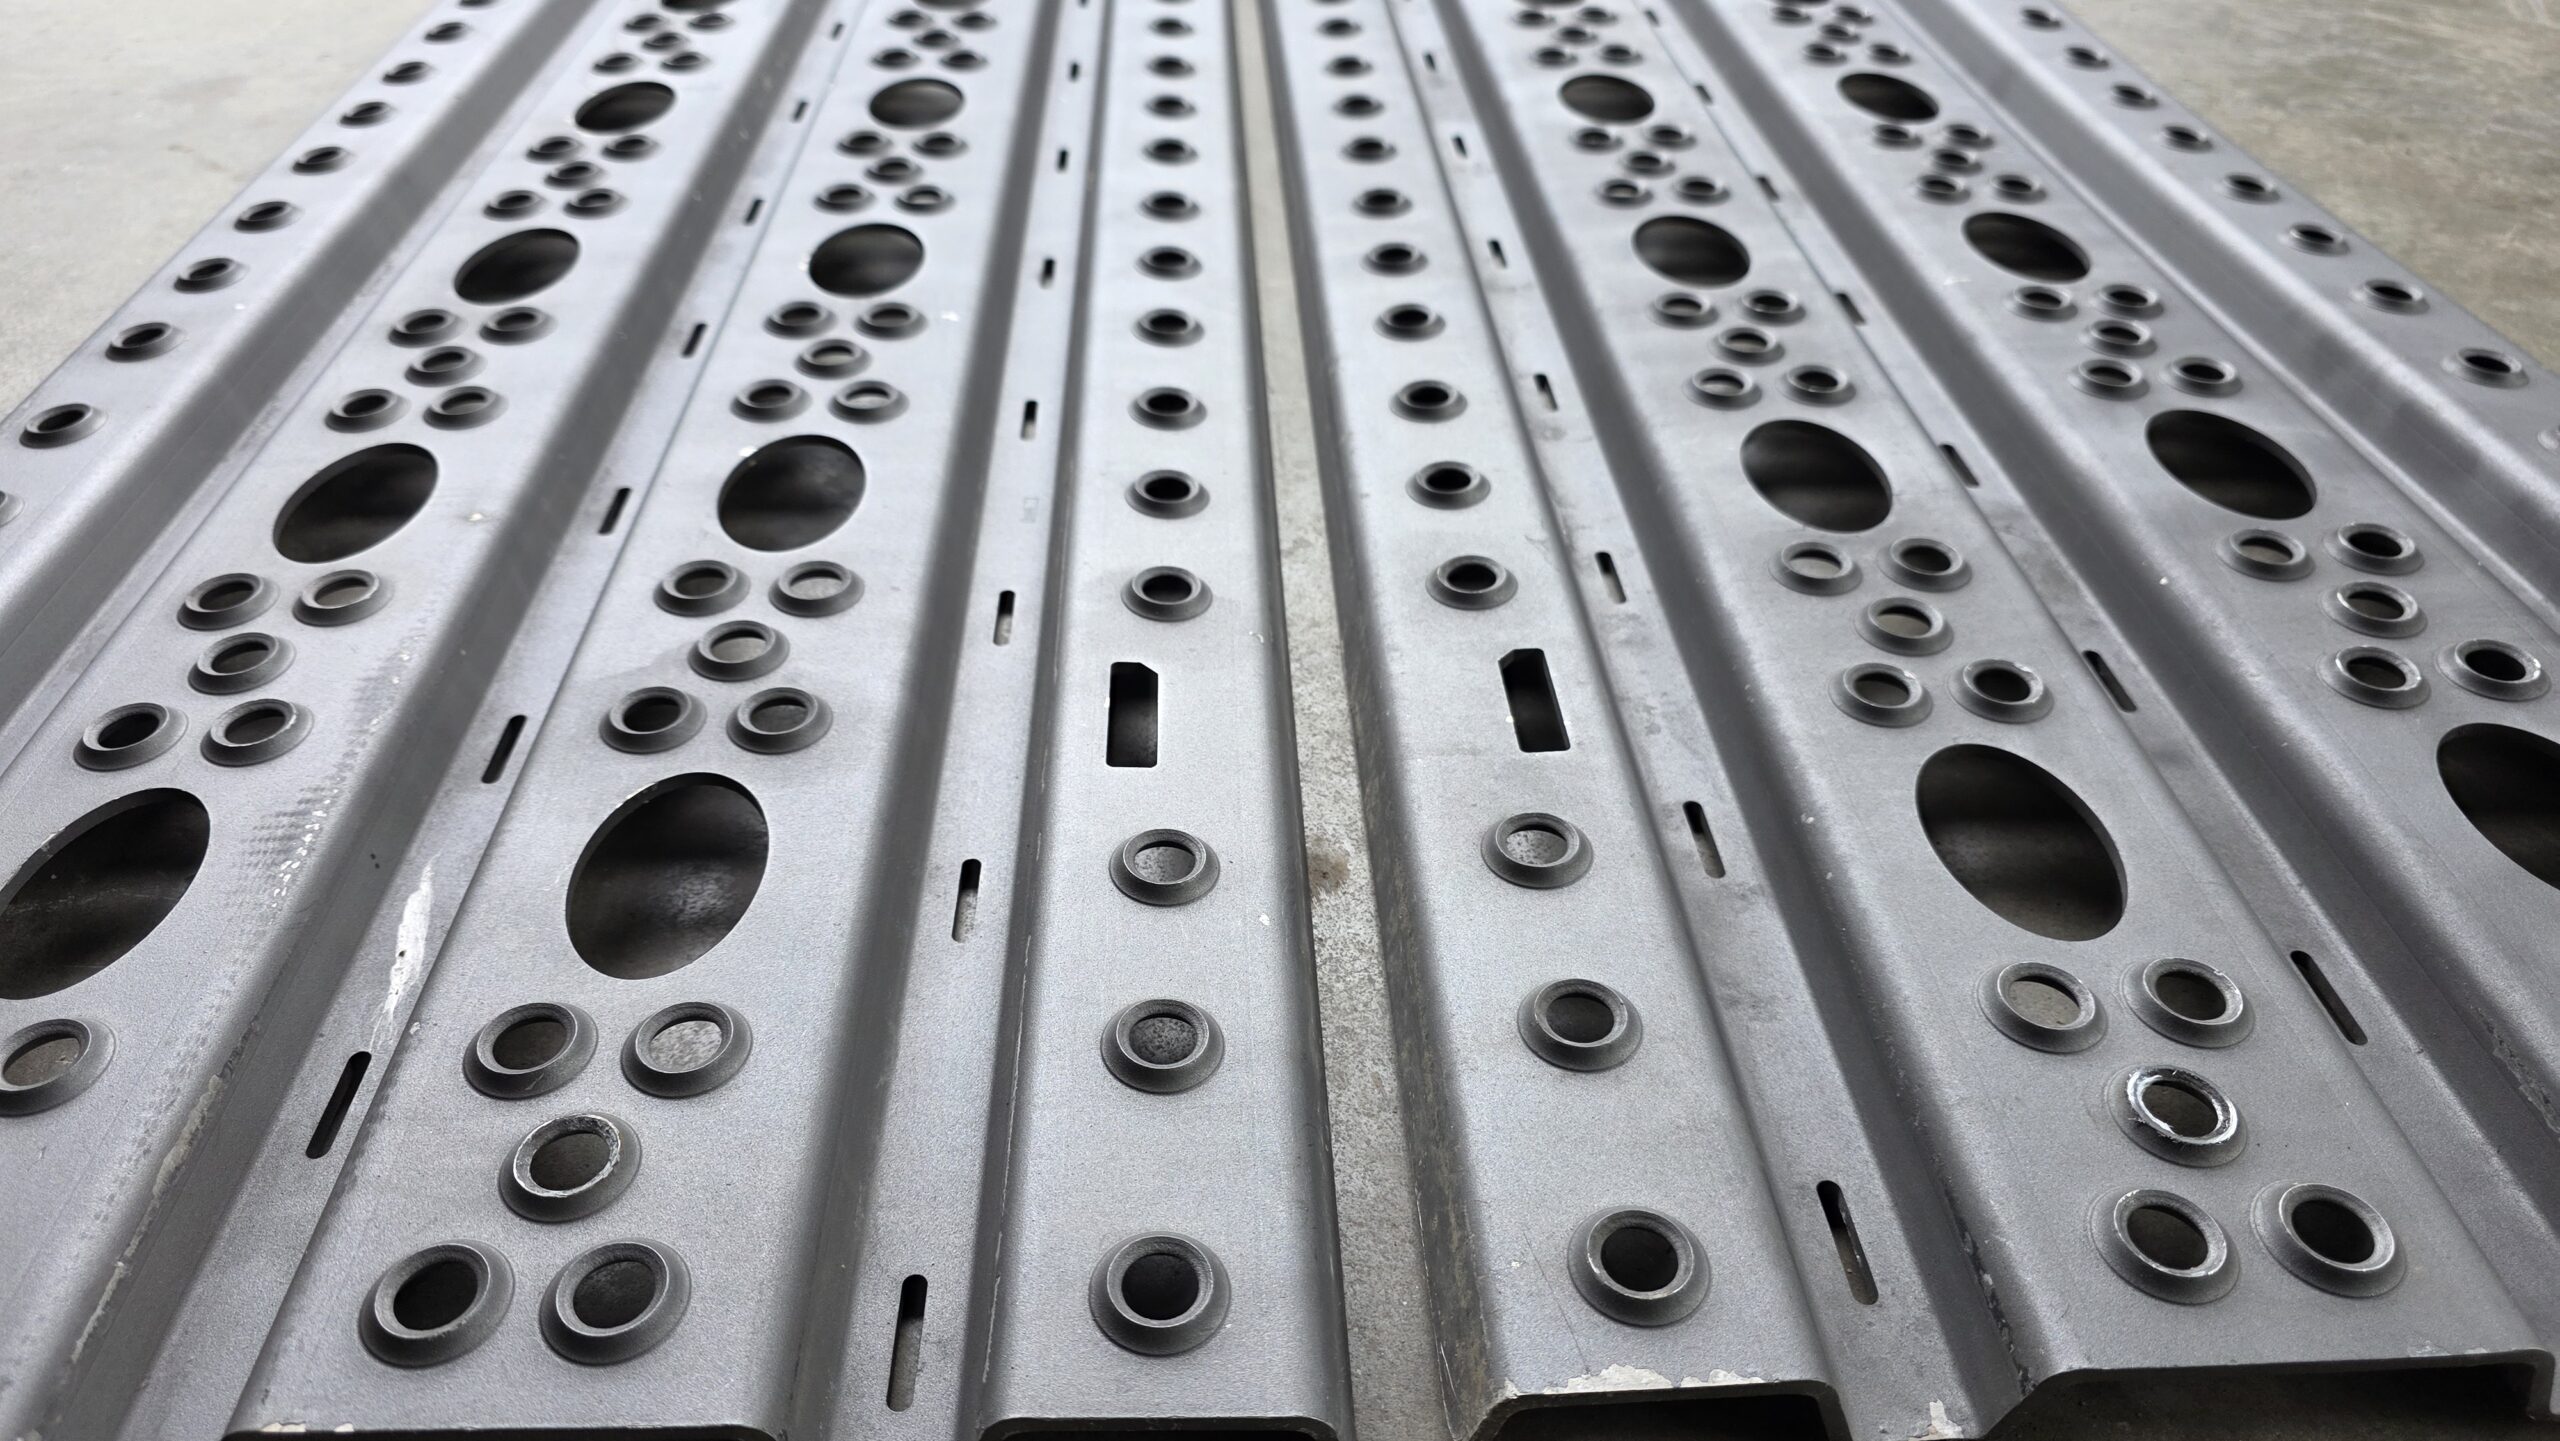
The GMB Mount Pionierblech did very well. In test 1, driving on over the flat, the plate gave good grip to the tyre both slow and fast, driving on and over, and it dug into the ground well too. In the last few centimetres the wheel then pulled the plate through underneath it, a little earlier at speed. But that’s fine. Because of the board’s position and the wheel’s rotation speed, it lost its grip on the ground once the wheel reached the end and the board lifts. The way it slides out from under the wheel also shows how well it passed traction to the tyre.
In test 2, on the slope, it also delivered good traction. When the wheel reaches the last few centimetres, its stiffness can make it lift and so lose grip on the ground. As a result the spinning wheel pushes it through. That stiffness can always cause it to rise as you drive on and off. On vehicles with less ground clearance that can damage the vehicle. To avoid this, you should check how the board can be laid down flat over its whole surface.
The GMB Pionierblech works as a bridge. It didn’t bend when driven over in the middle. It did deform slightly, though, when I drove over it with the rear wheel not in the centre but at the outer edge. As metal does, it then stays plastically deformed. That was easy to fix. We simply laid it on the concrete floor in our workshop and drove over it again, and it was almost fully straight once more. To get it truly straight, you’d have to bend it slightly back the other way in a very controlled way.
Maxtrax MK2
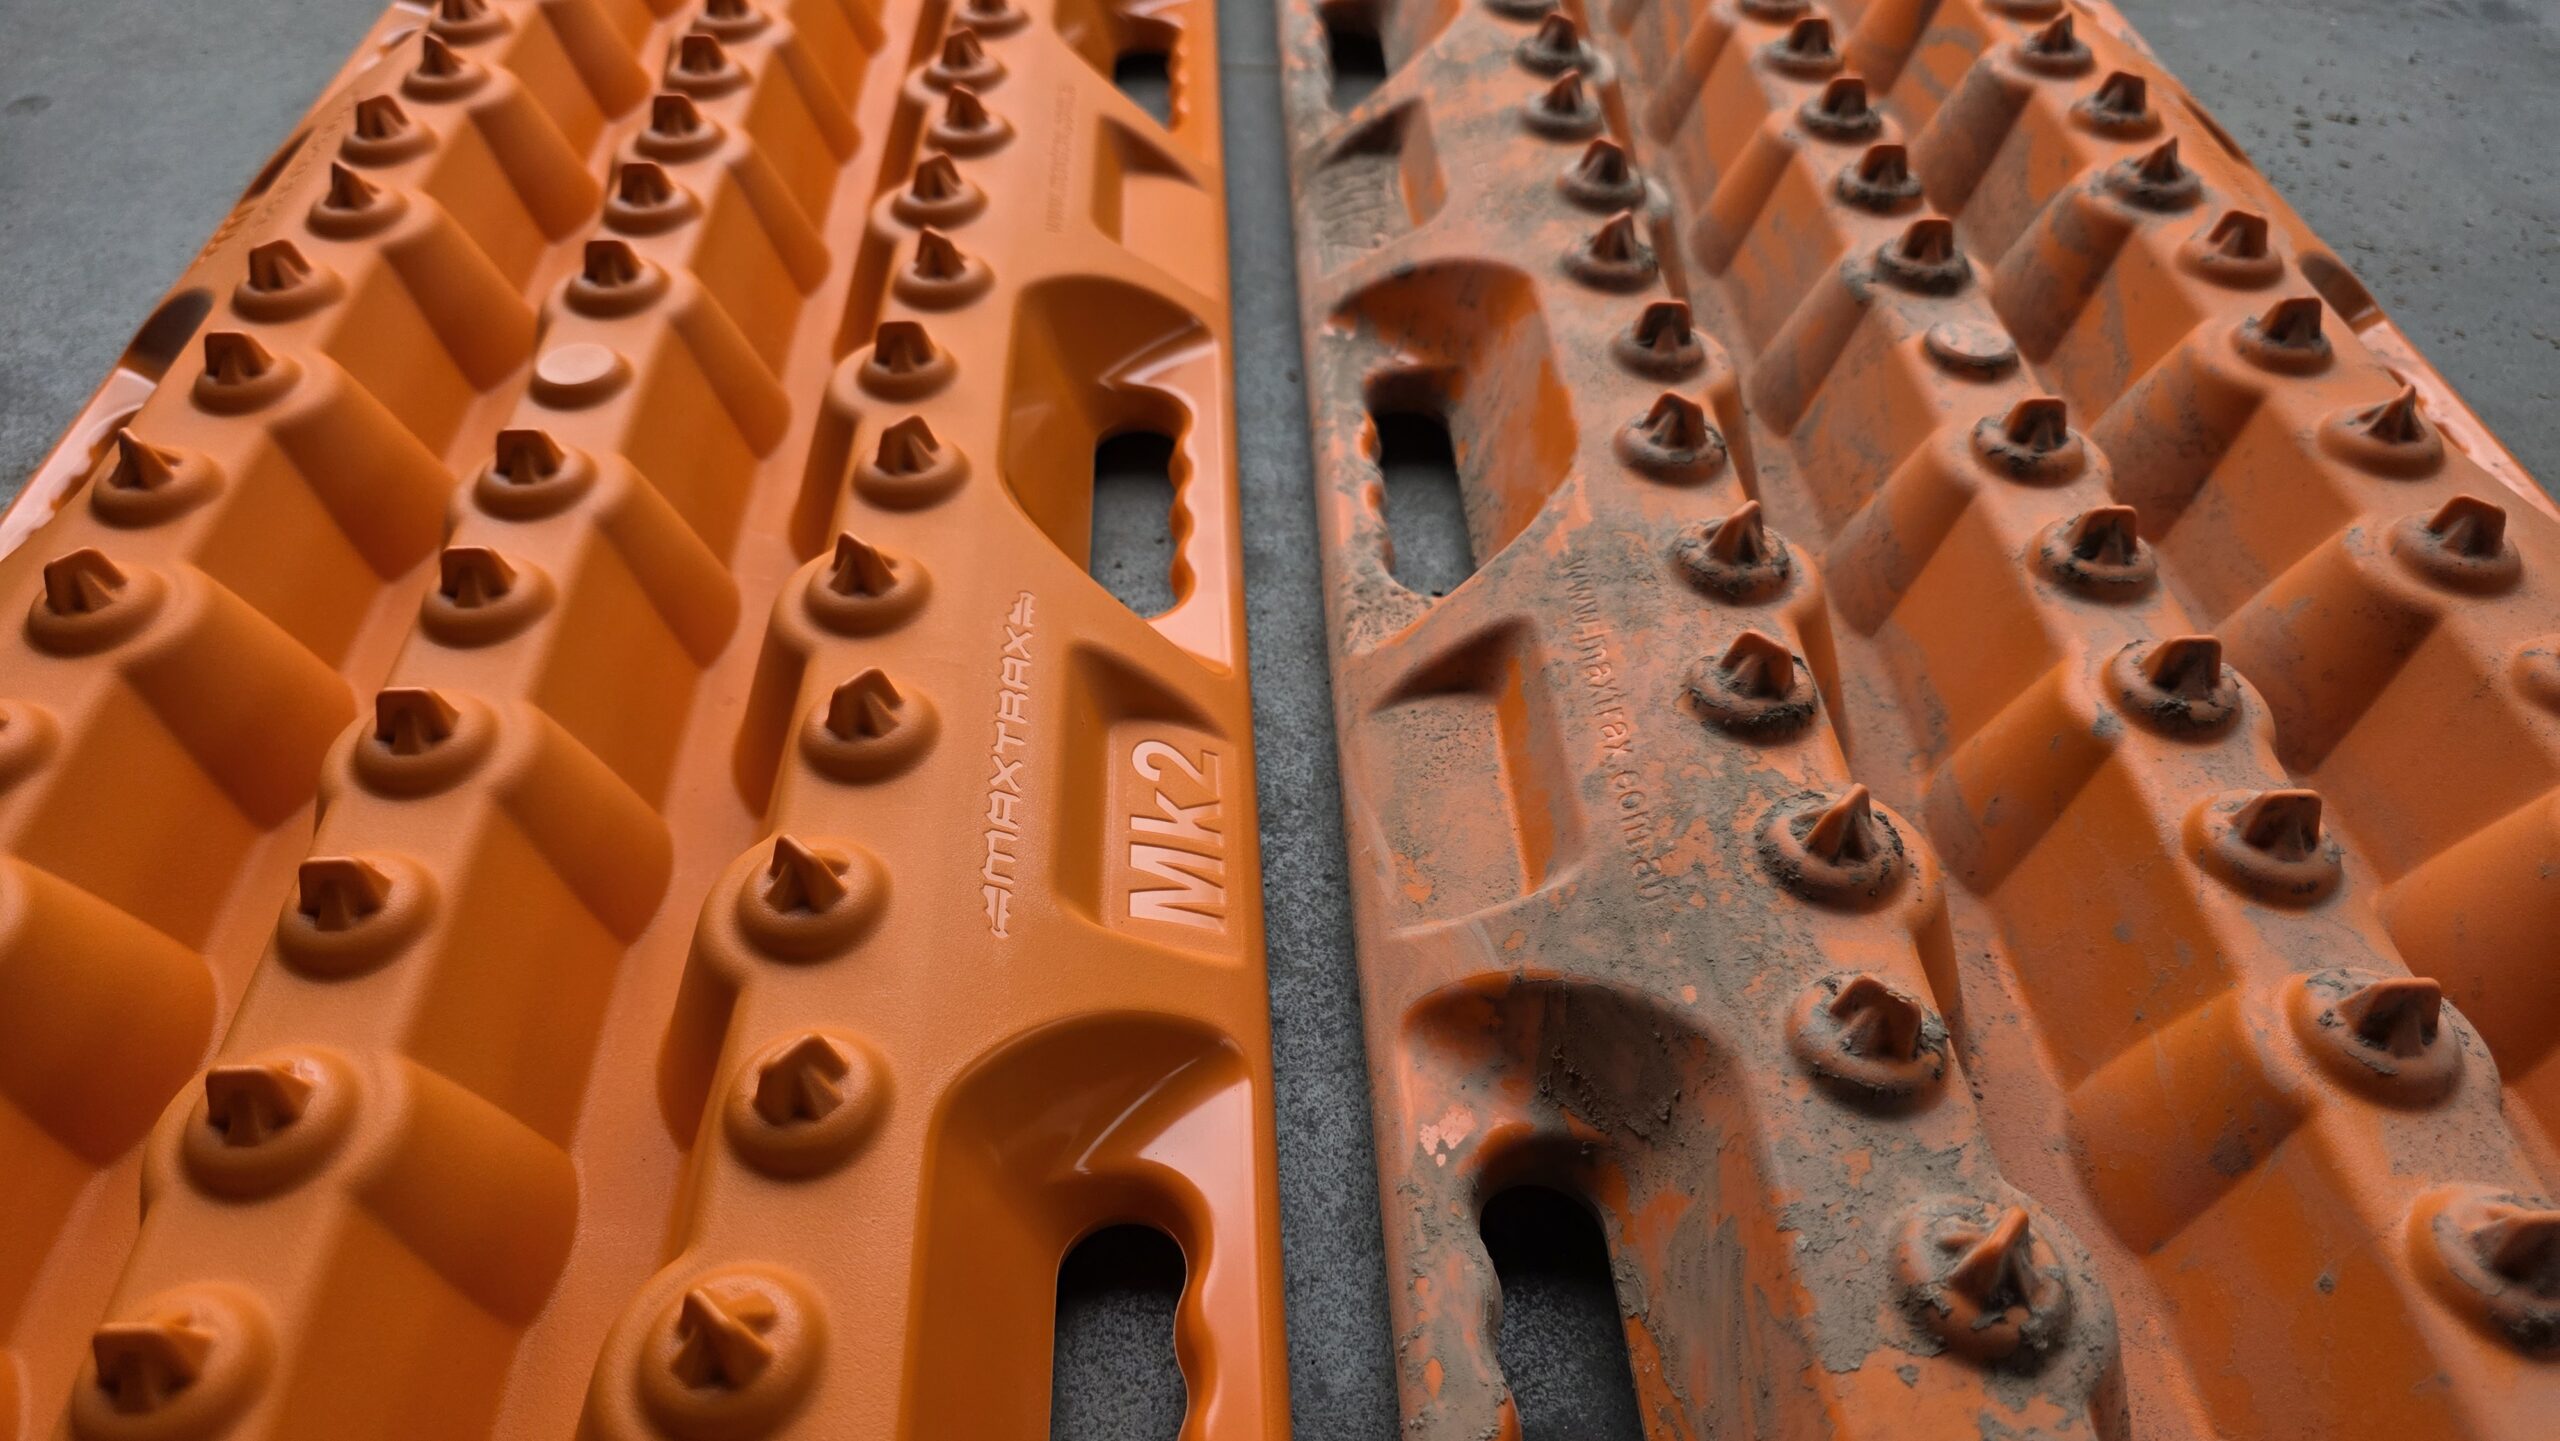
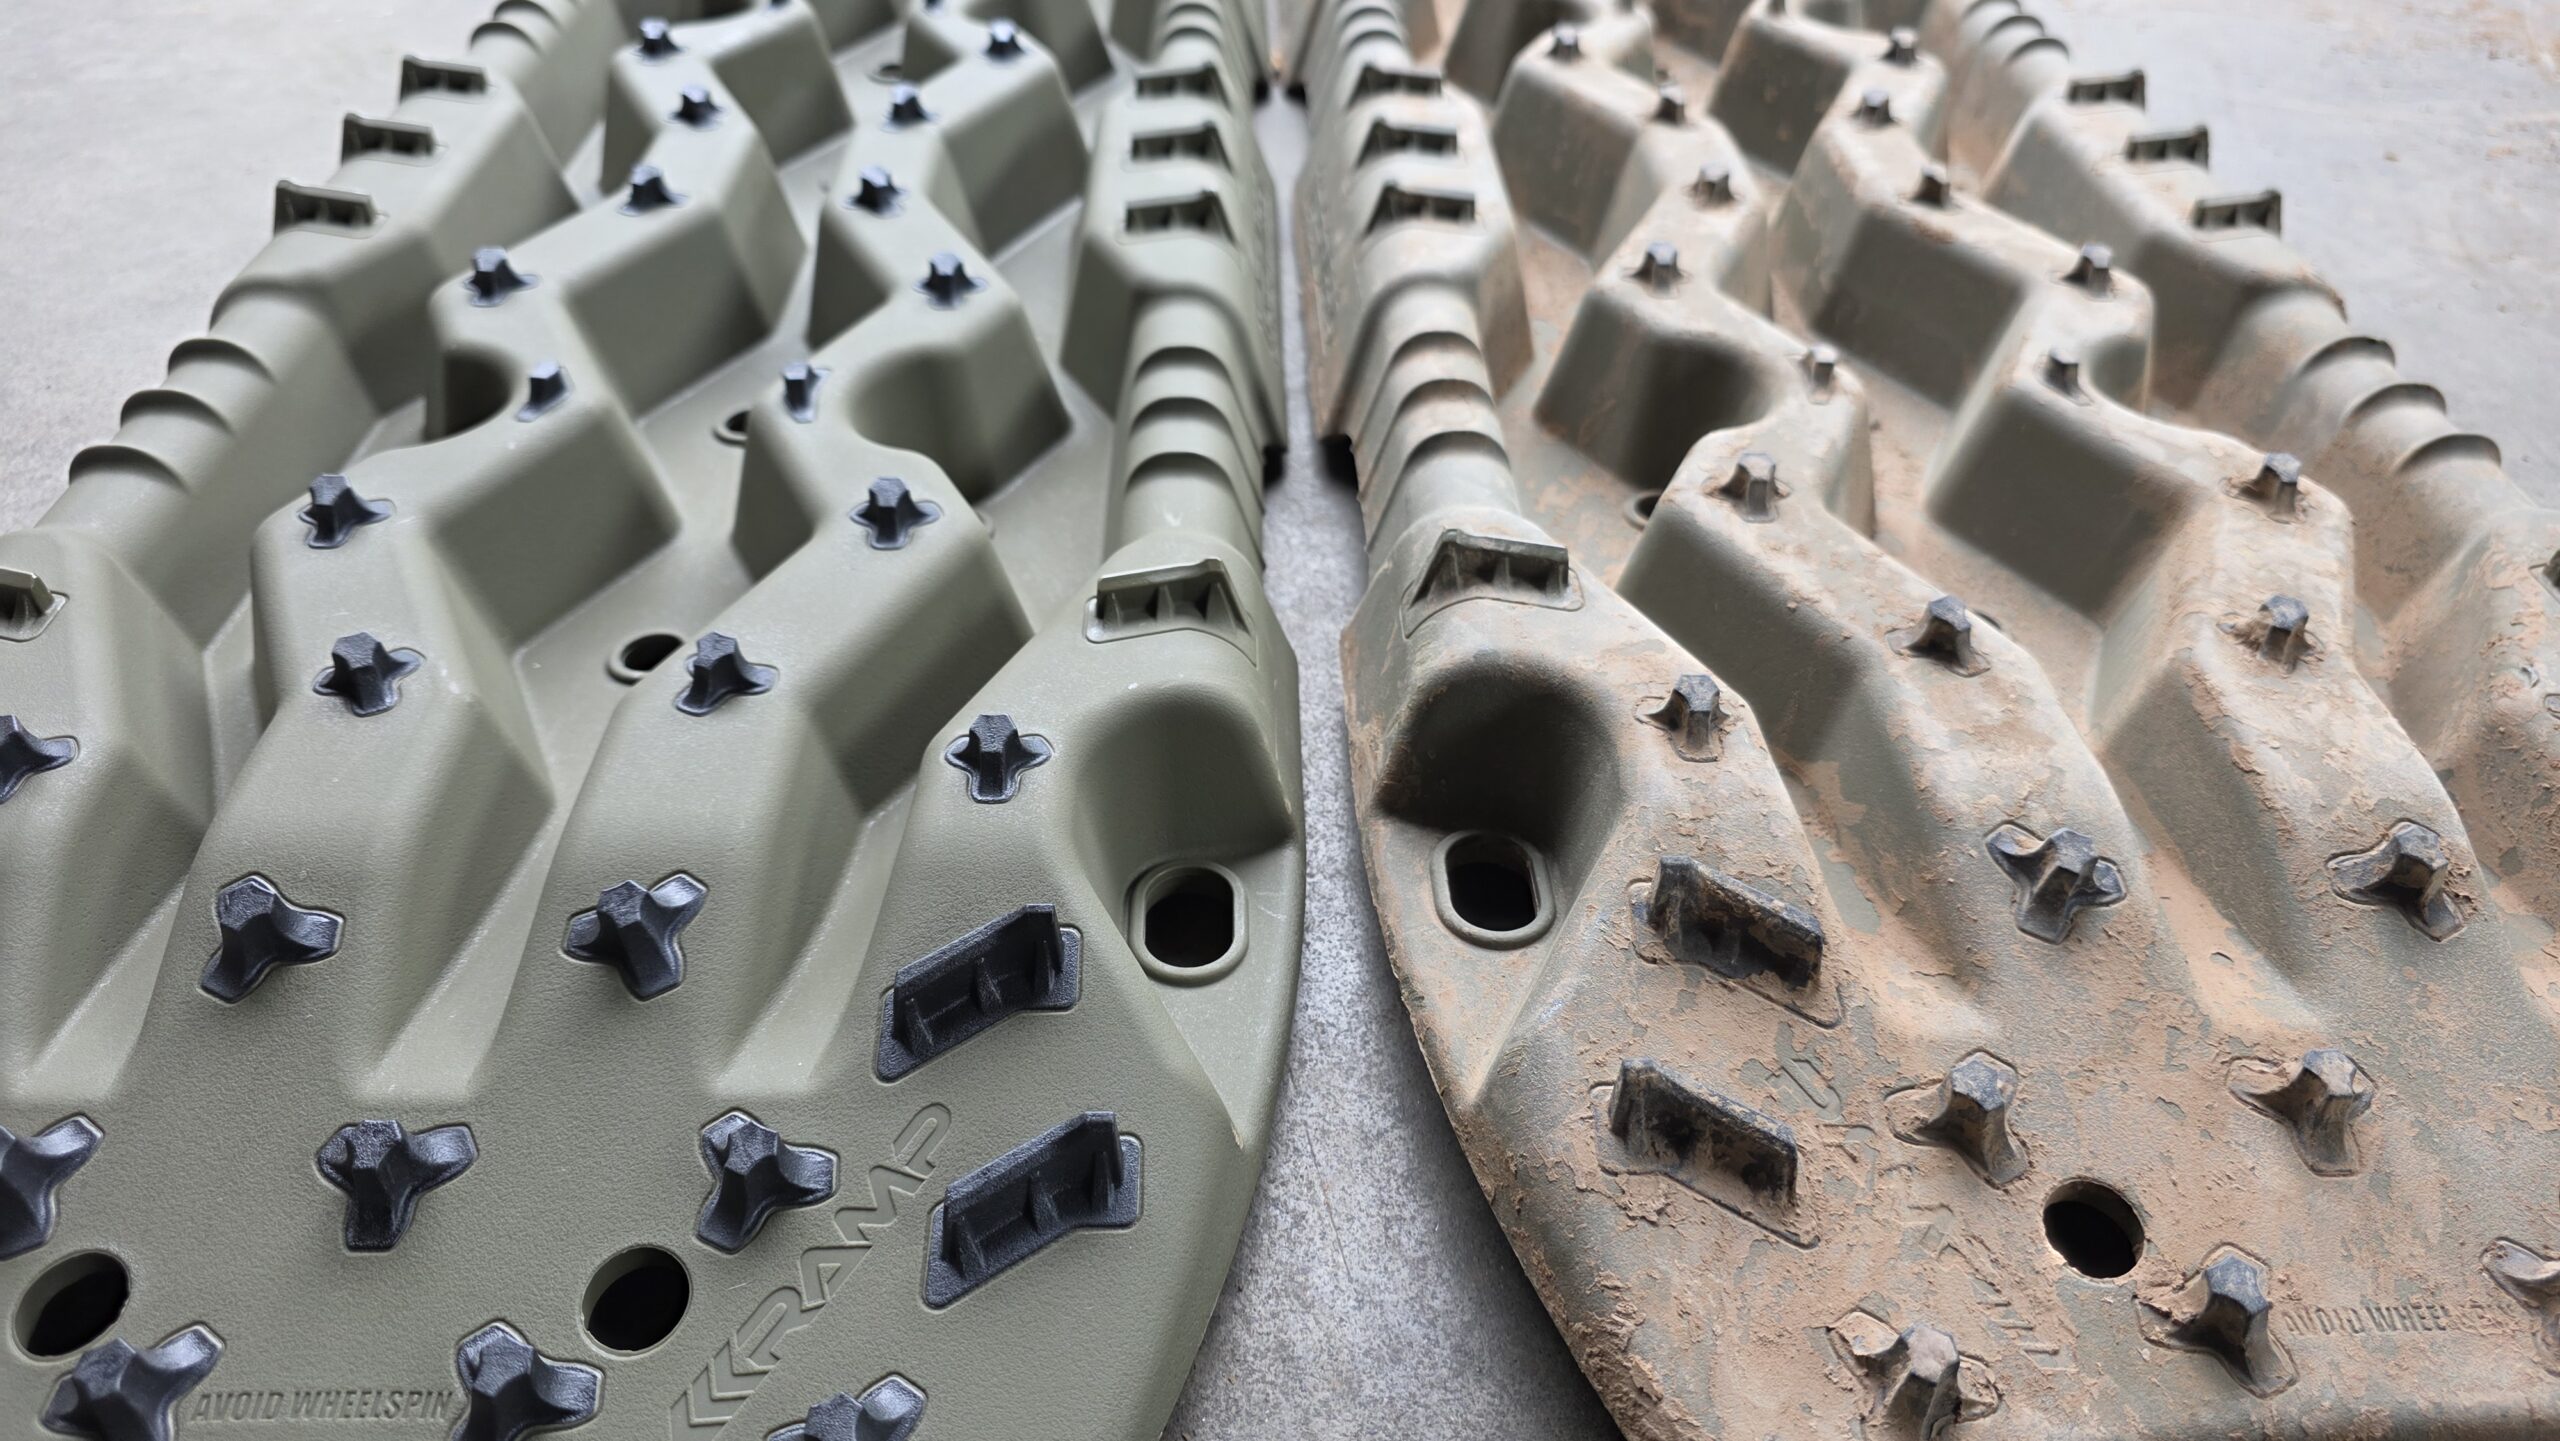
The MK2 worked superbly. It stays firmly on the ground at both speeds, surely thanks to the pronounced cross lugs on the underside and the ramps at the ends. Grip to the tyre was very good. Driving on fast with a spinning tyre, the tyre was slowed at once and the vehicle accelerated at the same time, without the tyre spinning on any further on the board.
On the slope the MK2 also cut a good figure, it offered very good grip. Thanks to the board’s flat ramps and its flex, it doesn’t tend to flip up. Like all the other boards, though, it loses grip on the ground in the last few centimetres, because it’s no longer pressed down at the start and in the middle, so it gets pushed through under the wheel.
After all the tests the lugs on the top were undamaged. On the underside the first and last lugs had suffered a little. Probably caused by being pushed through under the wheel against the ground.
As a bridge the Maxtrax MK cut a decent figure. It behaved much like the Nakatanenga board. It only bent to the ground at the large gap, stayed undamaged and returned to shape at once.
Nakatanenga Maximum Traction
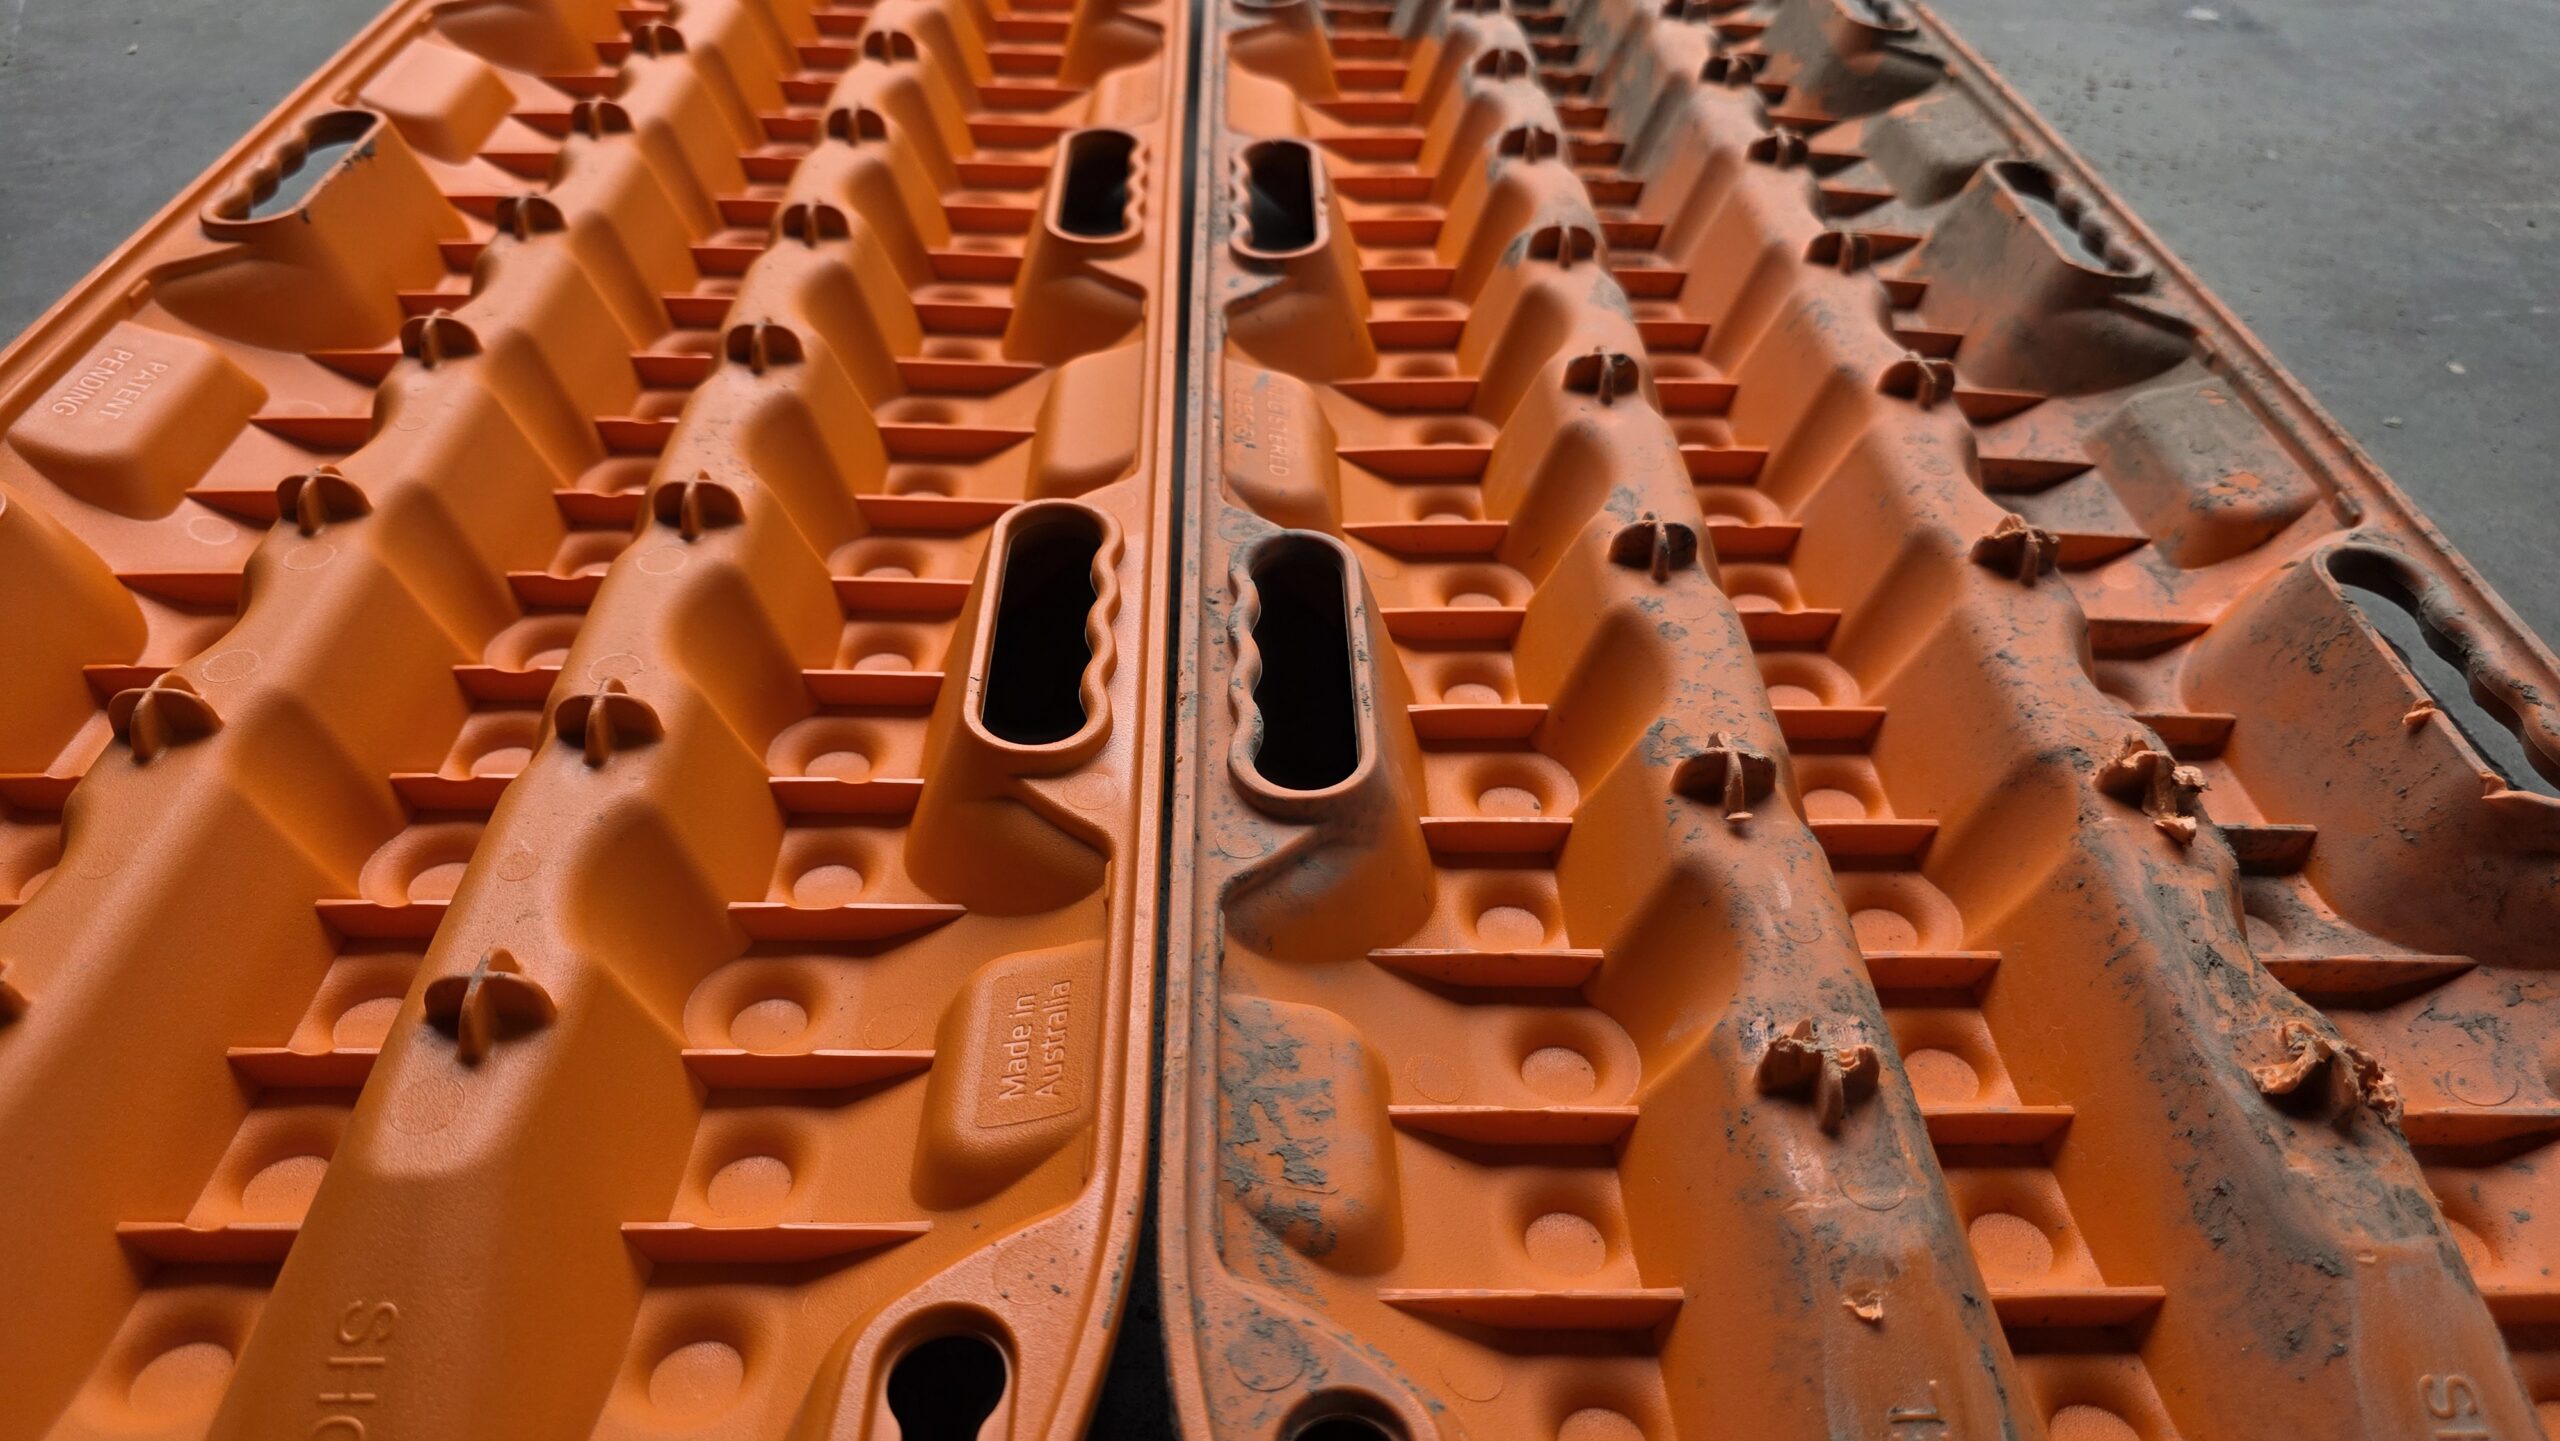
The Nakatanenga Maximum Traction also delivered a result as good as the MK2’s, even though its back has a less pronounced tread. It too braked the wheel when driving on too fast, which accelerated the vehicle. The wheel didn’t spin either.
On the uphill the Nakatanenga board showed slight weaknesses. Not in grip to the wheel, but to the ground. That comes down to the shallower tread on the underside. As soon as the wheel reached the middle, under full load it still started to move away from under the vehicle. We did get on, but that sliding cost us a few centimetres, which could be decisive. If in doubt, another attempt is then needed.
The lugs on the top showed no wear, on the underside only the last row was slightly worn, probably from being pushed through. All the other lugs stayed intact.
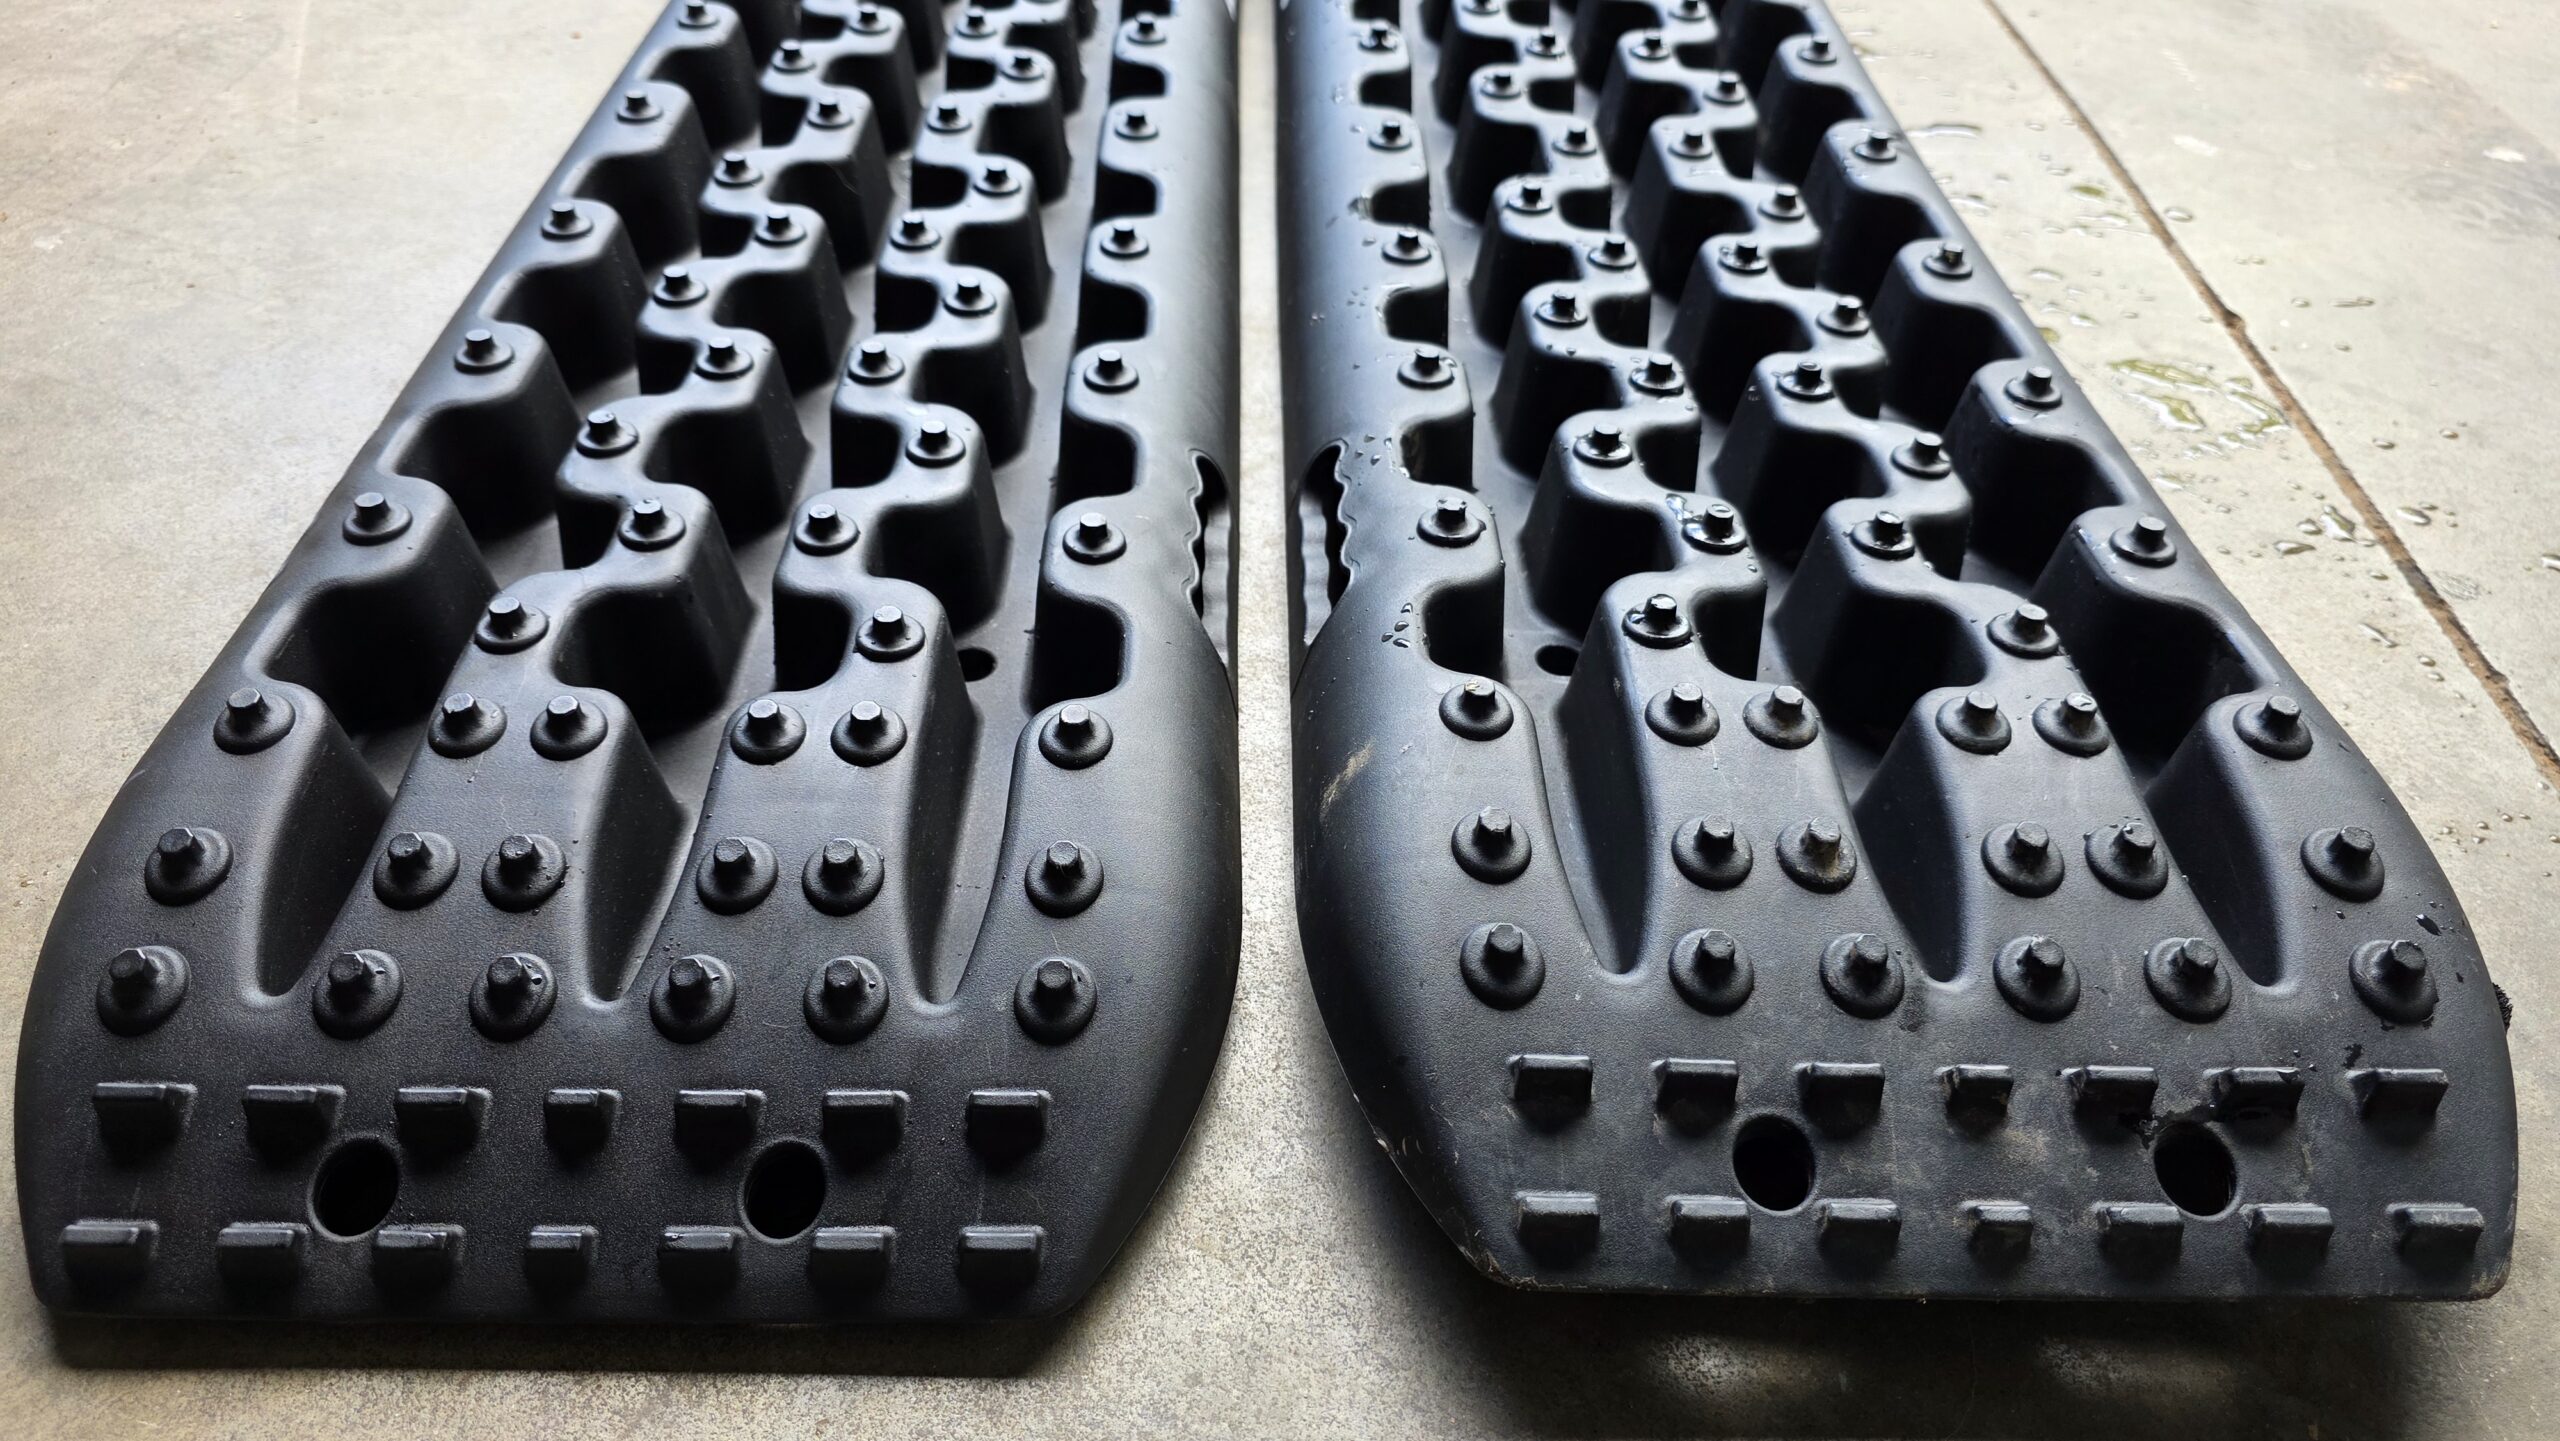
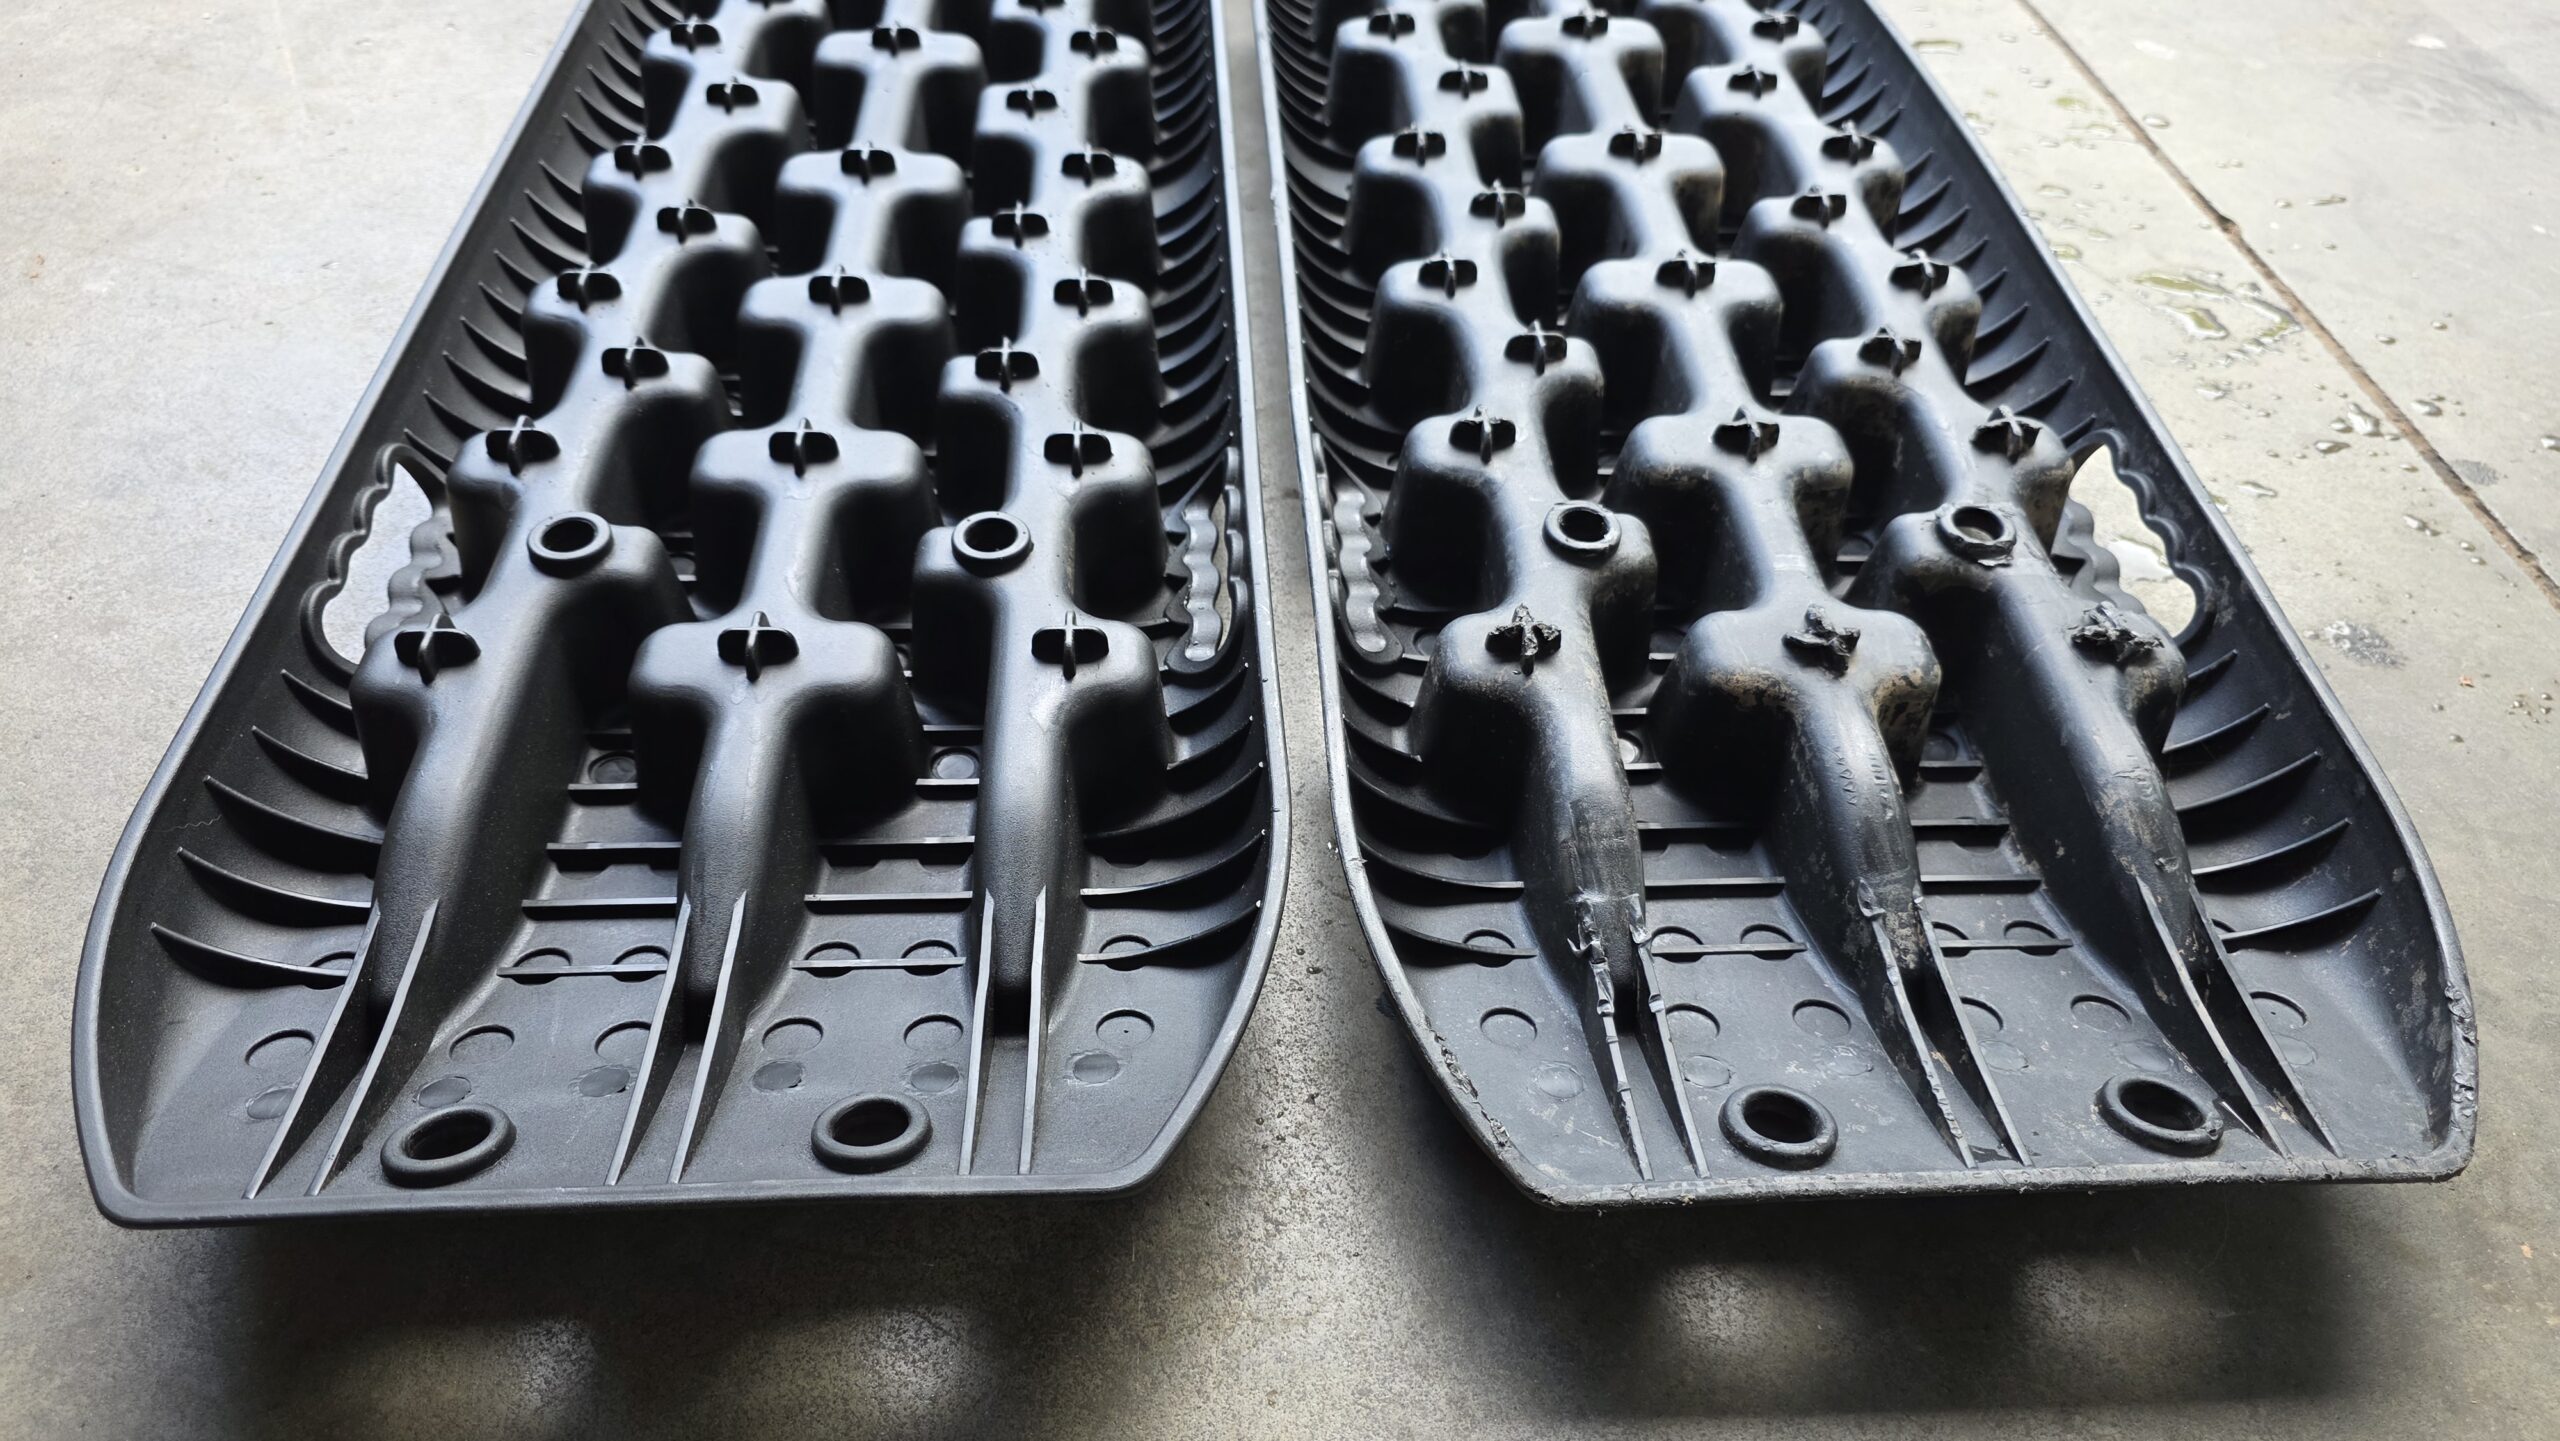
Driven over with a small gap, the Nakatanenga board proved fairly stable. It didn’t bend to the ground. Different with the wide gap, where it did touch the ground. It wasn’t damaged, though, and after a while returned almost fully to its original shape.
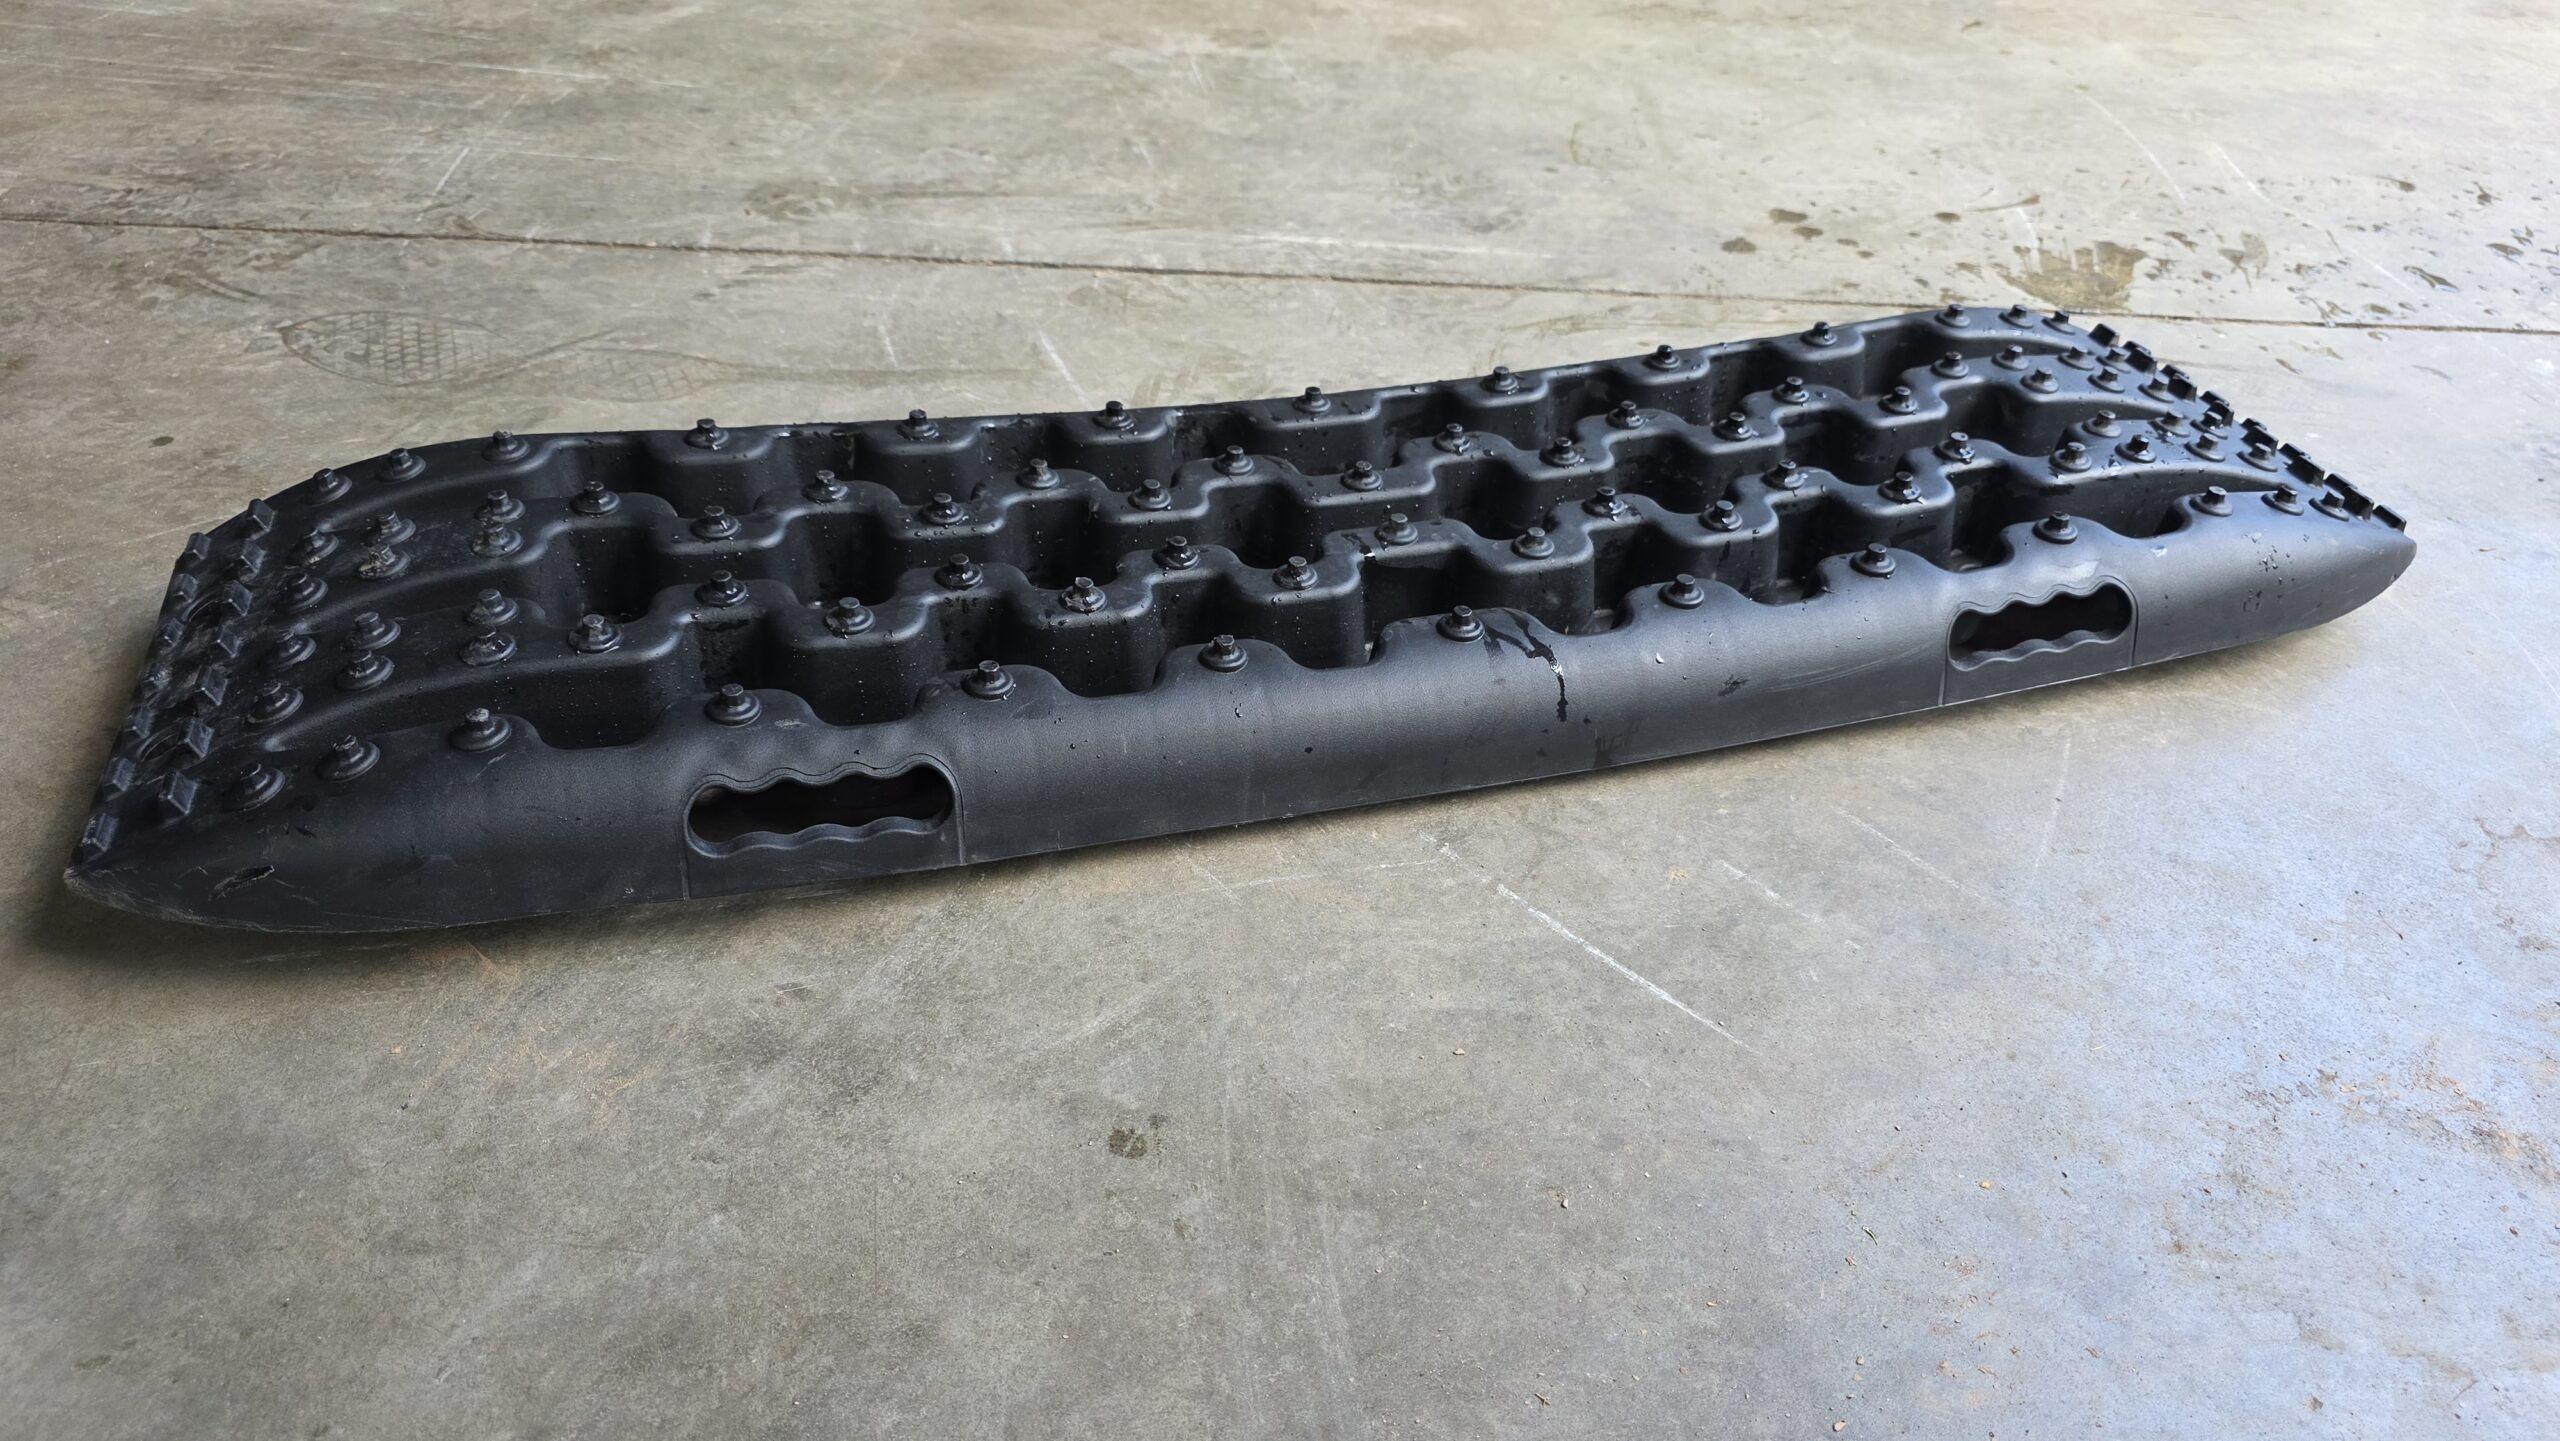
Rockfoxx recovery board
The Rockfoxx did stay on the ground in both attempts, but that may be because it couldn’t pass on good traction when driven on fast. The vehicle moved forward, but the front wheel spun along the whole length of the board. The other wheels probably helped out a bit here. At slow speed there were no problems.
As a traction aid on the slope it didn’t do well either. Grip to the tyre was poor. It was the only board where the wheel spun despite driving slowly. That’s also why it stayed in place longer than the Nakatanenga board, because the tyre couldn’t put enough traction into the Rockfoxx board. In the end it got pushed through too.
The lugs didn’t suffer on the top and only slightly on the underside. But that along the whole length of the board. They may be too shallow to be badly damaged, as the poor traction showed.
The Rockfoxx board is the only one that got damaged when driven over. Even at the smaller gap it tore at the edge. At the short gap it held up enough not to bend to the ground. At the larger gap it didn’t break through either, but with the heavier rear end we pushed it to the ground. After being driven over it always returned to its original shape.
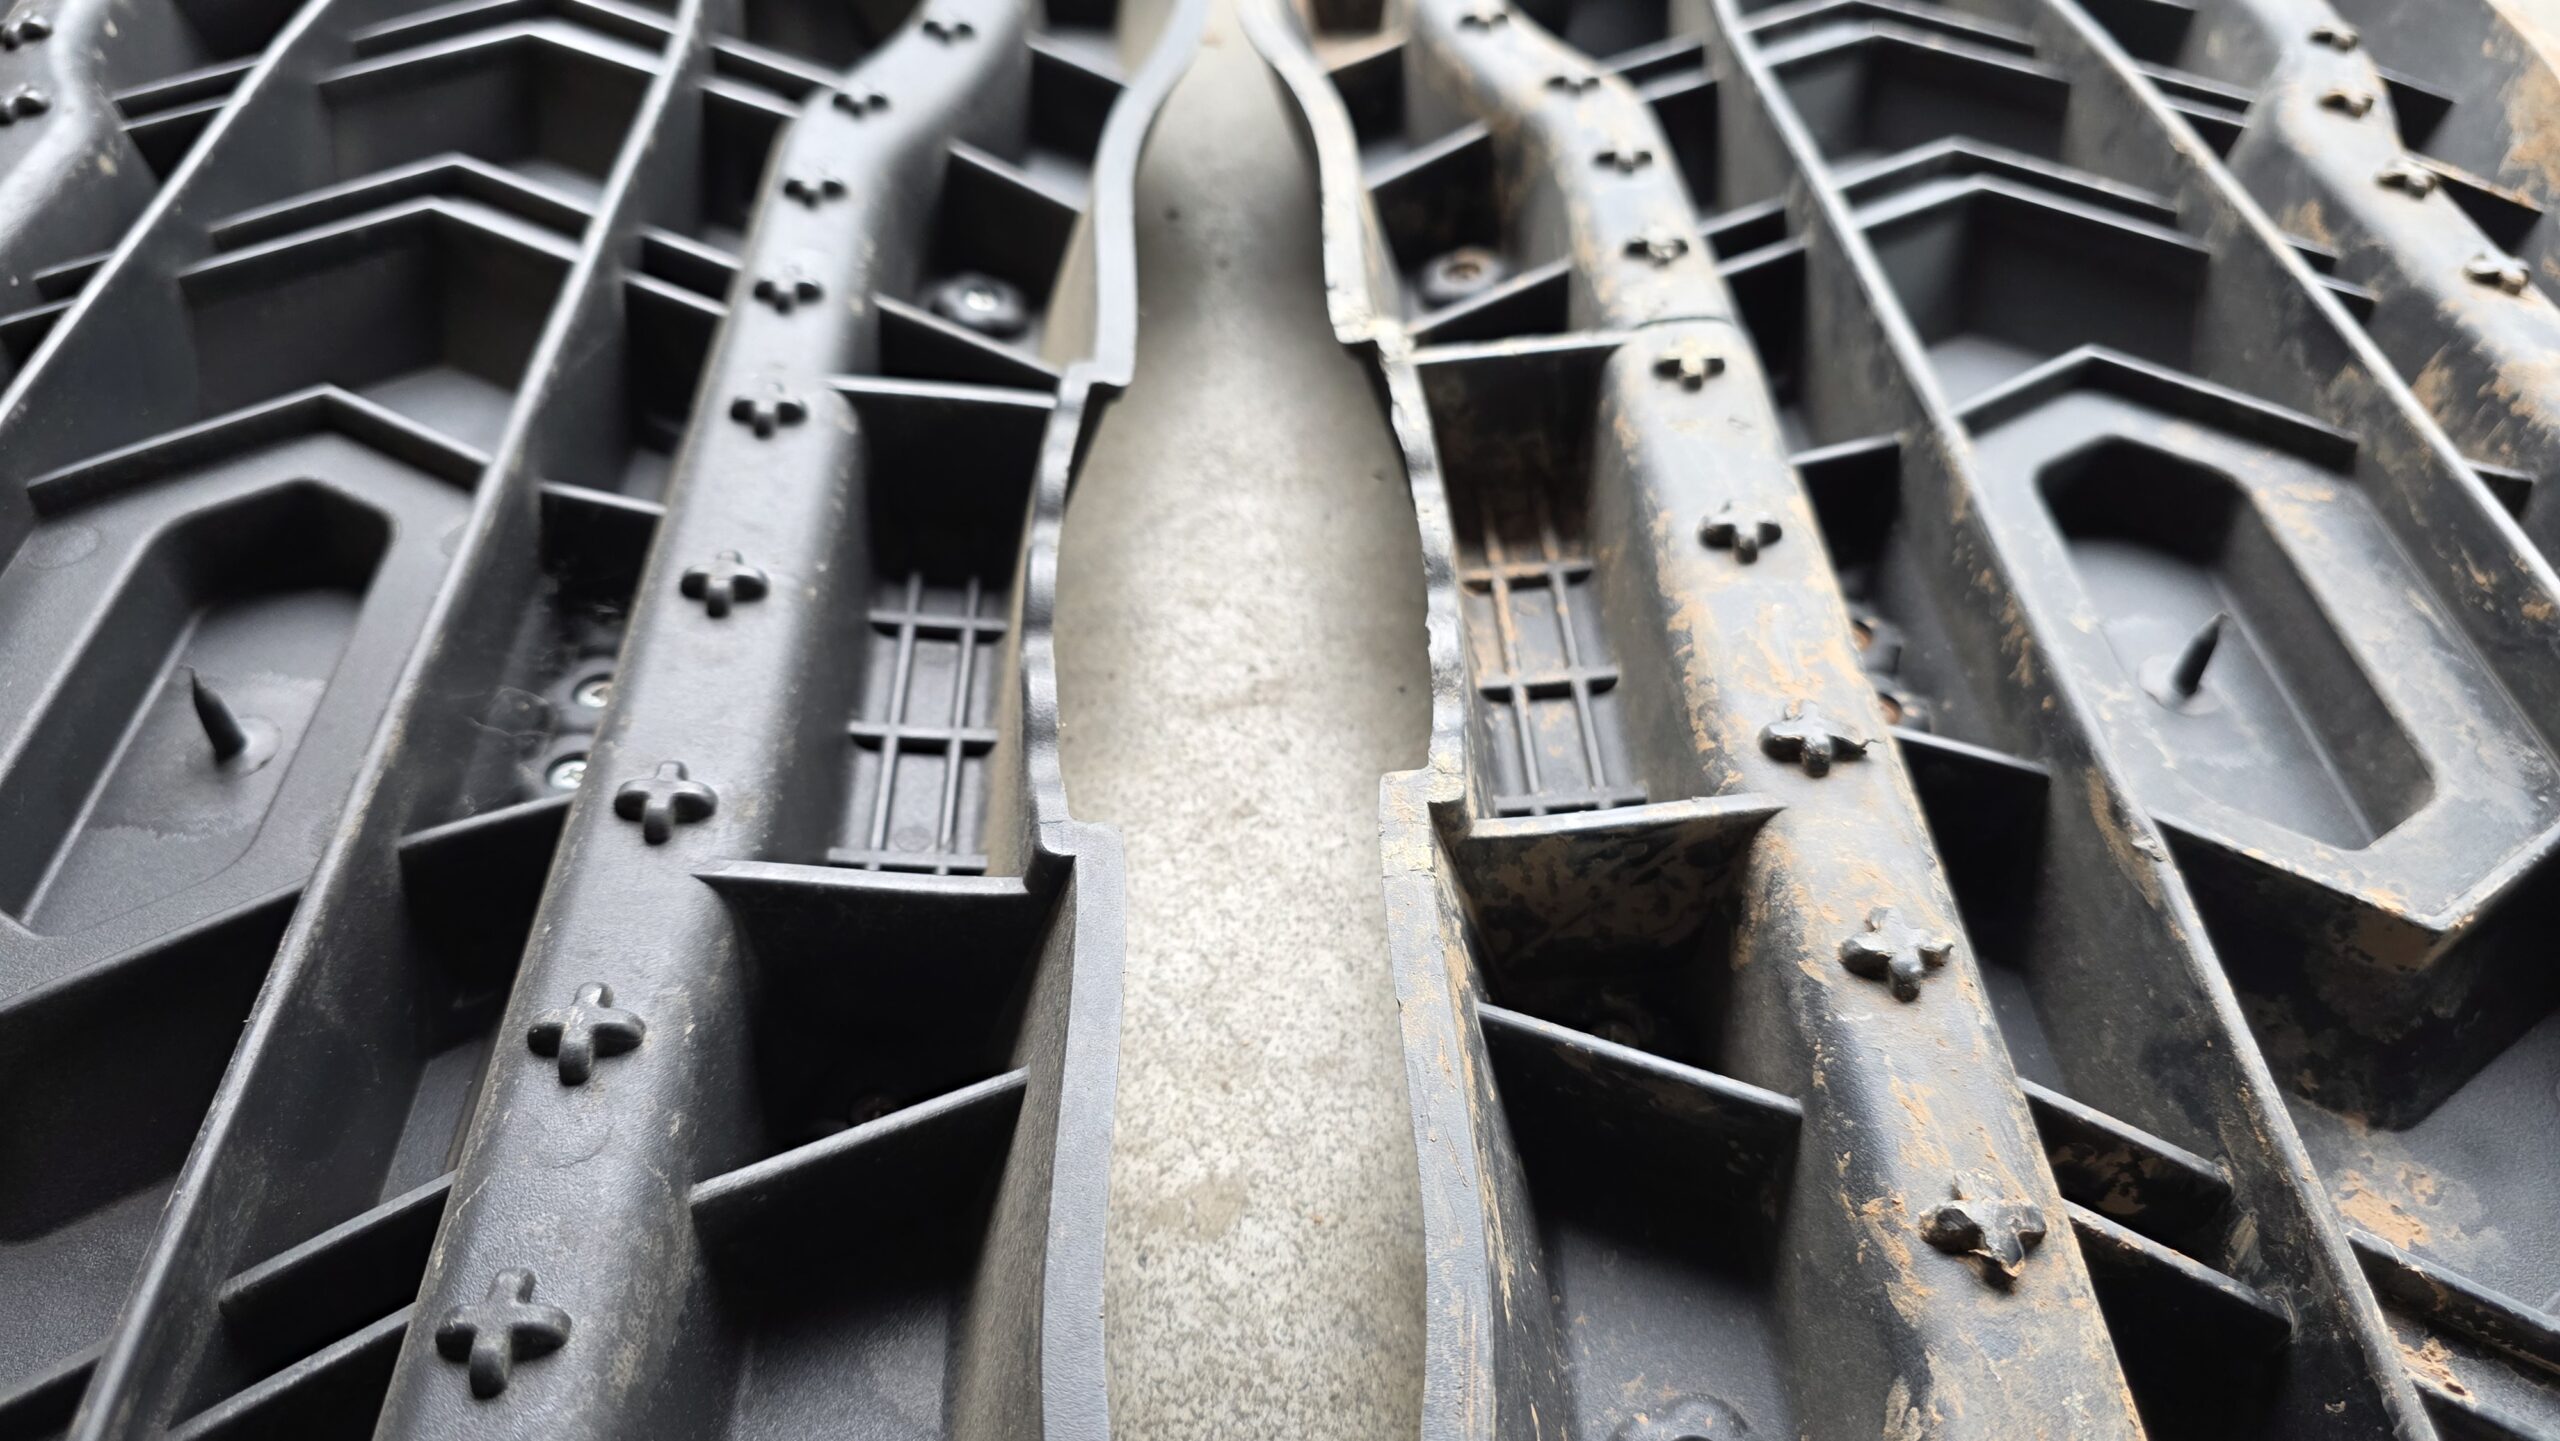
The Rockfoxx board is the only one in the test that can’t be stacked into another one properly.
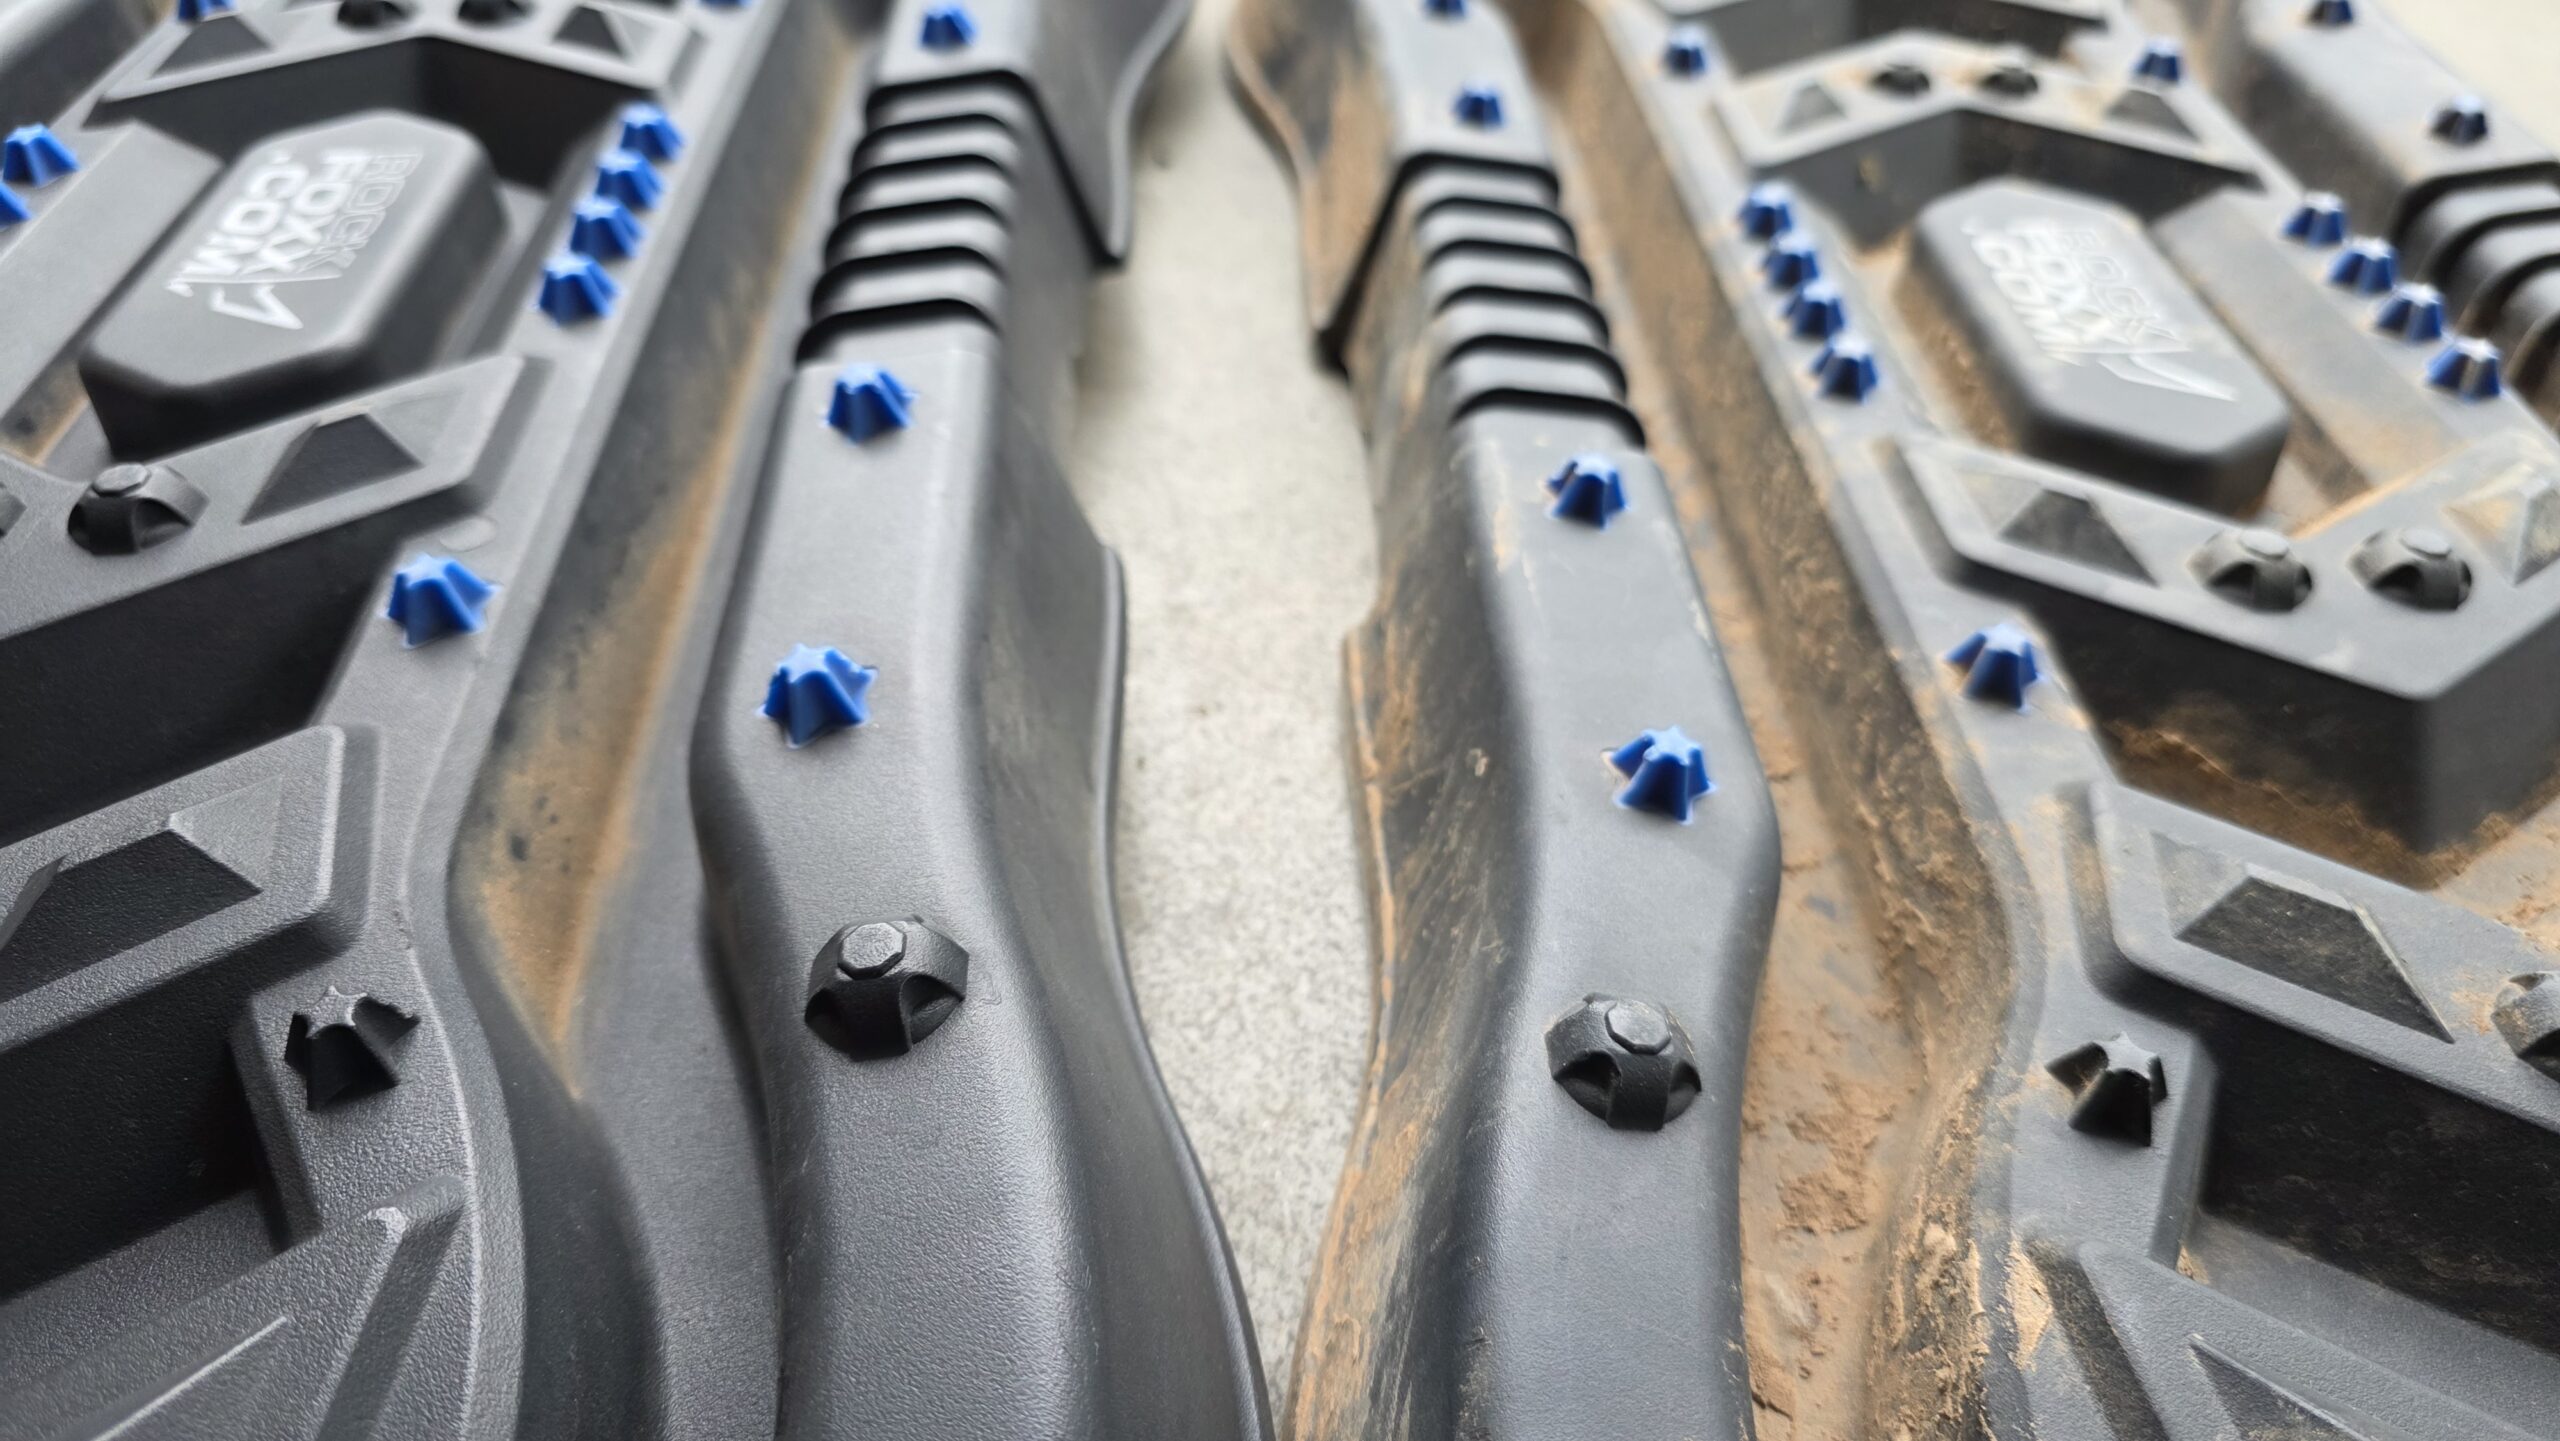
ARB Tred Pro
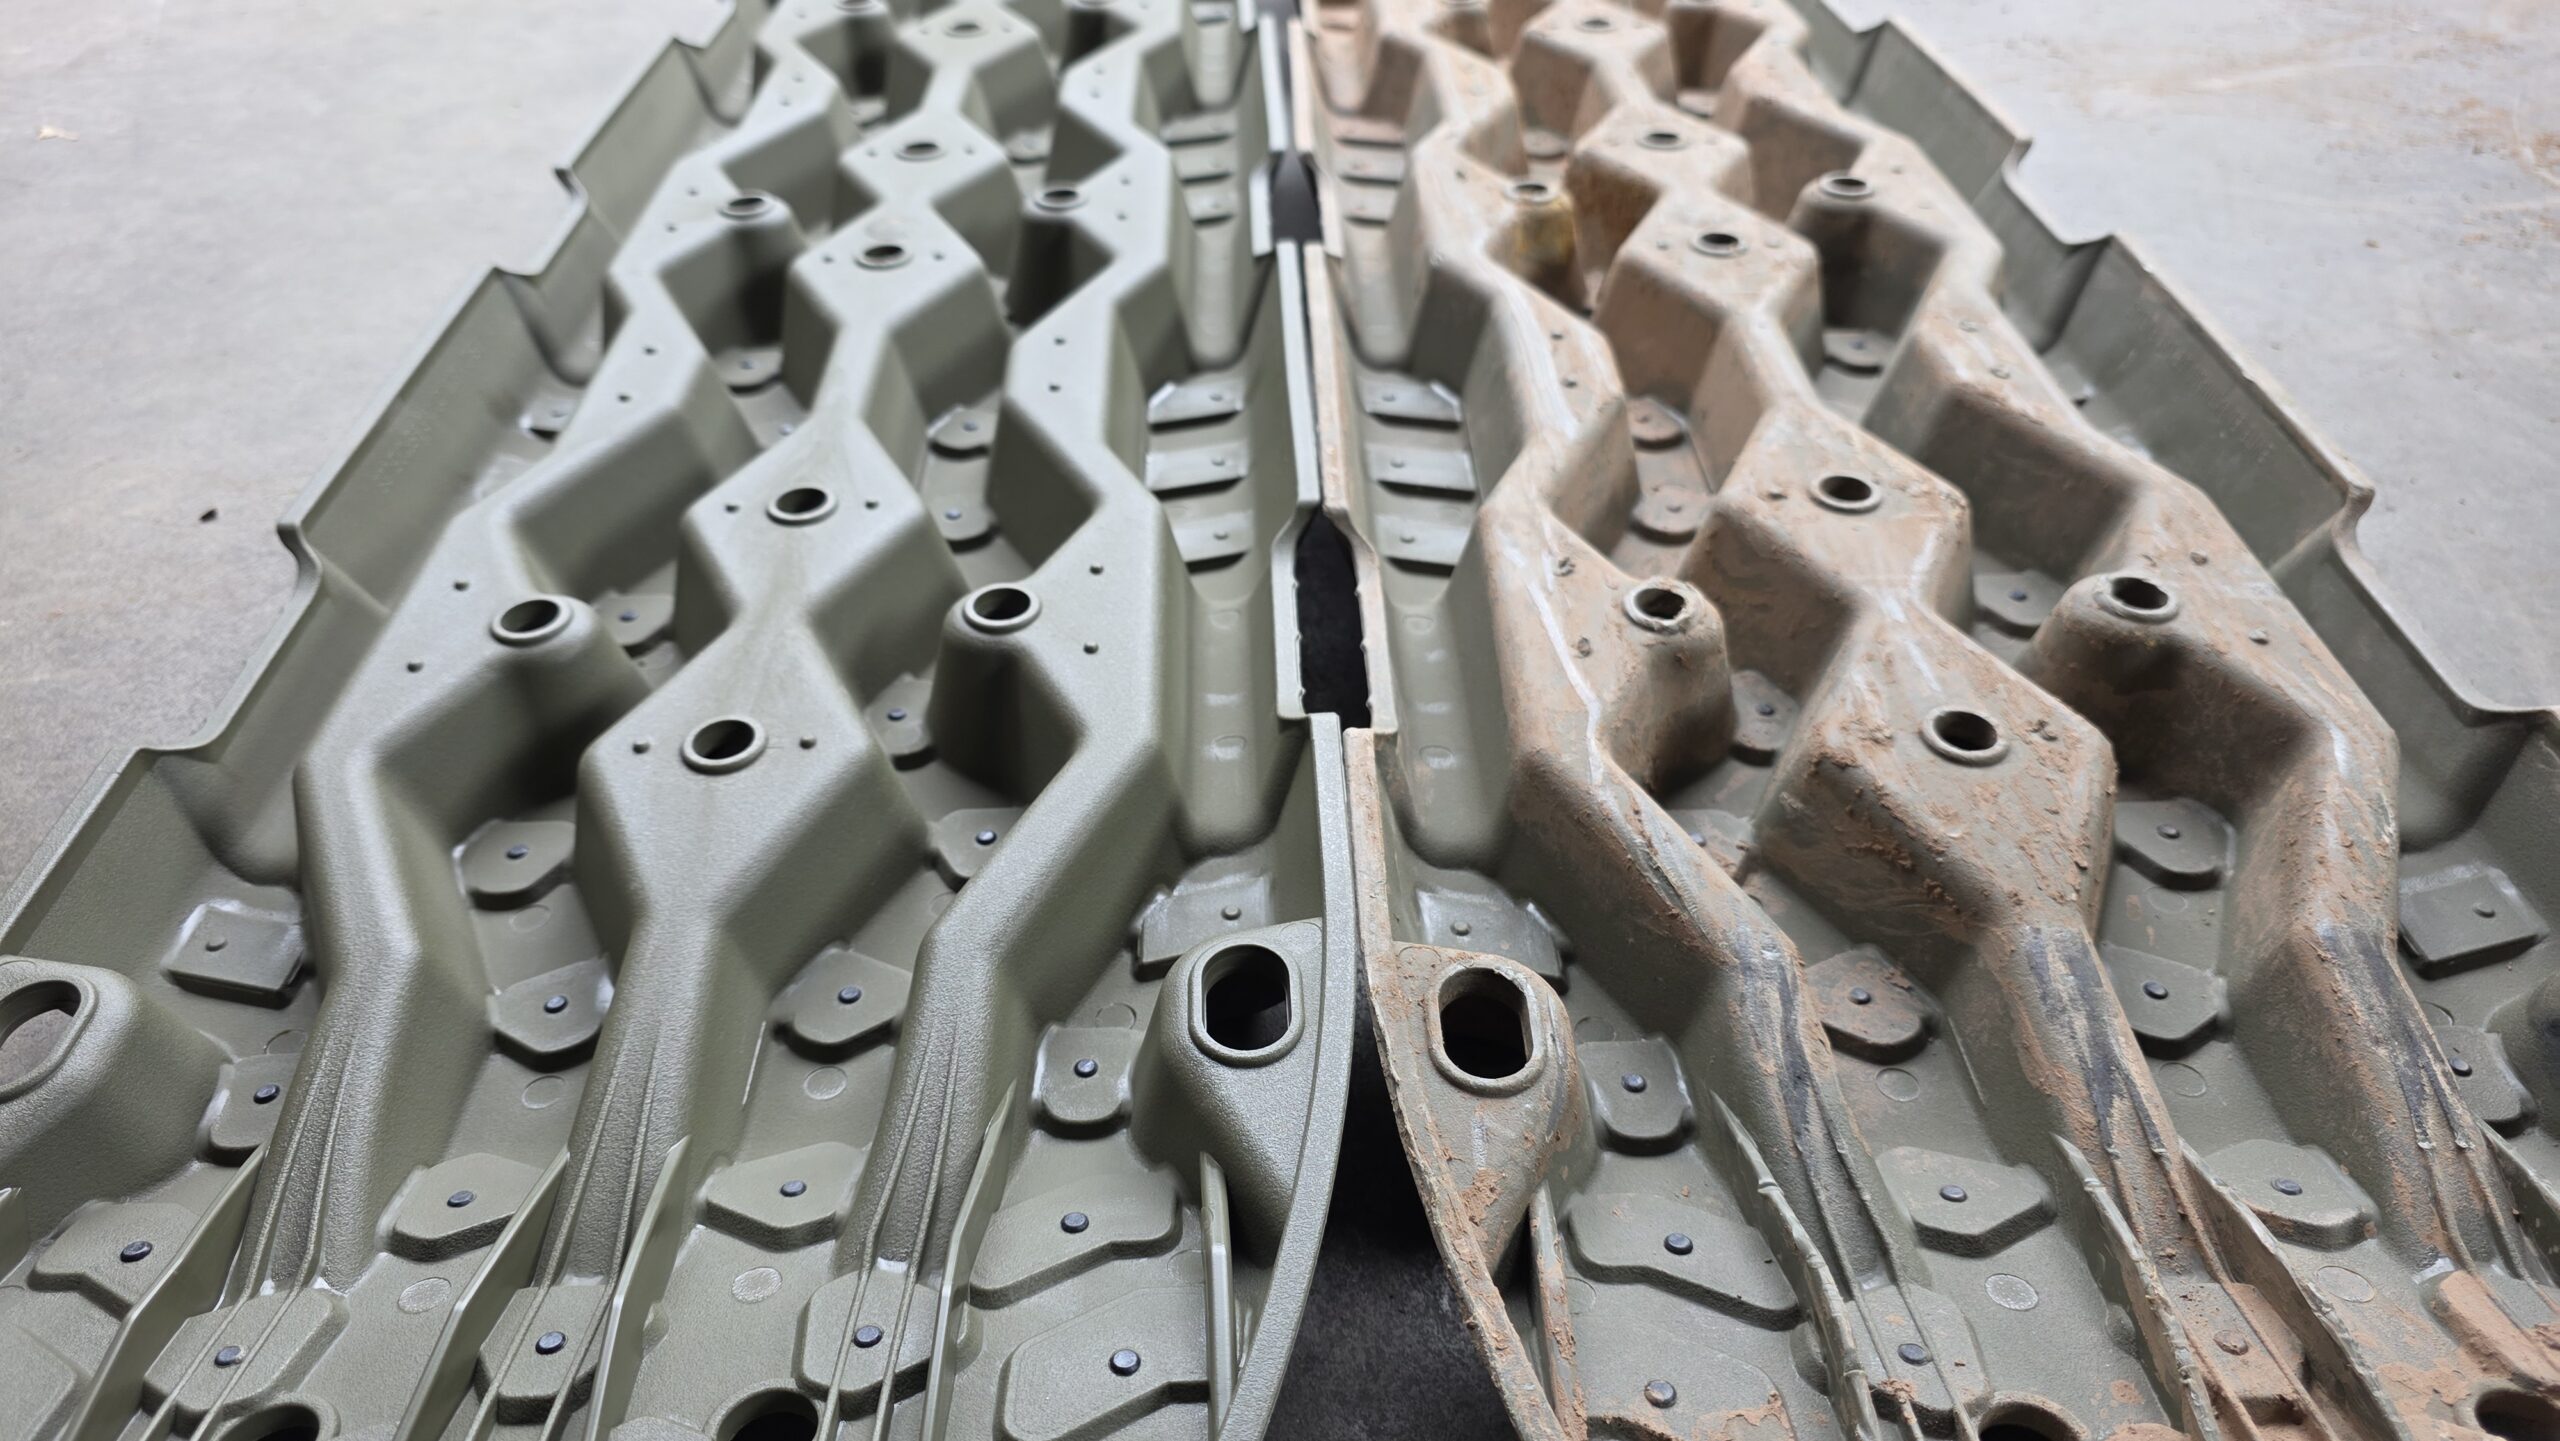
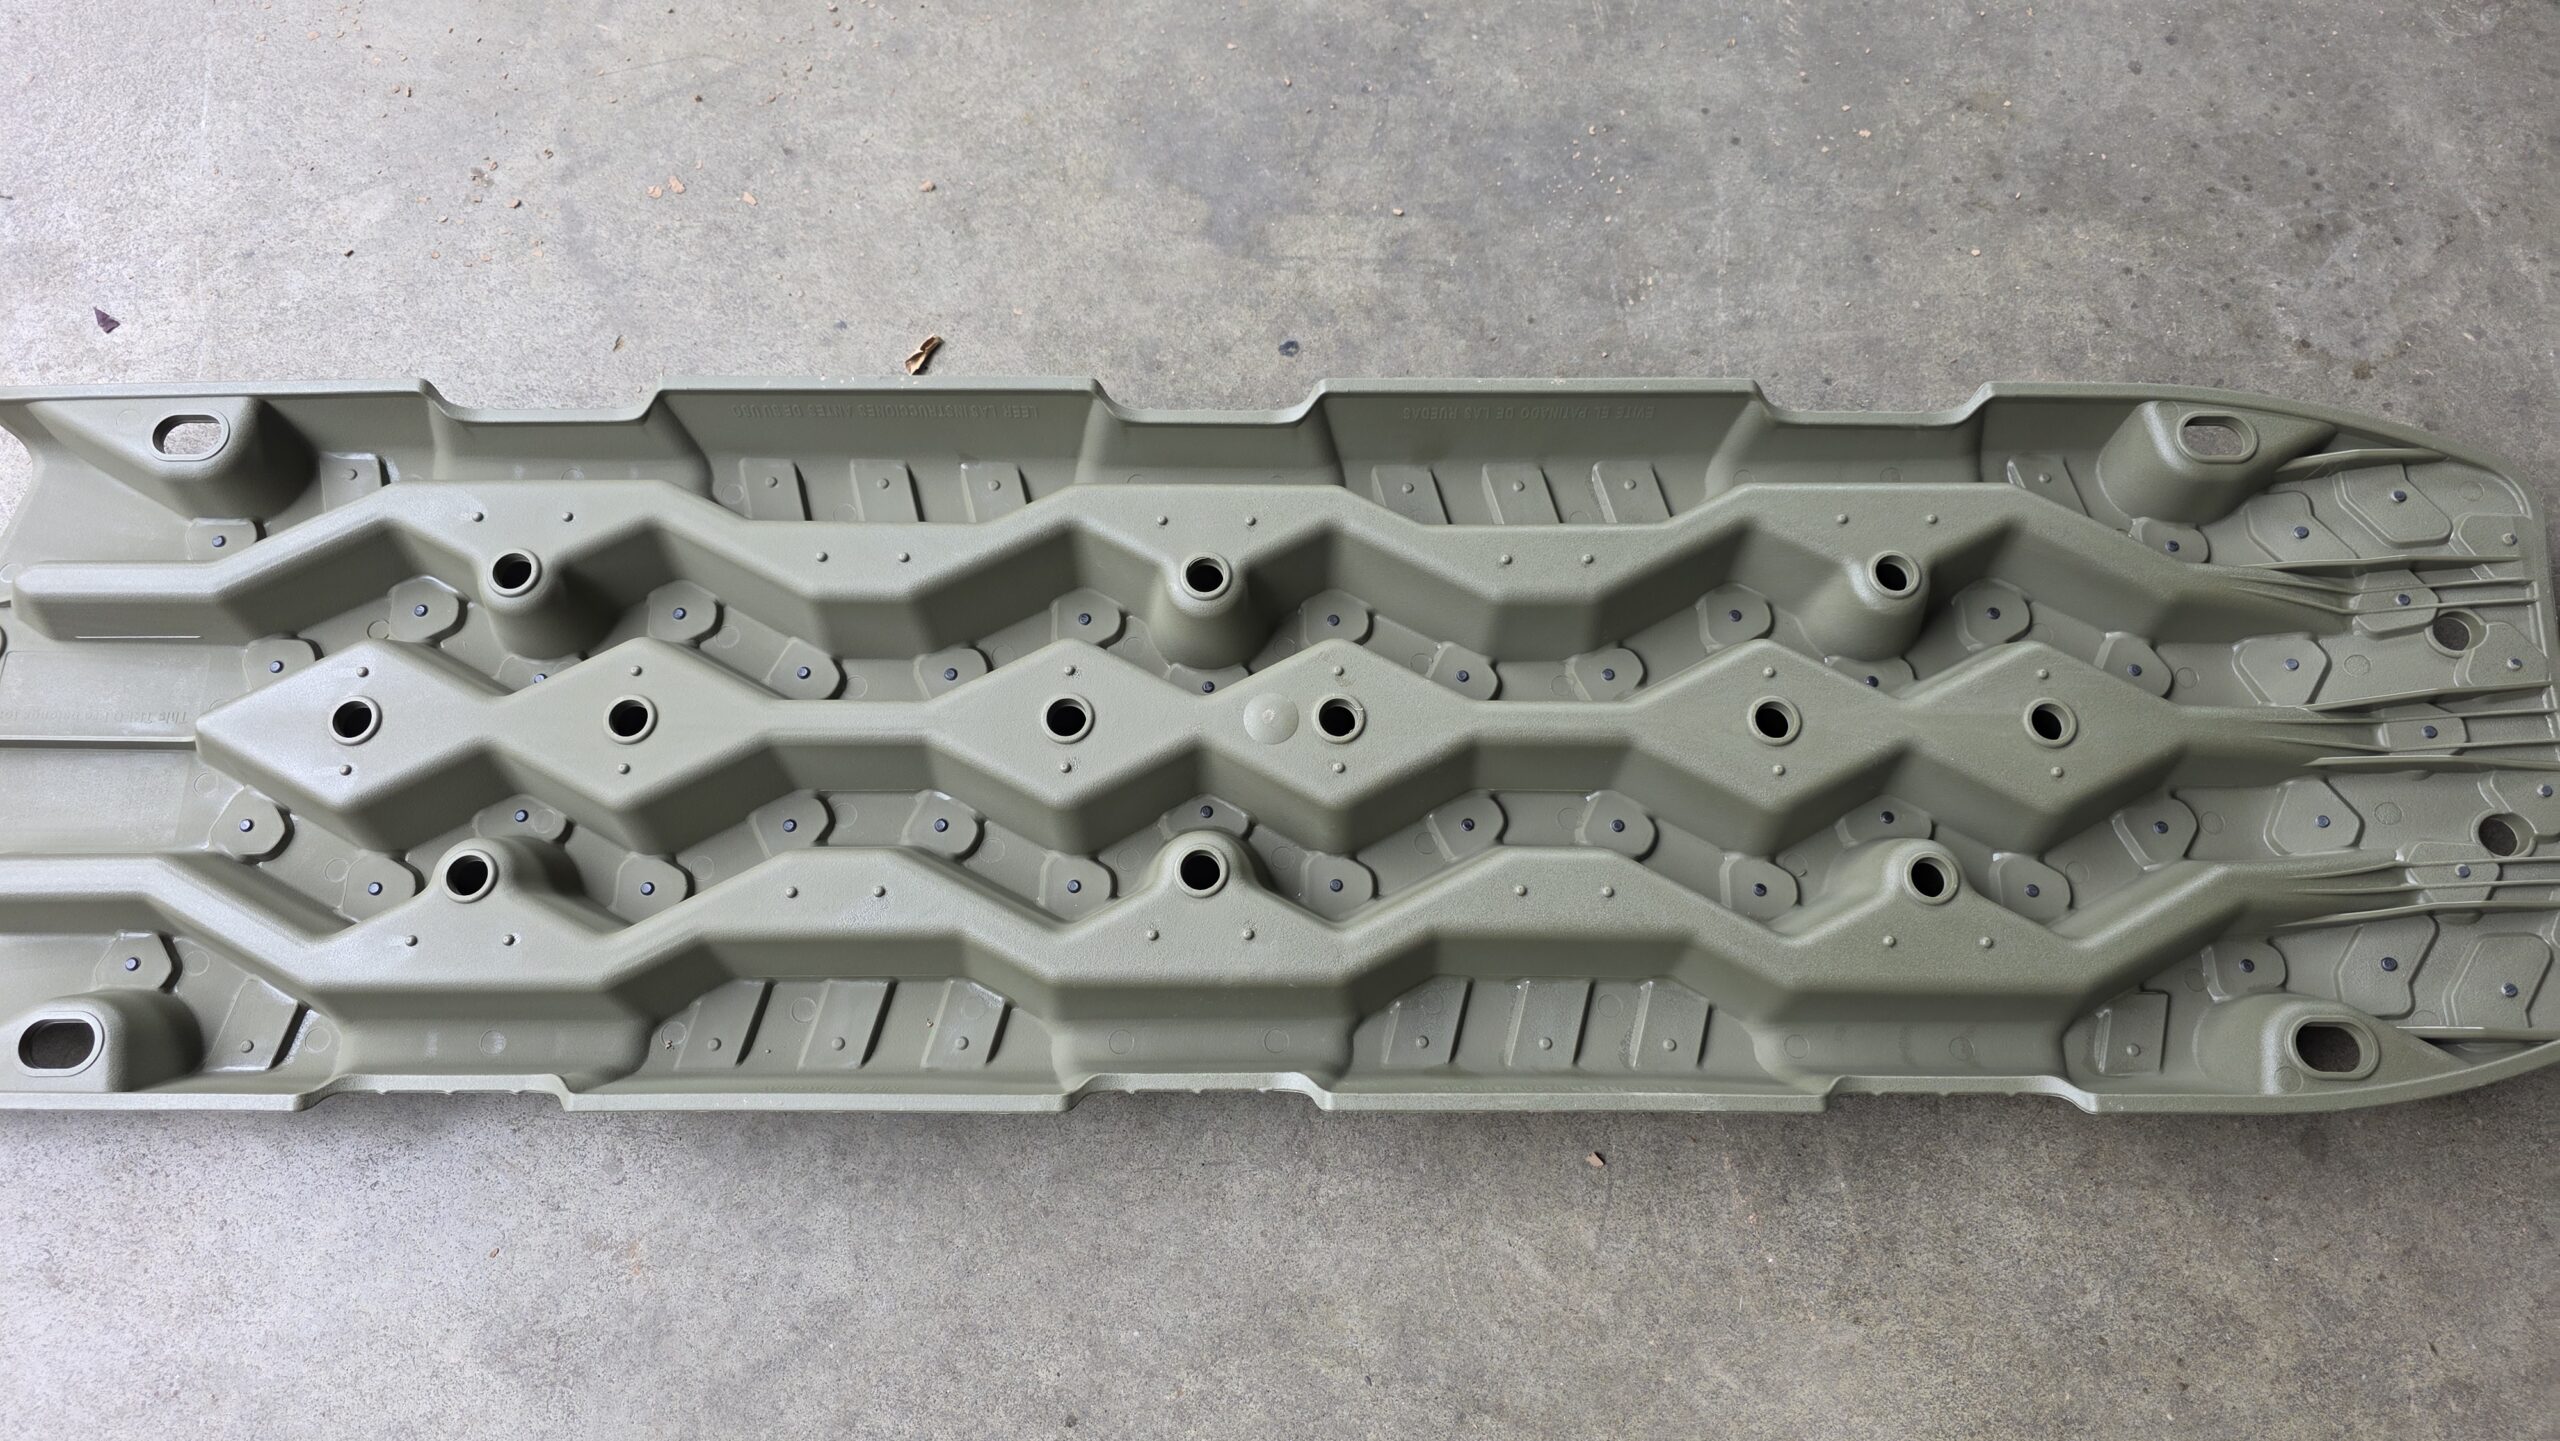
The Tred Pro behaved like the other boards. It stayed in place in both attempts and passed on good traction. The wheel was braked very early, so the vehicle accelerated and came over the board nicely.
Unexpectedly, the Tred Pro was more of a disappointment on the slope. It was pushed straight through under the vehicle, the vehicle didn’t get any further. That speaks for good grip to the tyre, but none to the ground. It’s the only board with no cross lugs on the underside. So it can probably find grip in sand, but not on wet, slippery ground.
The lugs on the top were all undamaged. The faster drive-on didn’t bother them either. Since it has no tread on the underside, it tends to get pushed out from under the vehicle, which stops the lugs from being damaged, because there’s no spinning on the top surface in the first place.
On the bridge the ARB Tred Pro seemed the most stable of all the plastic boards. Because we laid it on hard stands, it couldn’t sink in. That’s why it flips up when the tyre rolls off the high drive-off edge. At the long gap it bent to the ground, but stayed undamaged and returned to shape after a few minutes.
Nakatanenga Waffleboard
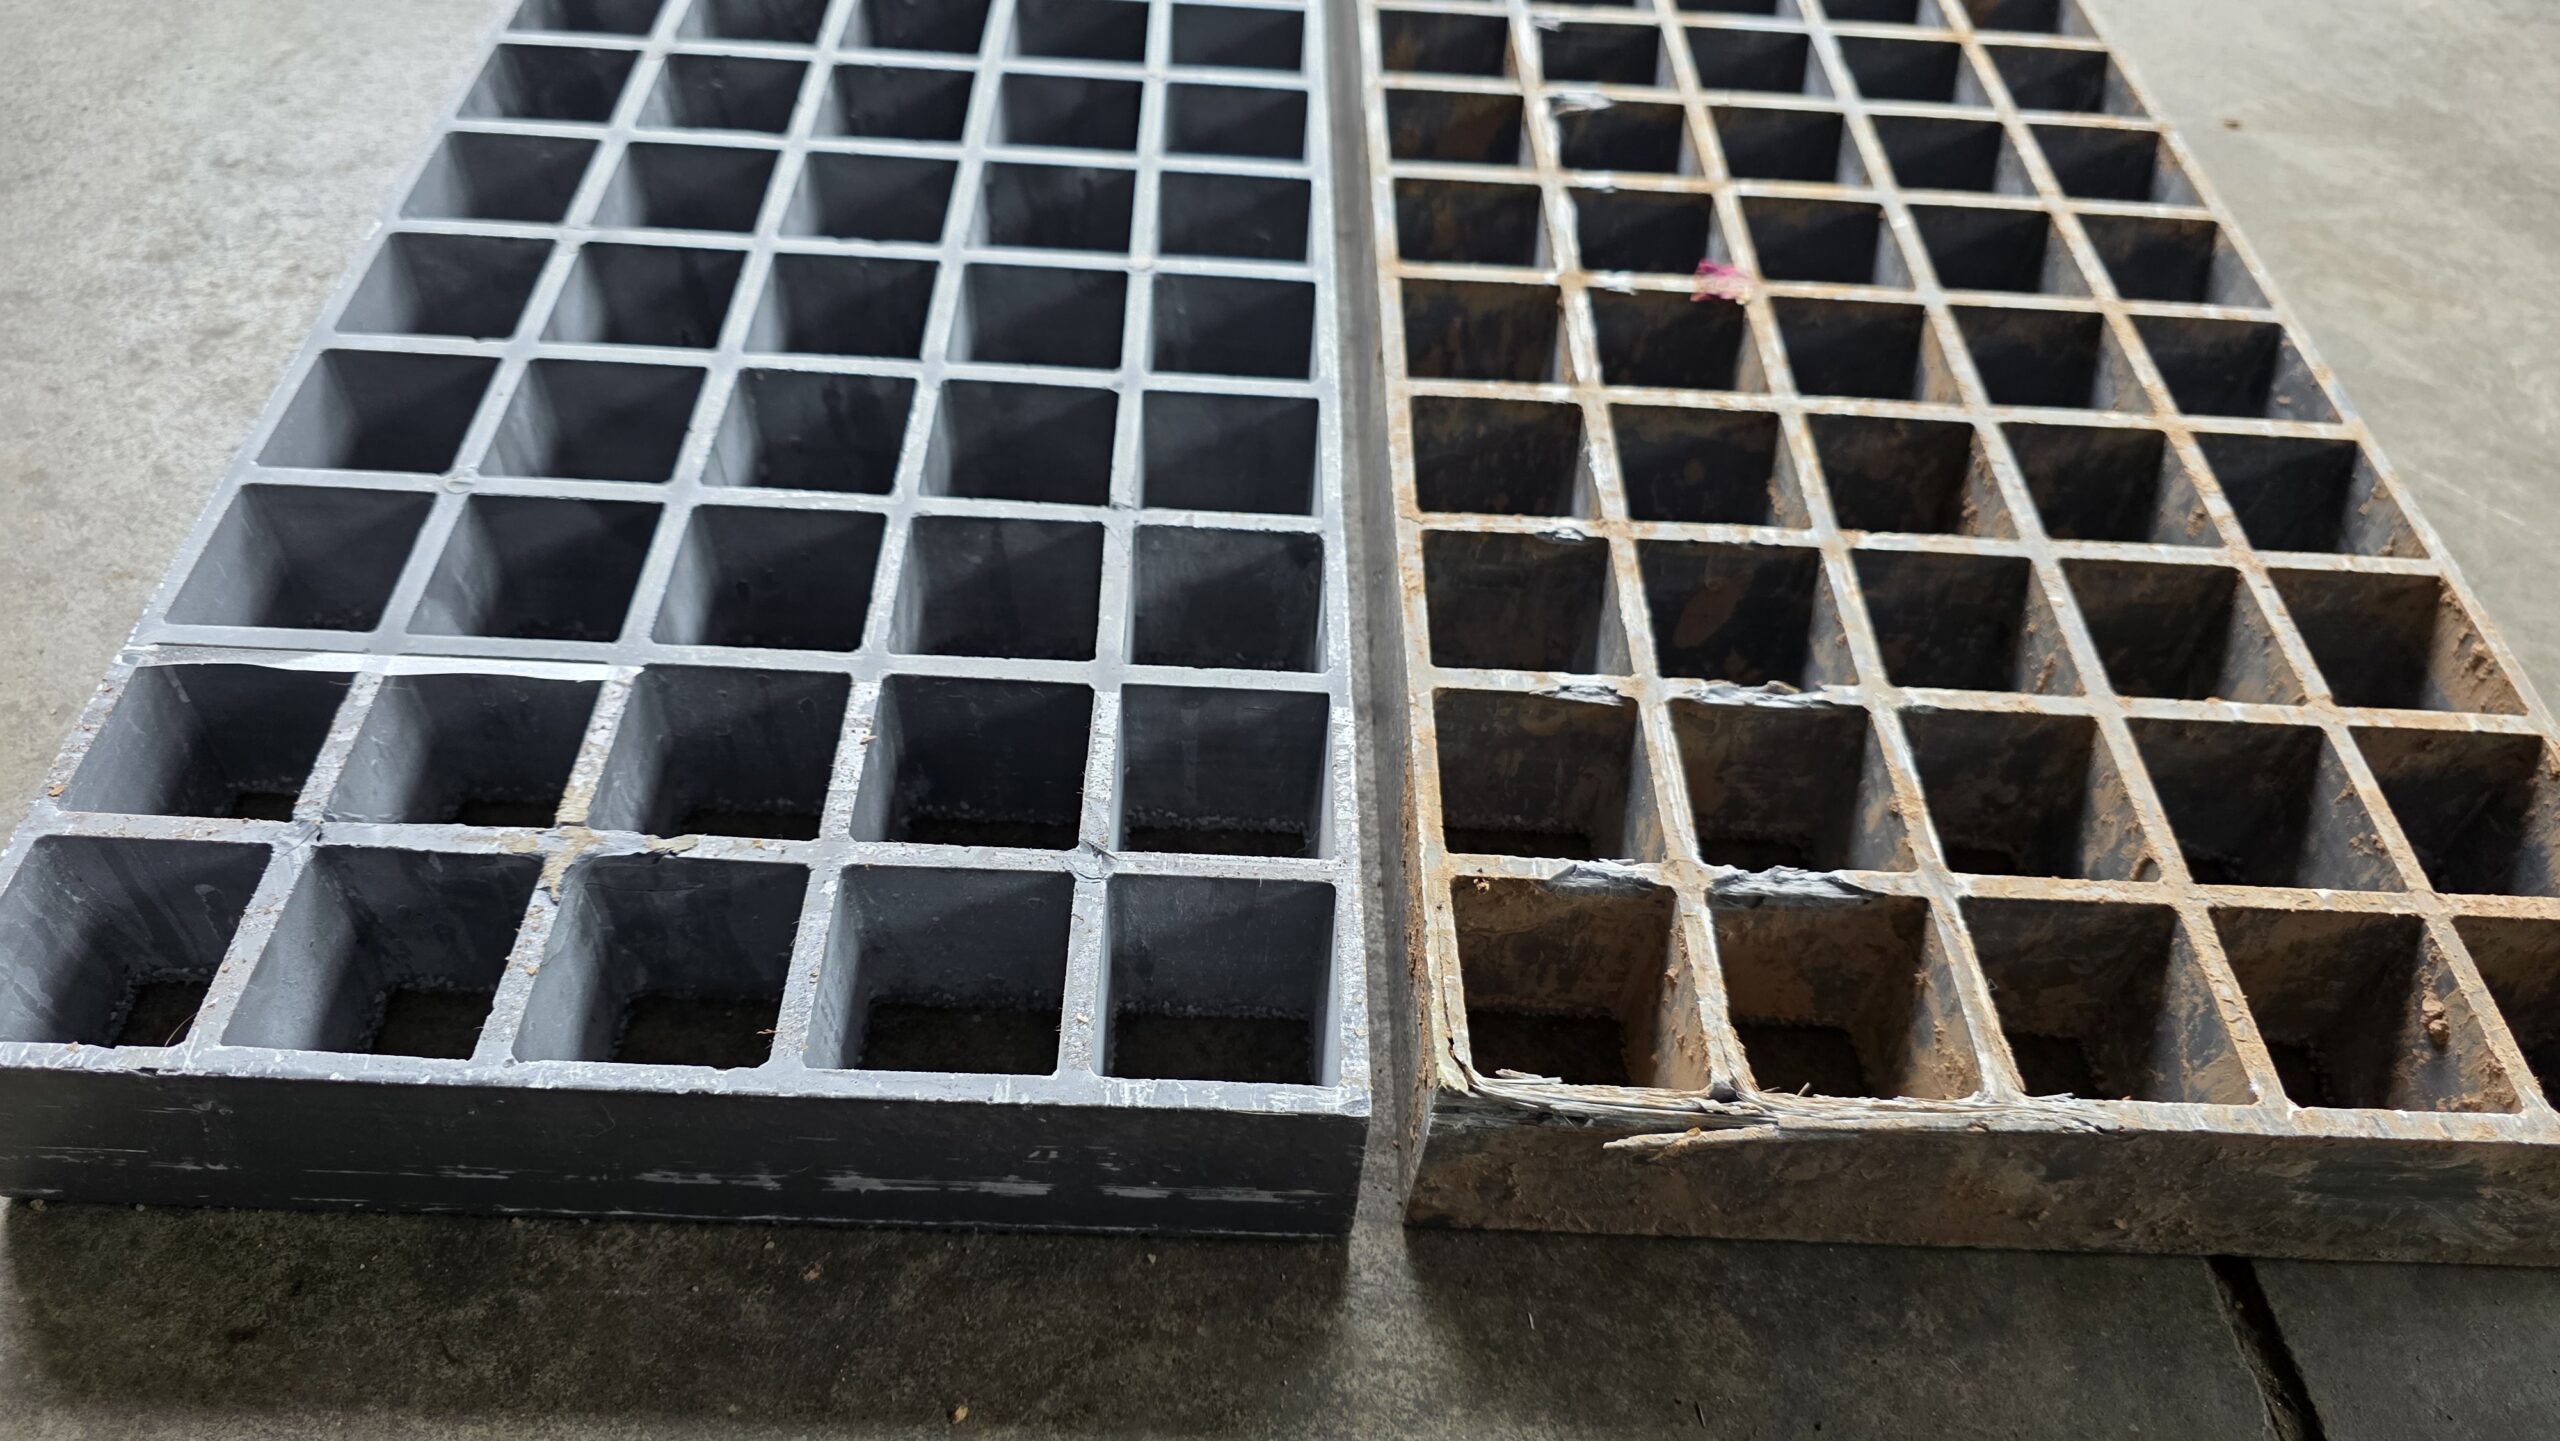
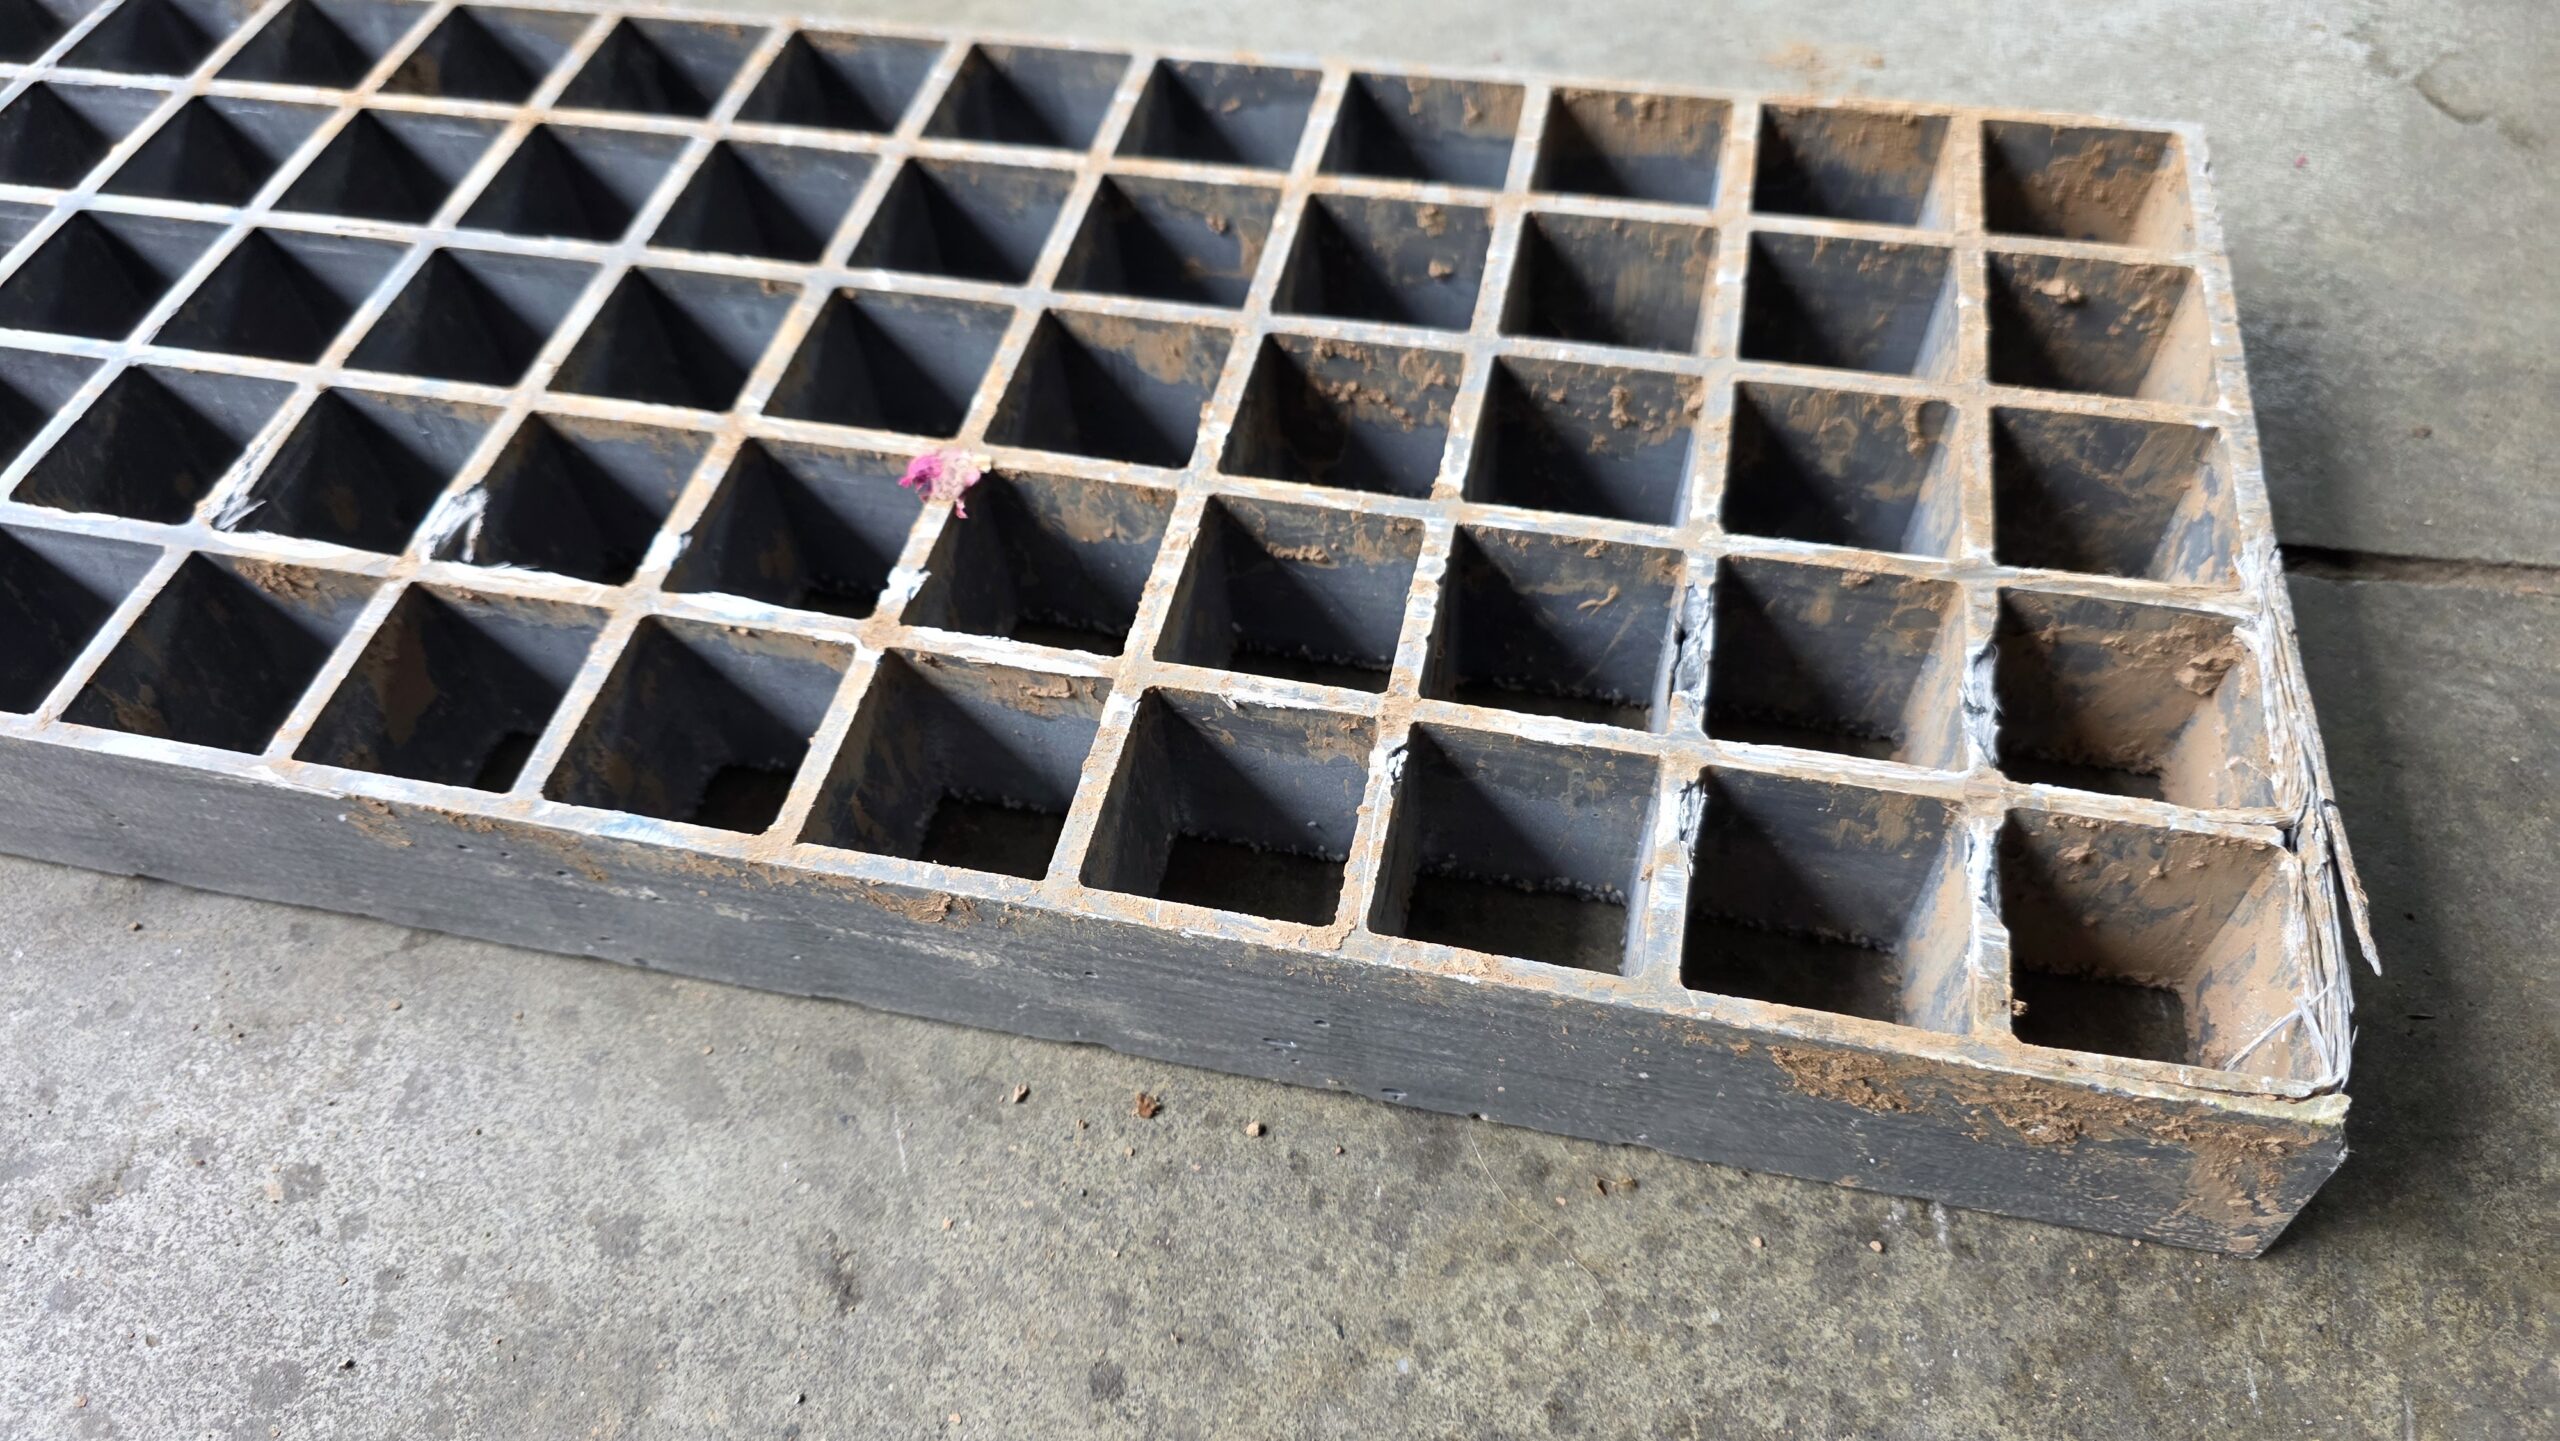
The Nakatanenga Waffleboard has one advantage over all the other boards: its length. It gets you further. It’s very stiff, so it moved up and down under the vehicle, and on driving on in particular it tends to rise at the far end. The slow test run showed no problems at all. Driving on fast, though, it was slightly damaged right at the first edge where the tyre bites. Small pieces of fibre tore out, it doesn’t really forgive wrong handling. Grip was very good, the wheel was braked at once. Depending on how it lies, it then rises up under the vehicle as you drive off.
On the slope it tended to flip up even more, because it has a high drive-on edge. Grip was good, and because it stood up again at the end, it then lost grip on the ground and got pushed through as well. But by then the vehicle was a good bit further on.
Driven over as a bridge, the Nakatanenga Waffleboard did extremely well. It didn’t bend. Once the front wheel was across, the board no longer lay flat, so the rear wheel didn’t rest on it fully and only ran over a narrow side part of the board (see video). It twisted a little in the process, but returned to its original shape at once.
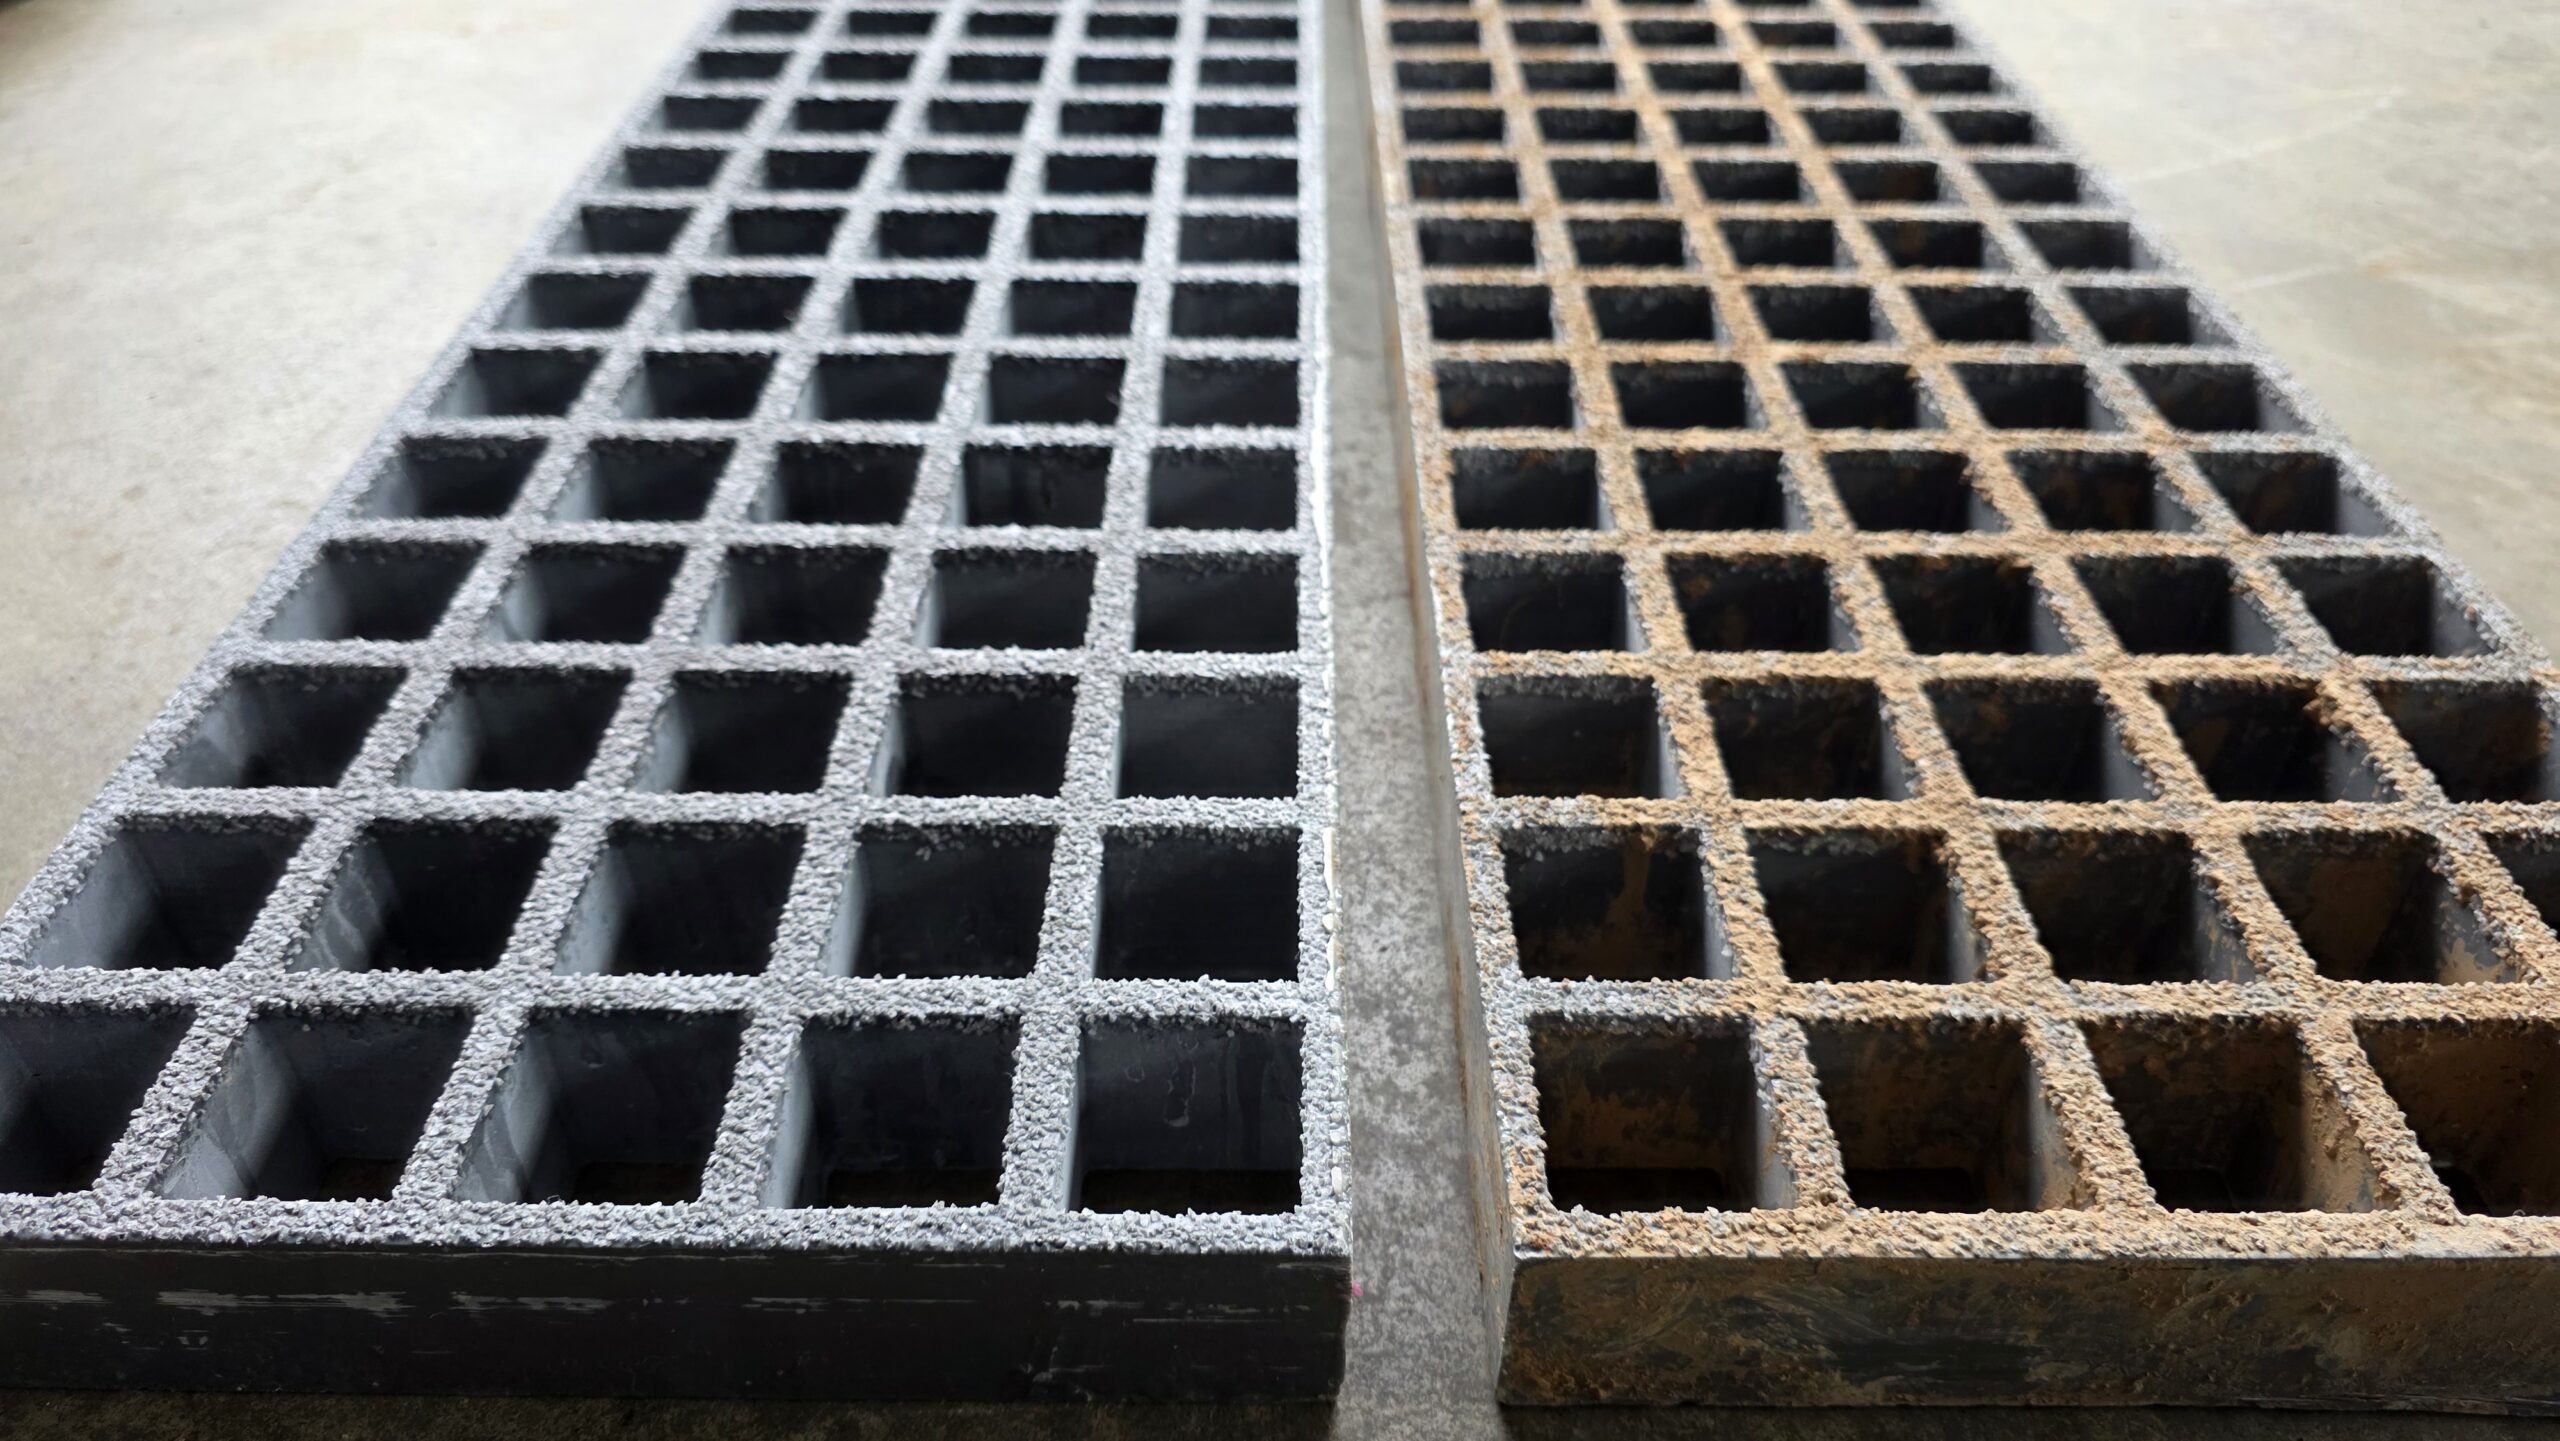
The board’s biggest drawback shows in mud. Once it’s been pressed into the mud, the individual holes are full of it. That makes the board really heavy and it’s a hassle to clean unless you happen to have a pressure washer.
Verdict and rating of the recovery boards
Which board would we favour in this part of the world?
- If we could name only one, the overall winner would be the GMB Mount Pionierblech H1300. The price for that is the second-highest weight and 189.50 euro each. But in return it proved the most versatile and the toughest.
- The winner, if you only look at plastic boards, would be the Maxtrax MKII / MK2, 312 euro a pair. It gave the best performance of all boards of this kind in our recovery board test.
- The value-for-money winner would be the Nakatanenga Maximum Traction. At 99.99 euro each you get a good, light recovery board.
As you can see, the choice may always come with compromises. But our recovery board test showed you details and criteria that help you make yours.