


This really is one of the nastiest things that can go wrong on the road, because it hits your safety directly: a broken brake line. How to repair a brake line on the road, and what you need for it, is what we explain in this article.
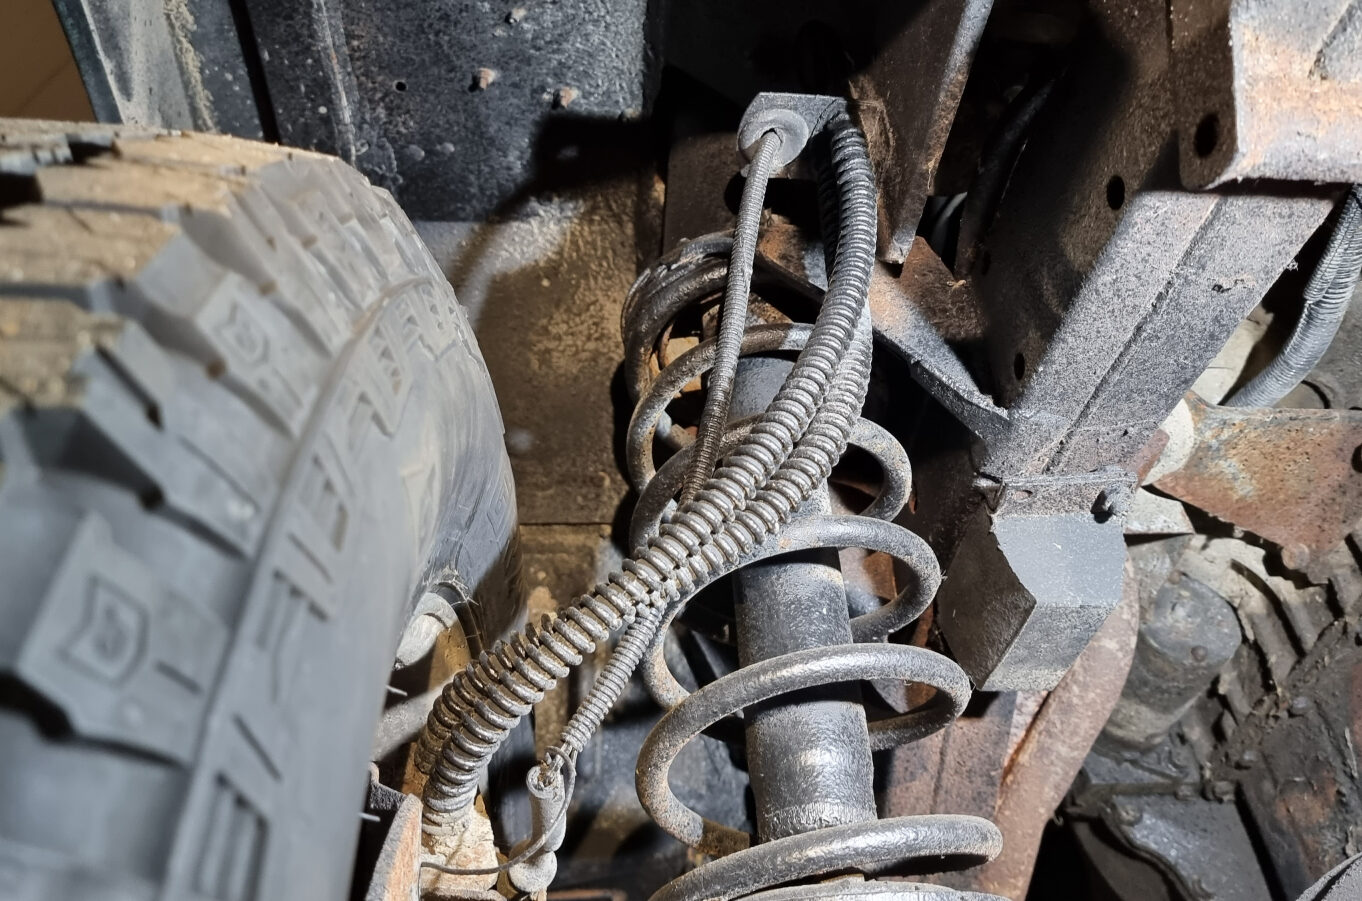
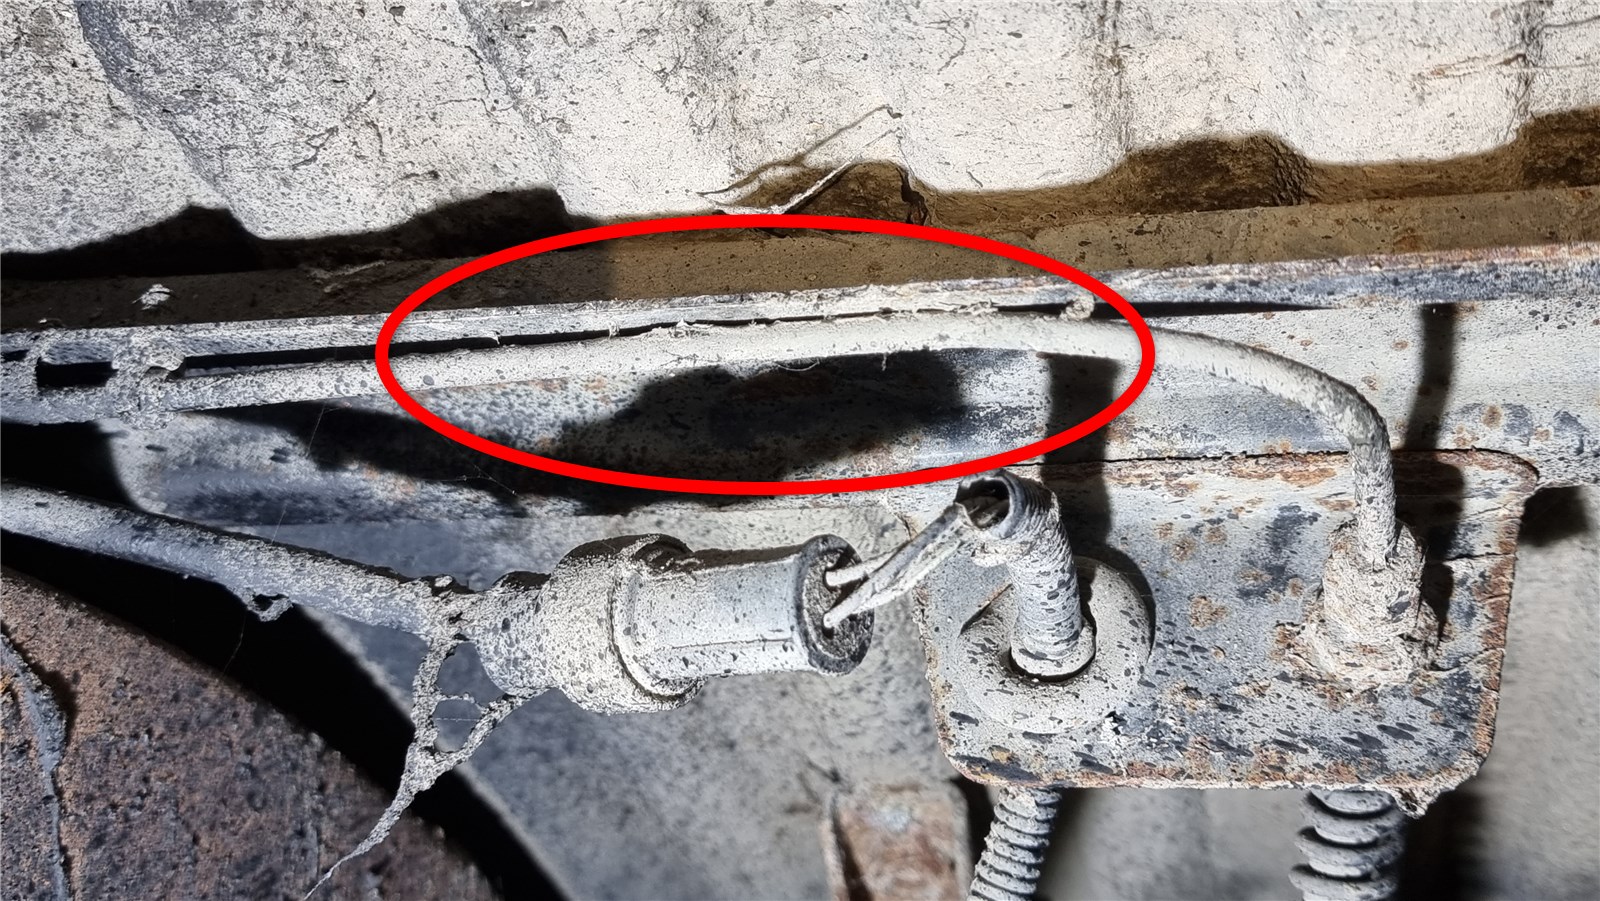
Brake lines do get damaged on trips and off-road. We’ve had cases like this ourselves, including the emergency repair that followed. The damage ranges from torn off to chafed through. The latter happens, for example, after repairs on axles where the lines didn’t go back into place properly, because old, hardened retaining clips broke unnoticed or the mounting rubbers had gone brittle and snapped off. As a result the brake line started to chafe. If something like that happens to you on the road, you have to repair the brake line.
Repairs to the brake system are highly safety-critical and, in your own interest, should only be done with great cleanliness and the right practical skill. As soon as you can reach a professional workshop, your bush repair should be checked and, if needed, redone. Depending on the type of repair, that is even mandatory.
Brake lines, the basics
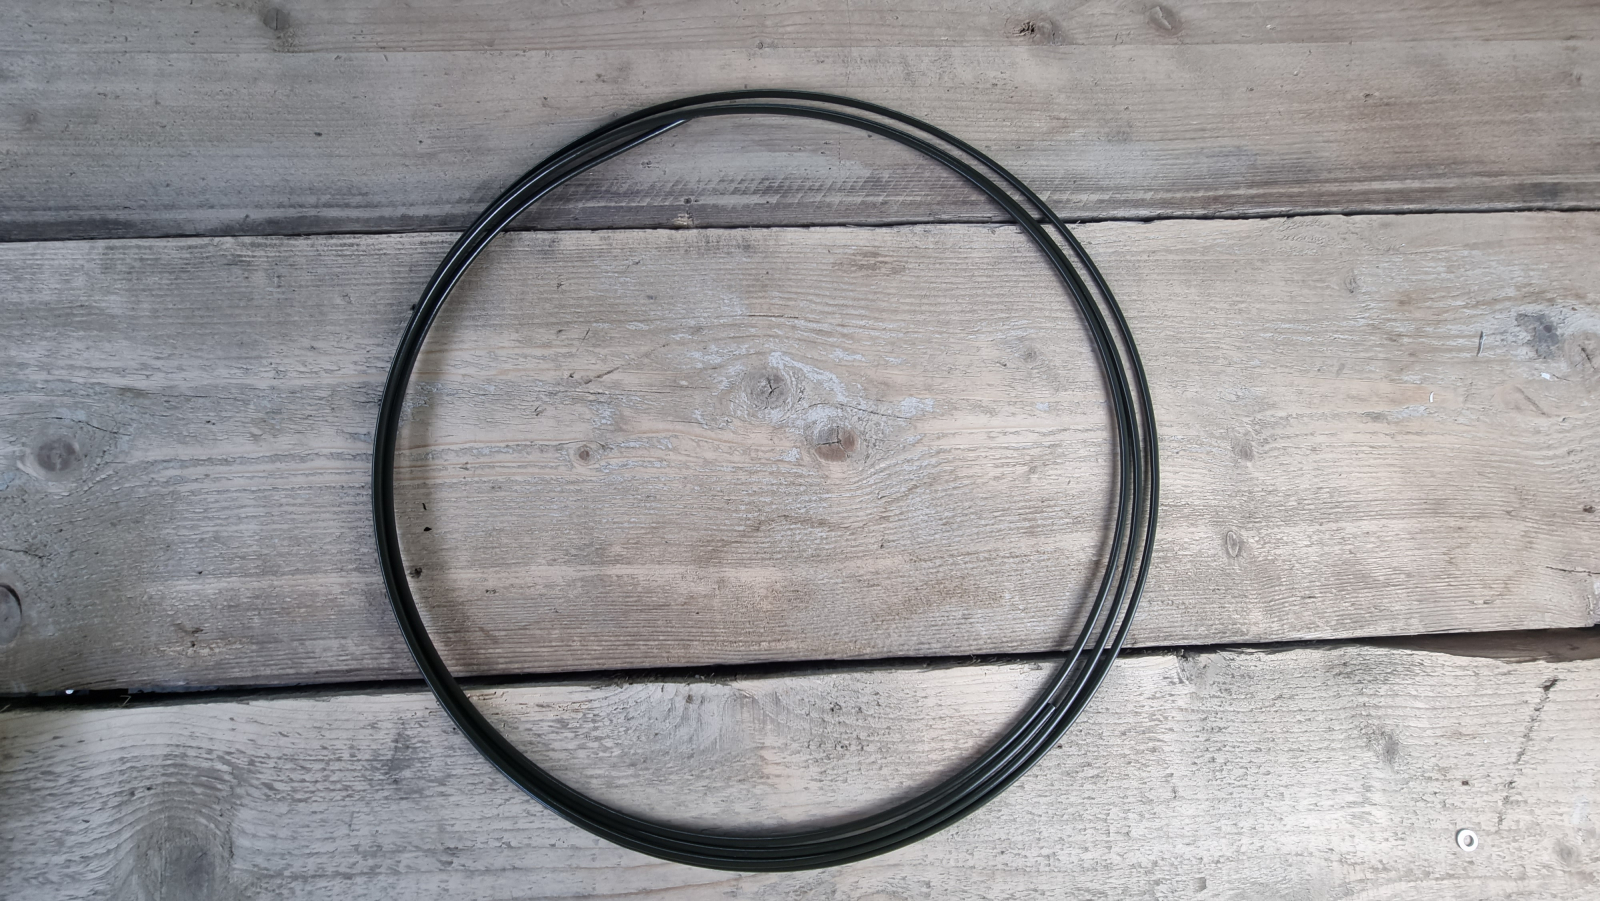
Brake lines are usually made of steel. But there are also CuNiFer lines on the market, which are comparatively soft, easier to work in every respect and rust-free. Steel, on the other hand, is sturdy but prone to rust and harder to work. Where steel lines used to be bare, they now come with a plastic coating, which is prone to cracks, though. Damaged spots should therefore be given corrosion protection straight away, otherwise the line rots away under the coating. The most common diameter on cars today is 4.75 mm (3/16″).
Watch out with CuNiFer
Brake lines are often sold as CuNiFer. CuNiFer is a made-up word standing for copper (Cu), nickel (Ni) and iron (Fe). This alloy is soft and therefore easy to work, and it is rust-free too. But CuNiFer is not approved across the board. The soft material has to withstand, for example, permanent pressures of up to 200 bar that can occur during braking. For the usual diameter of 4.75 mm, the standard for brake pipes, DIN 74234, requires the pipe to hold up to a burst pressure of 1100 bar.
If you want to use CuNiFer as a replacement line, the product has to come with a general operating permit (ABE) and instructions listing the exact working notes, bending radii and possible flare shapes. There are also limits on the maximum lengths. A brake system repaired with CuNiFer also has to be signed off by a test engineer or an officially recognised expert or inspector; it is a registrable modification to a safety-relevant vehicle system. It is about the flawless, standard-compliant workmanship and a check for approved material. A modification inspection under Section 19(3) StVZO (the German road-traffic licensing regulations) has to take place.
The DIN standard also states that CuNiFer lines have to be made of “CuNi10FE1Mn” to DIN 17664 (material number 2.0872). This is marked on the line with the print “DIN 74234”, which has to repeat along the whole length of the line.
For CuNiFer lines the following information has to be available:
- Proof of the general operating permit (ABE).
- The maximum clamping length.
- Maximum distance between the mounting and the cut point.
- The minimum and maximum torque of the flare connection.
- Permitted flare shapes to DIN 74234.
- Material to DIN 17664.
- Maximum bending radii and bending angles.
Flares
The tight connection of the lines is achieved by means of a flare that is pressed into a matching sealing seat. Flaring means bending over an edge, in this case the pipe edge of the brake line. As is always the way, there are of course several types. On classic cars in particular you still find flare types that have shown their weaknesses over time. Today you usually only find two types left: the DIN-F and the SAE-F flare, and the DIN-F flare has become the standard.
When sourcing the parts and working with brake lines, you always have to make sure to use the flare type that suits your vehicle. Because the sealing seats on all brake components are designed for that flare, whether on the master cylinder, the junctions or the wheel cylinders.

The different flare types
The most common flare shape on cars is DIN-F. On older vehicles it can also be the SAE-F or the E-flare. The Land Rover Defender, for example, uses the SAE-F flare. The DIN-F flare is the standard these days, because it removes a weakness of the SAE-F flare, the mushrooming of the flare nut. There, the lower cone of the flare can push open the thin corresponding rim of the nut. With the DIN-F, on the other hand, the flare nut sits flat on the flare. The double flare, which widens the steel pipe like a trumpet, is no longer usual today.
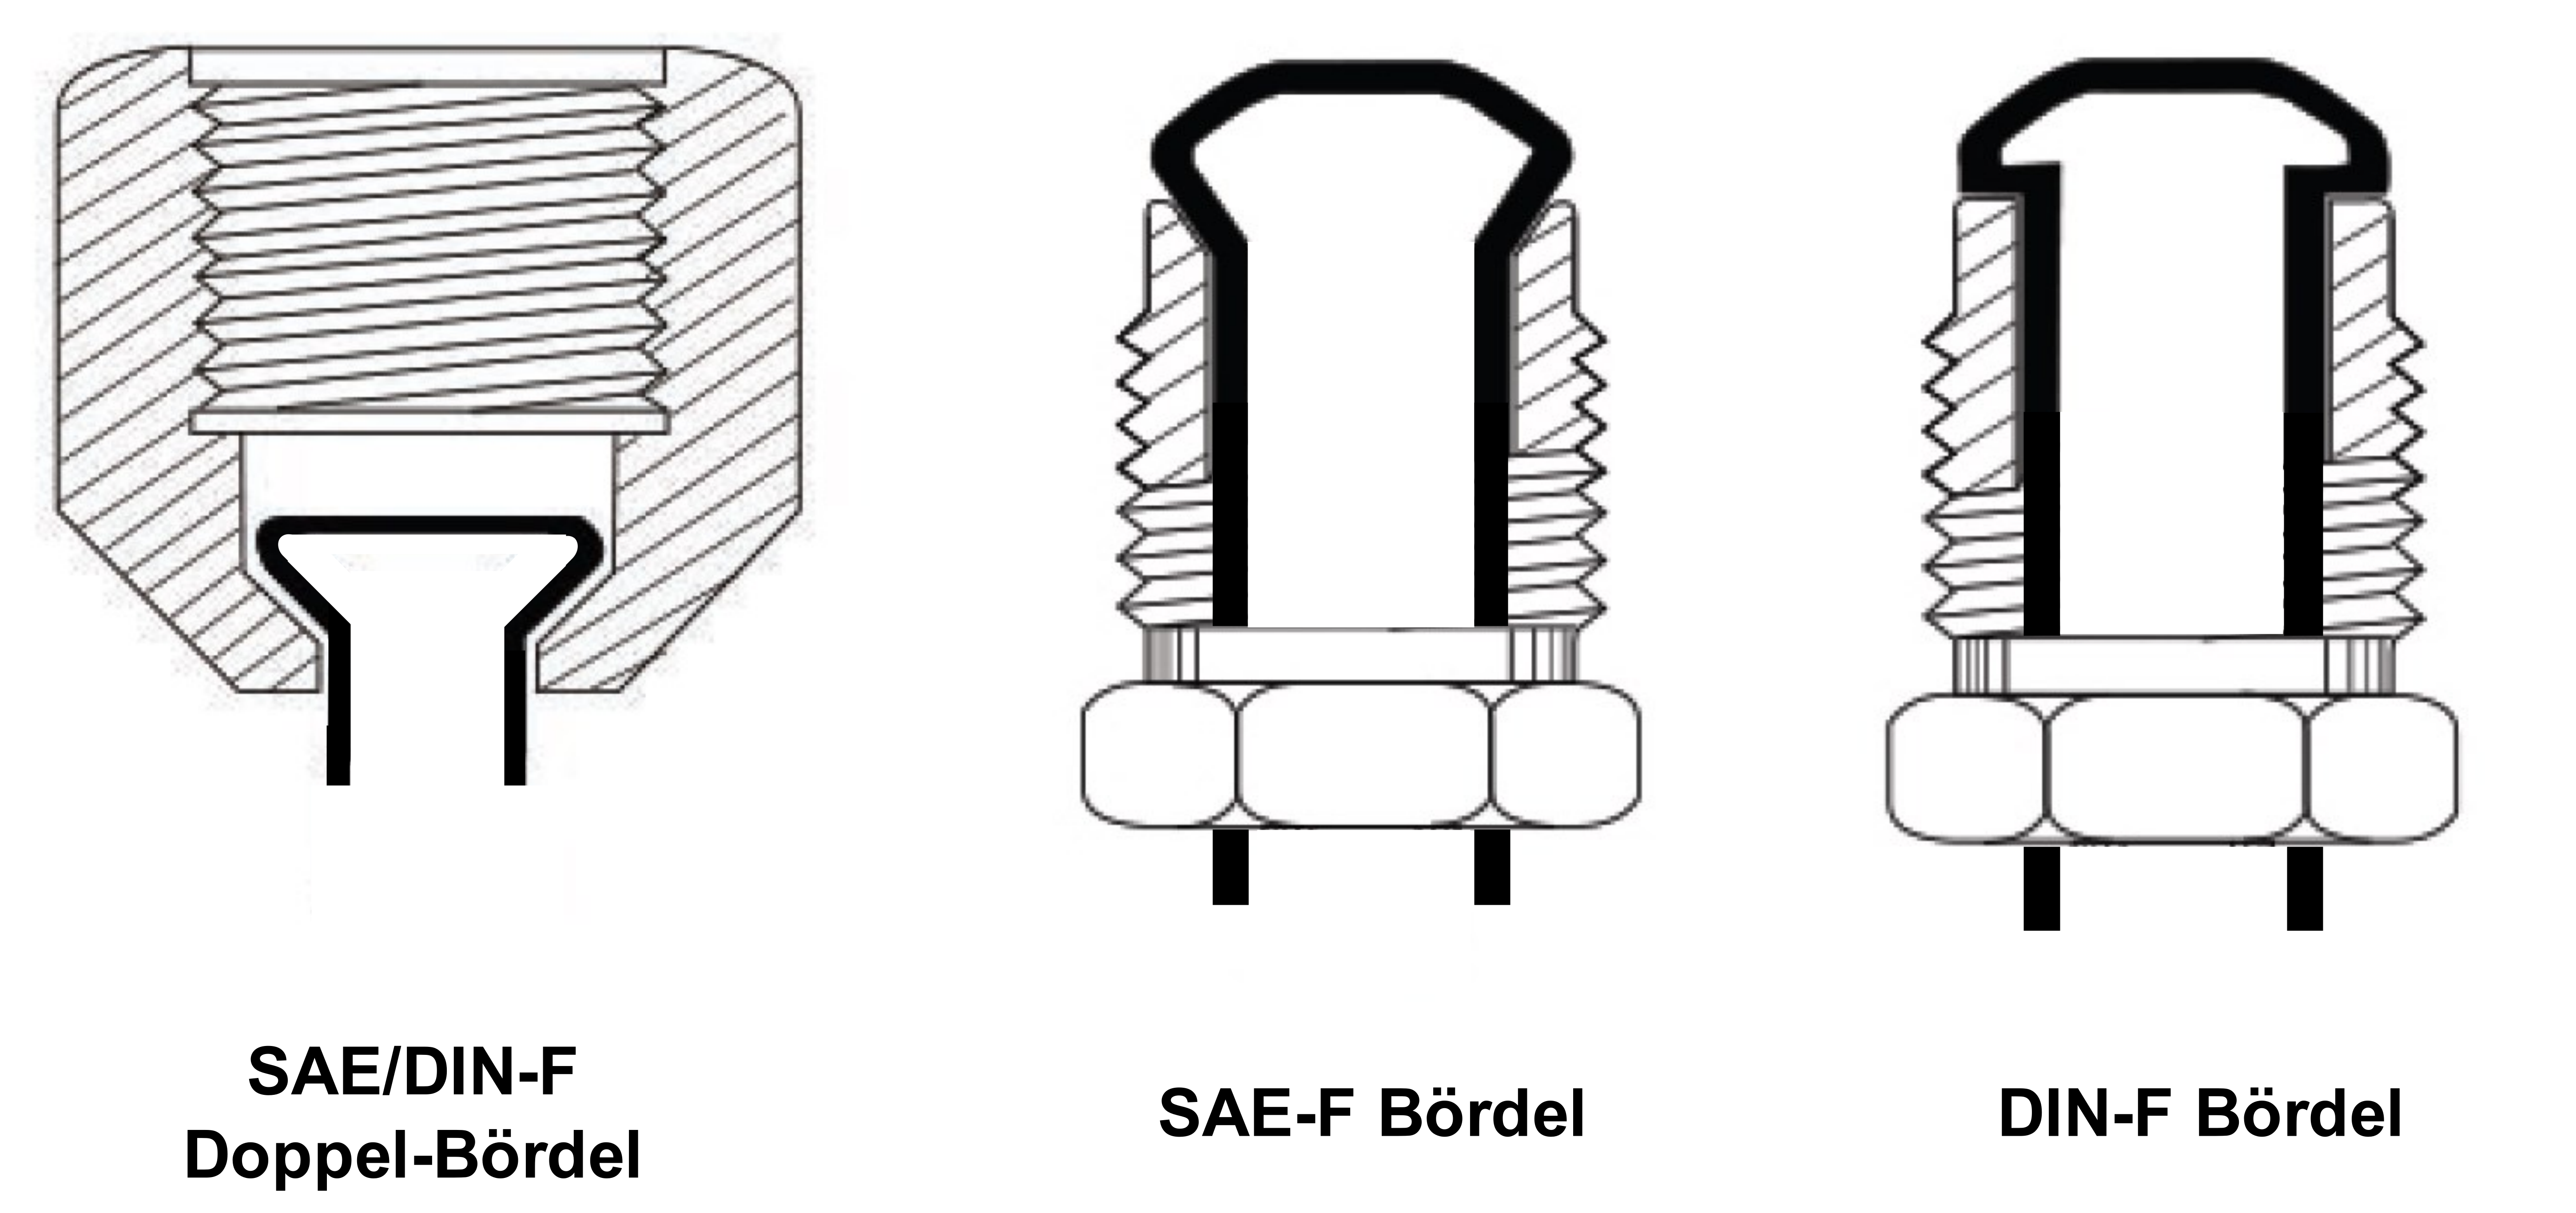
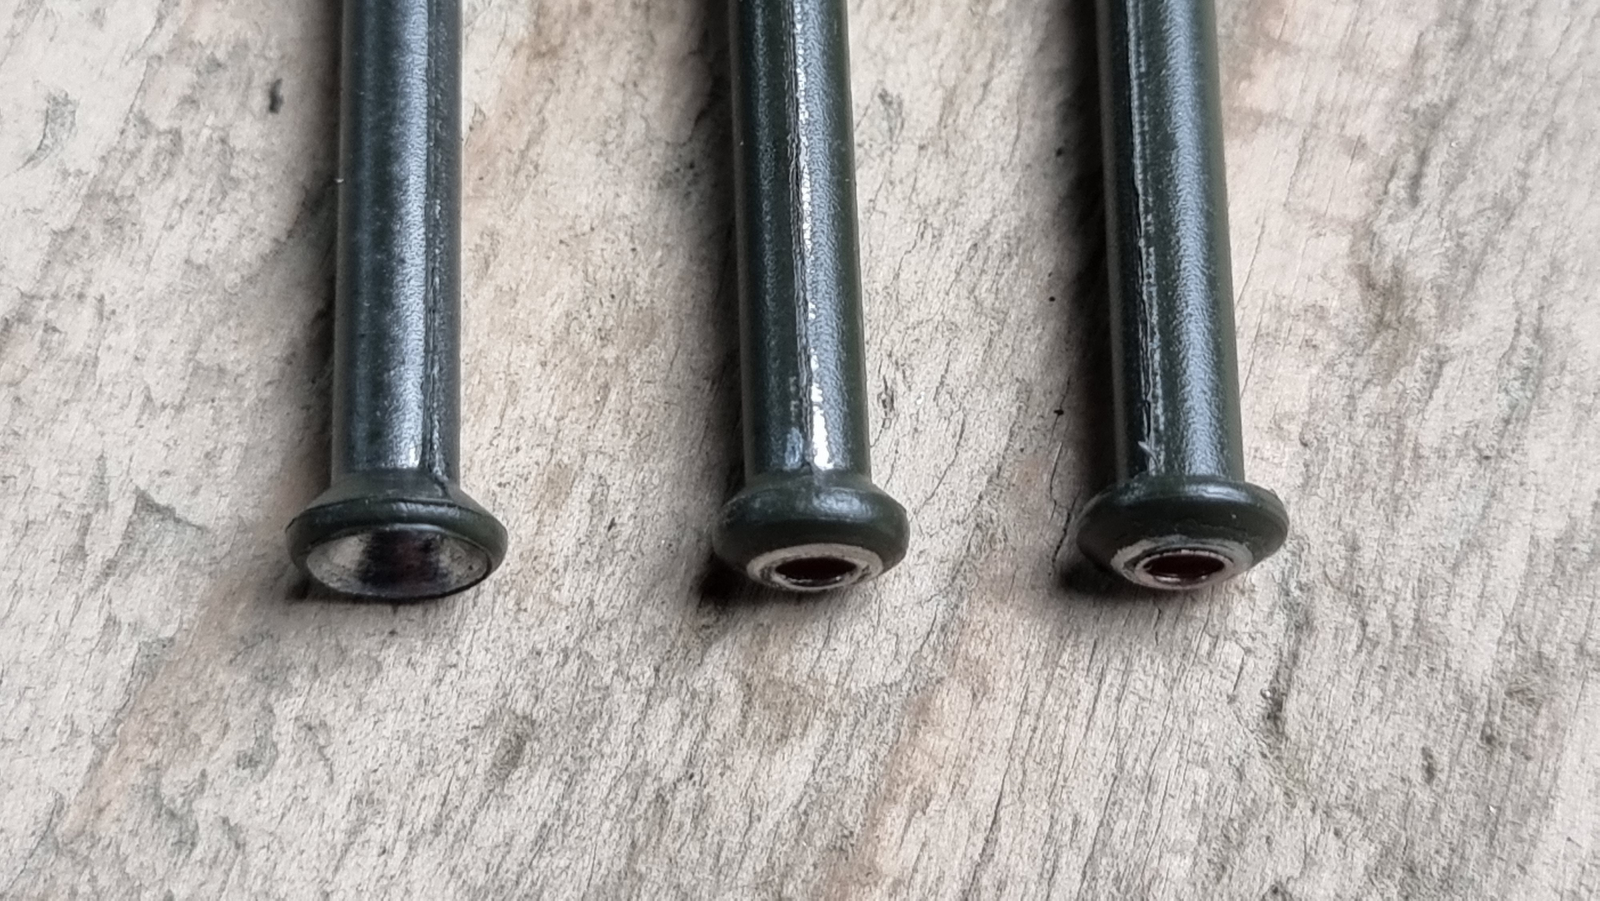
Here you see finished flared lines. You can also clearly make out the plastic coating of the steel line. The DIN flares are described in the standard DIN 74234.
Flare nuts
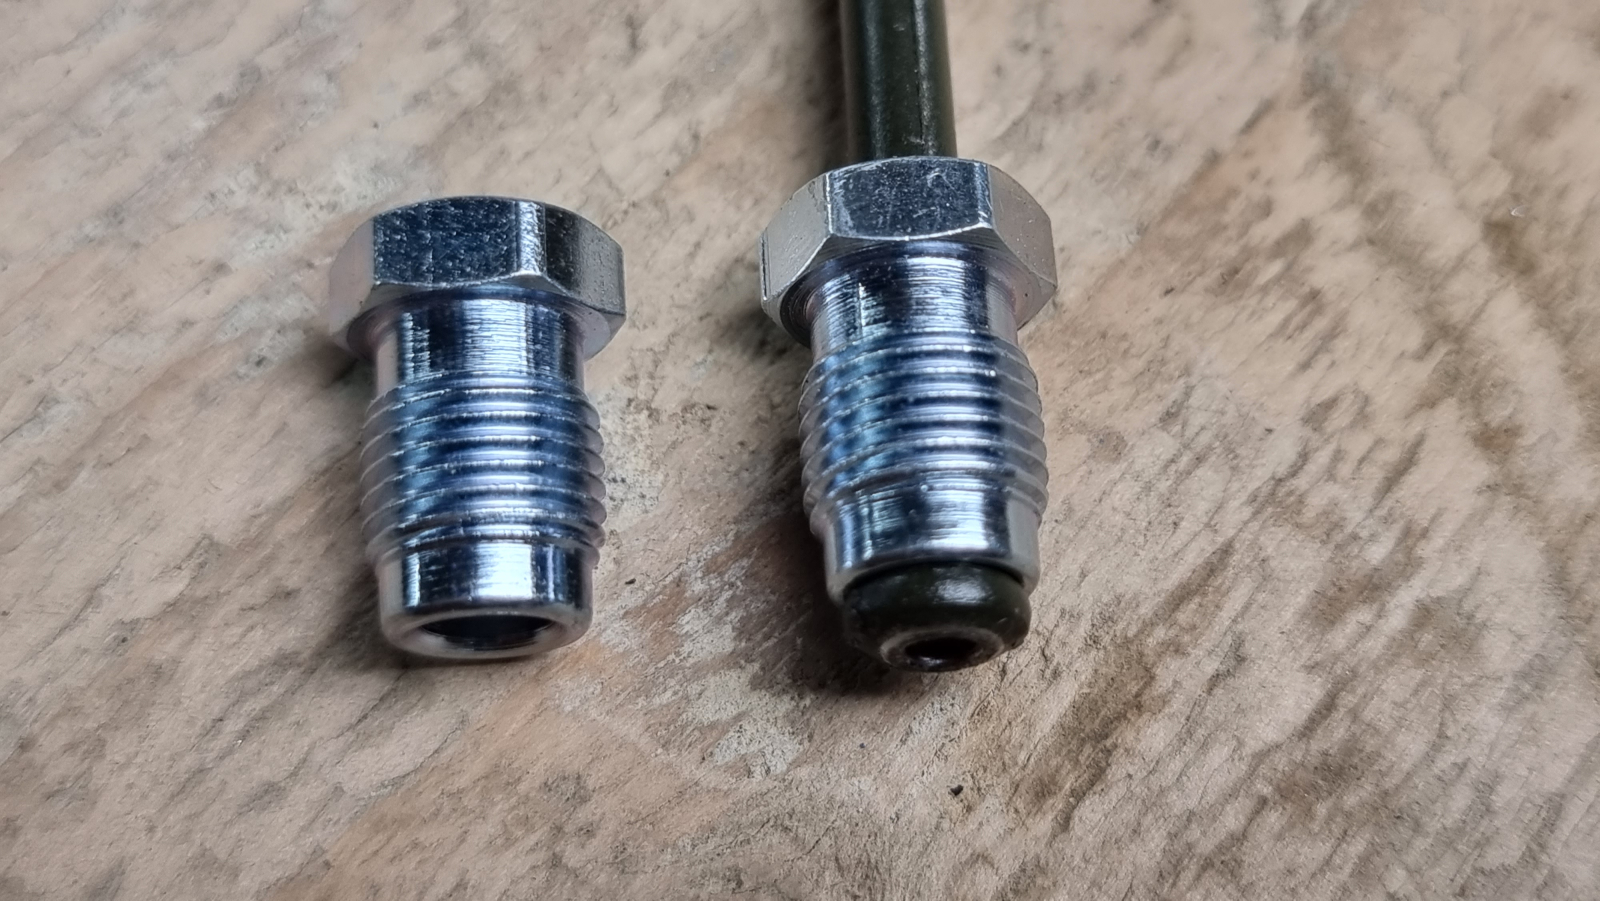
To connect brake lines, or to fasten them to the cylinder ports, you need flare nuts. The standard for them is DIN 74233. They have to match the line diameter, the flare type and the thread of the ports (master cylinder, wheel cylinder and unions), and on one vehicle they are usually the same throughout. In most cases, a 4.75 mm diameter means an M10 thread.
Besides the distinction between metric and imperial thread, there are flare nuts without a guide and with a guide. Without a guide means the thread runs to the end of the nut. On flare nuts with a guide the thread only starts later, as you can see in the picture. On the SAE-F flare nut shown below you can clearly see the guide and the cone, against which the conical back of the SAE-F flare presses.
On older vehicles with a dual-circuit brake system you may also find two different diameters of flare nut. That was done to prevent the two circuits from being mixed up. It’s best to check the workshop manual. Such quirks can also be spotted in the spare-part descriptions, for example of the master cylinder, if they are well described.
Unions
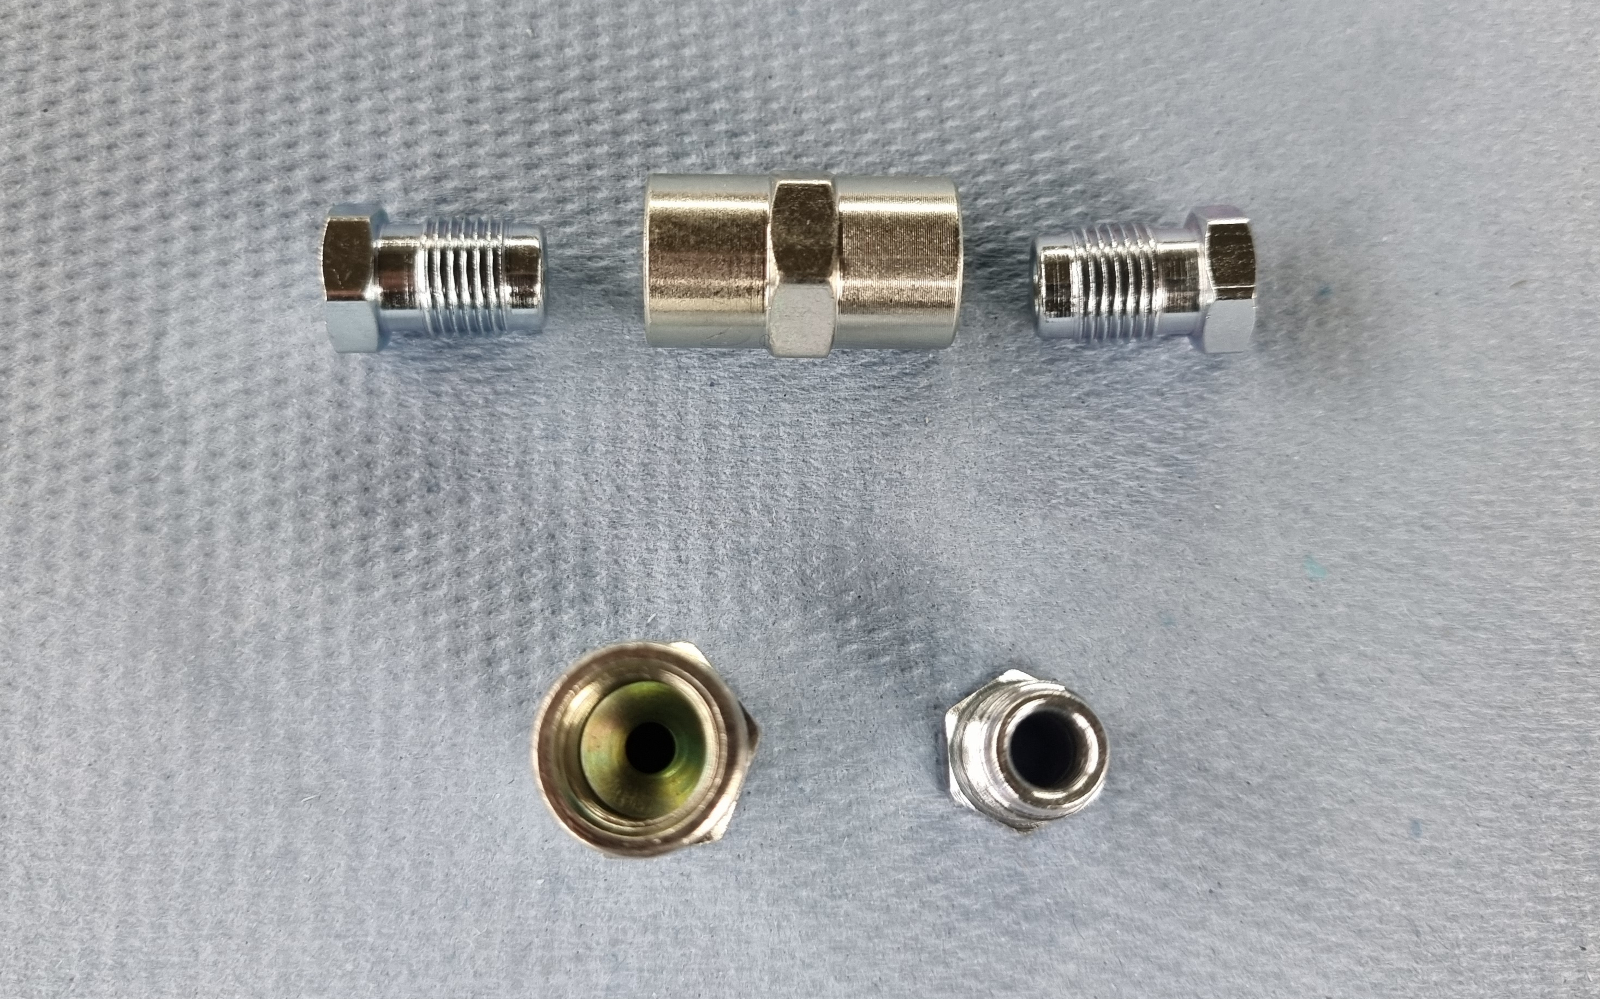
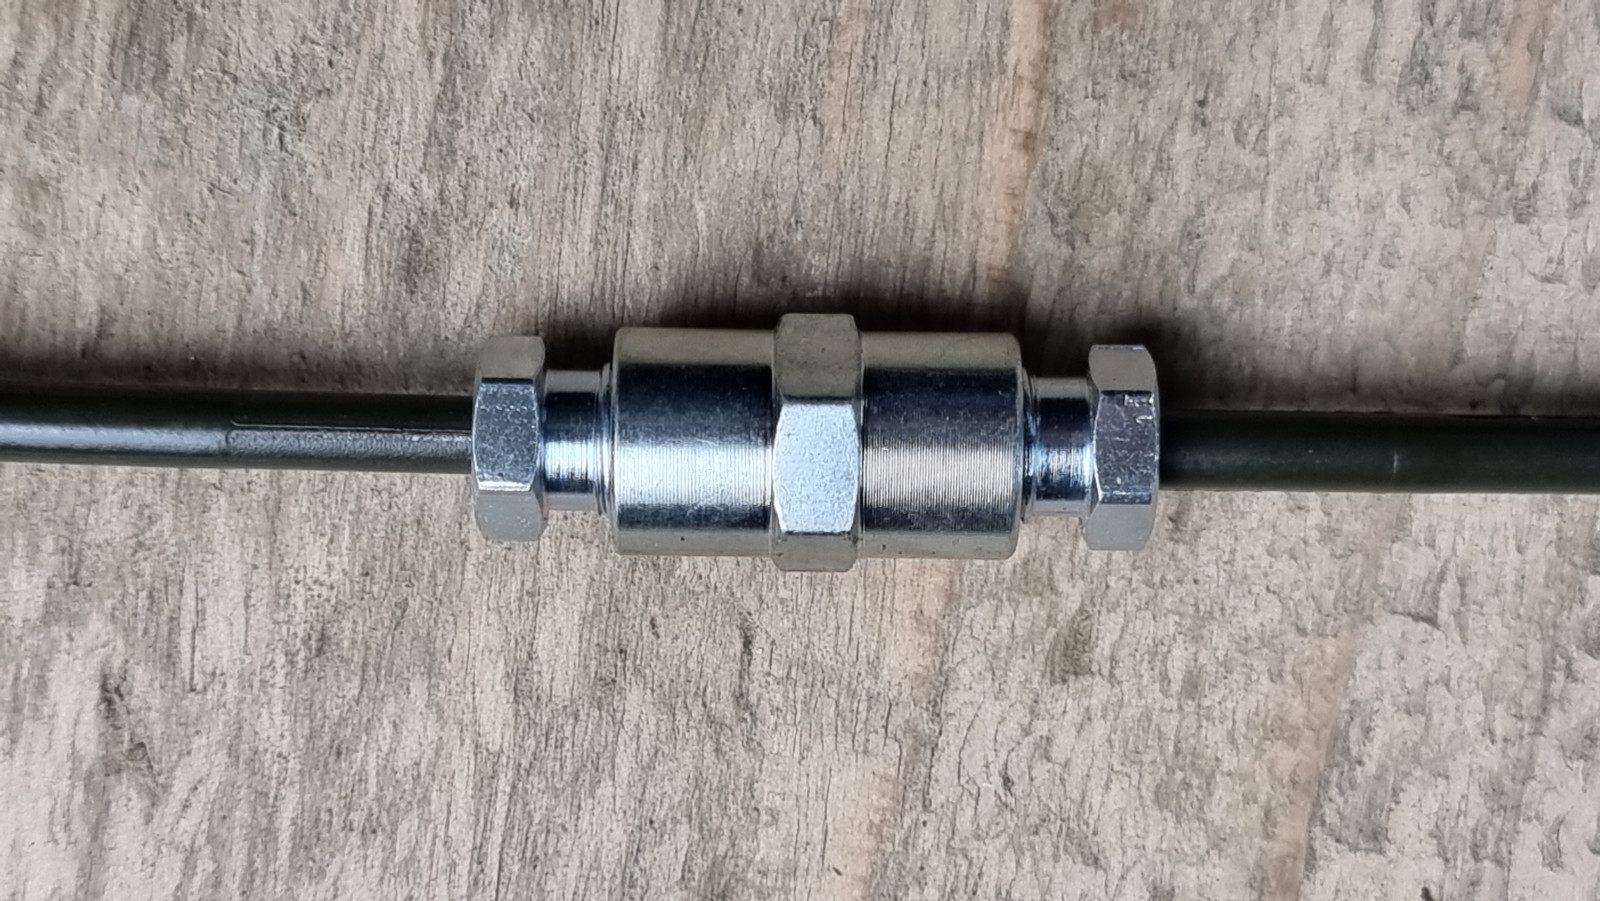
To repair a brake line, defective pieces of line often have to be replaced. Then you need the matching unions. These of course also have to suit the line diameter, thread and flare shape. The union goes between the flare nuts and is needed for a line repair when two line ends have to be joined together.
On the SAE-F union shown below you can clearly make out the conical sealing surface, against which the flare presses when it is tightened up with the flare nut.
Compression fittings are not permitted
Self-cutting screw connections are a matter of course in industry and in hydraulics. They are also often called “Ermeto fittings”, because the company Ermeto developed this system in the 1930s. Hydraulic pipes are simply clamped into the fittings, no flaring is necessary. Edges inside the cutting rings bite into the outside of the pipe as it is screwed together and seal it that way.
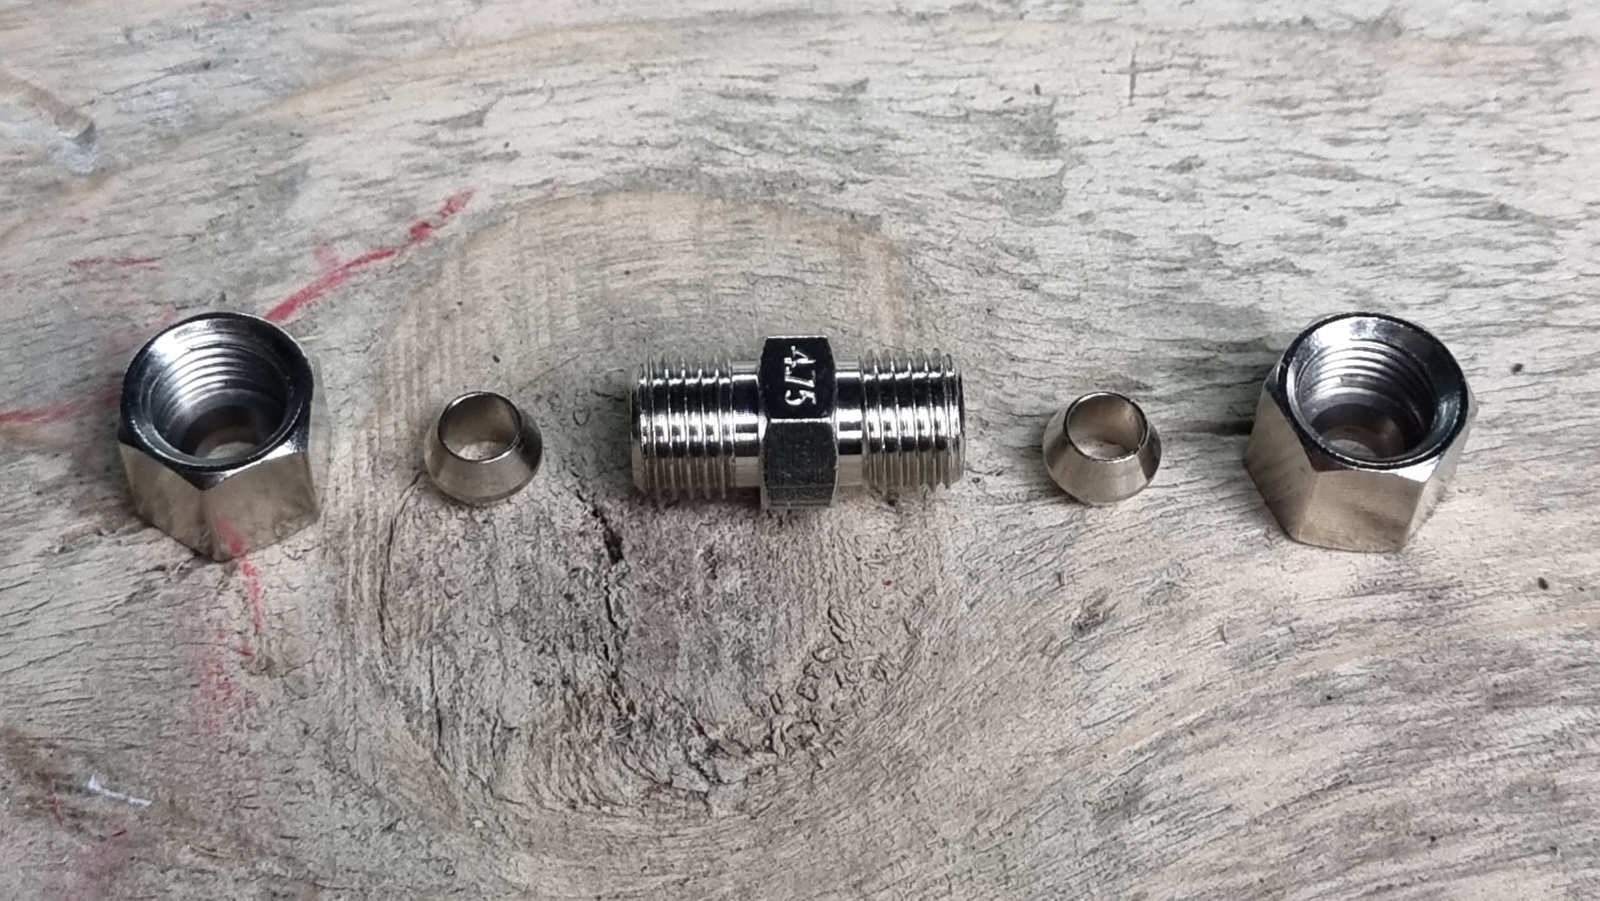
Fitting it is very simple. Cut the pipe to length, deburr inside and out, put the union nut and cutting ring onto the line, insert into the union and screw together. With our type from OJD for 4.75 mm brake lines, the union nuts are first tightened hand-tight and then given another three-quarter turn with the spanner.
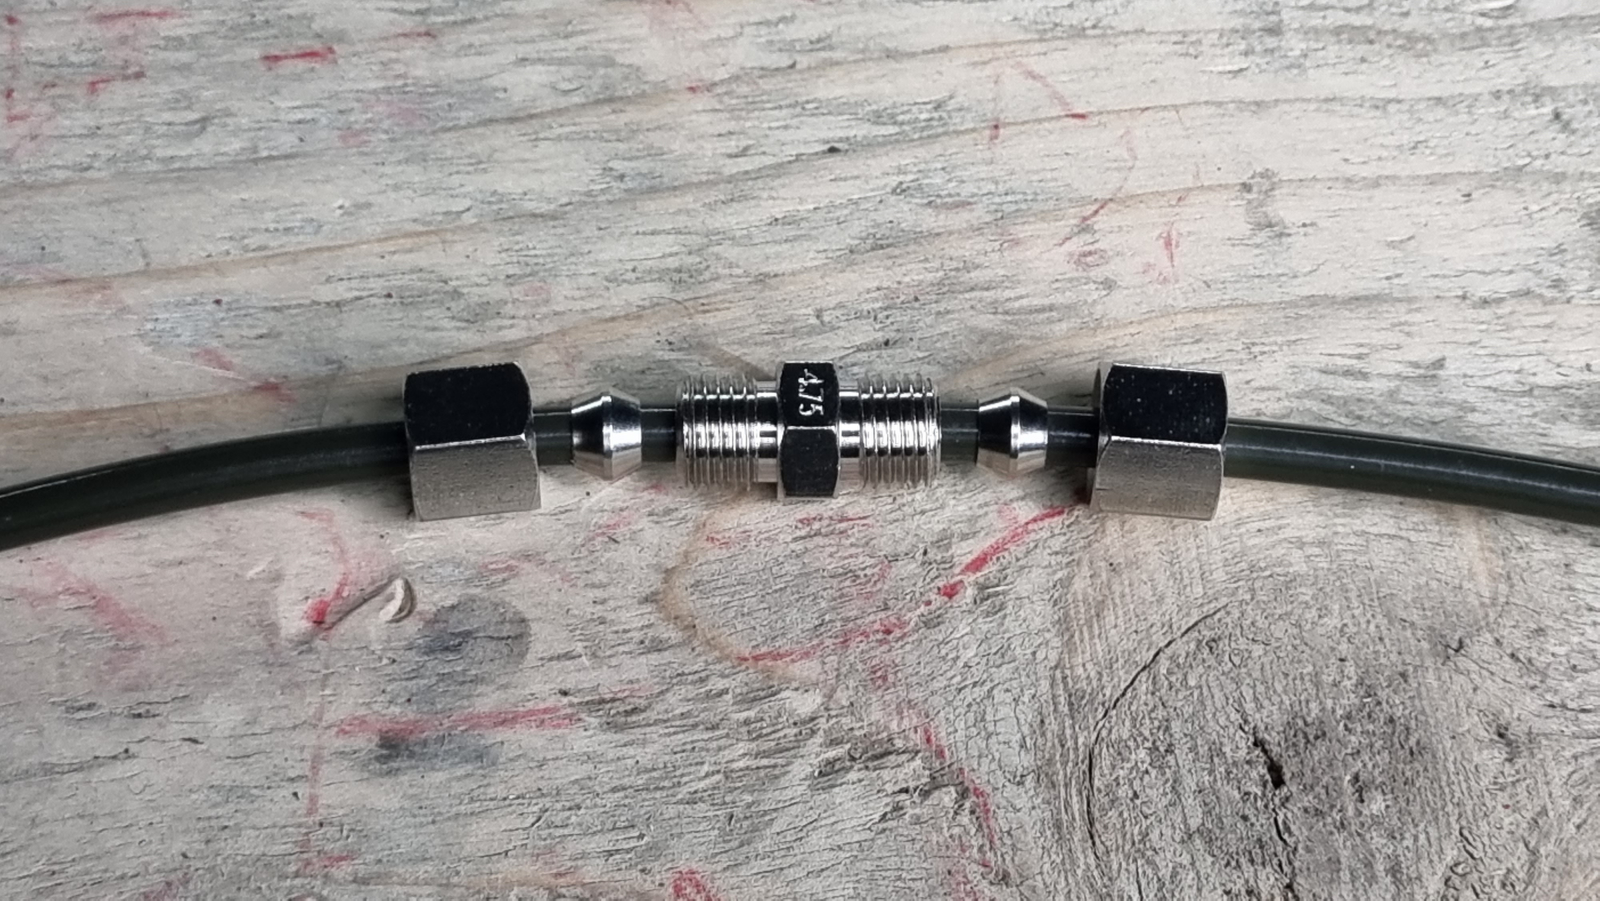
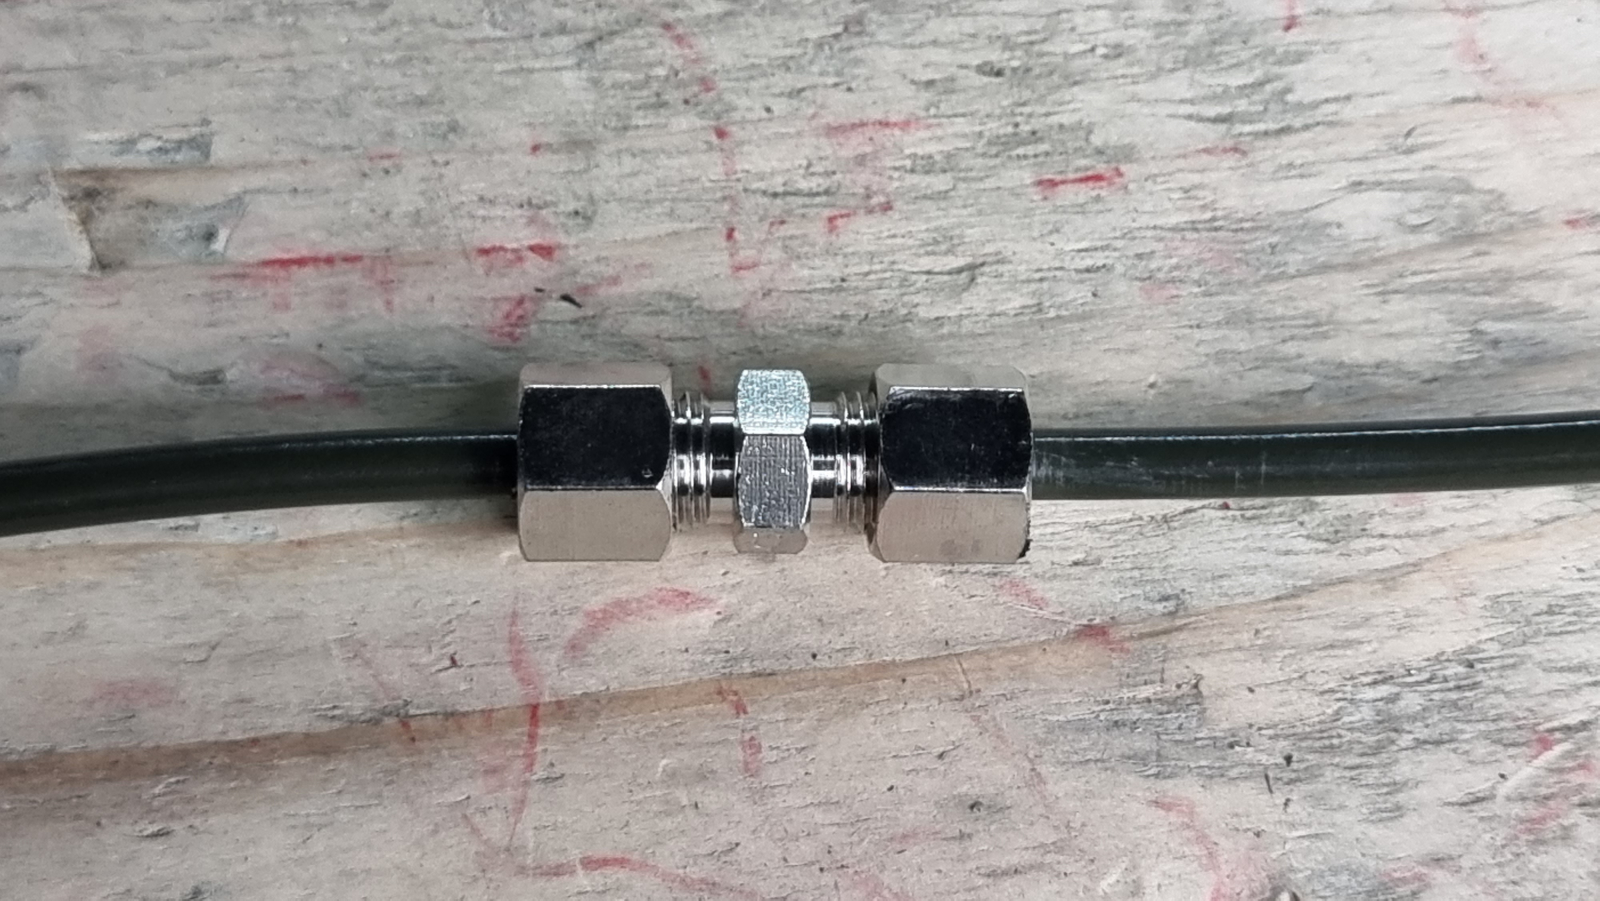
That is of course very simple. You save a lot of time and extra tools, but this way of repairing a brake line is not permitted. Whether you trust such a connection when using good material, at least for an emergency repair, is up to you, but at the next roadworthiness test at the latest it’s over.
Brake lines have to have flares
The reasoning lies partly in the DIN 74234 standard already mentioned. It requires a brake line to have a flare on both sides. And partly because a leak check is meant to be impossible. That possibly aims at the opening and repeated fitting of the connection. Industrial fittings can be reassembled, but are the cheaply available compression fittings just as safe after they have been fitted a second time? The problem here is that with all the products we had to hand, the torque for reassembly was not given in the instructions. It is unclear what happens to the seal if it is overtightened after the first fitting.
On this connection, reopened, you can clearly see how the externally conical cutting ring provides the seal to the line and to the screw union. Because it sits firmly on the line, this connection can be opened and closed again and again. As described above, only the re-tightening torque should be known.
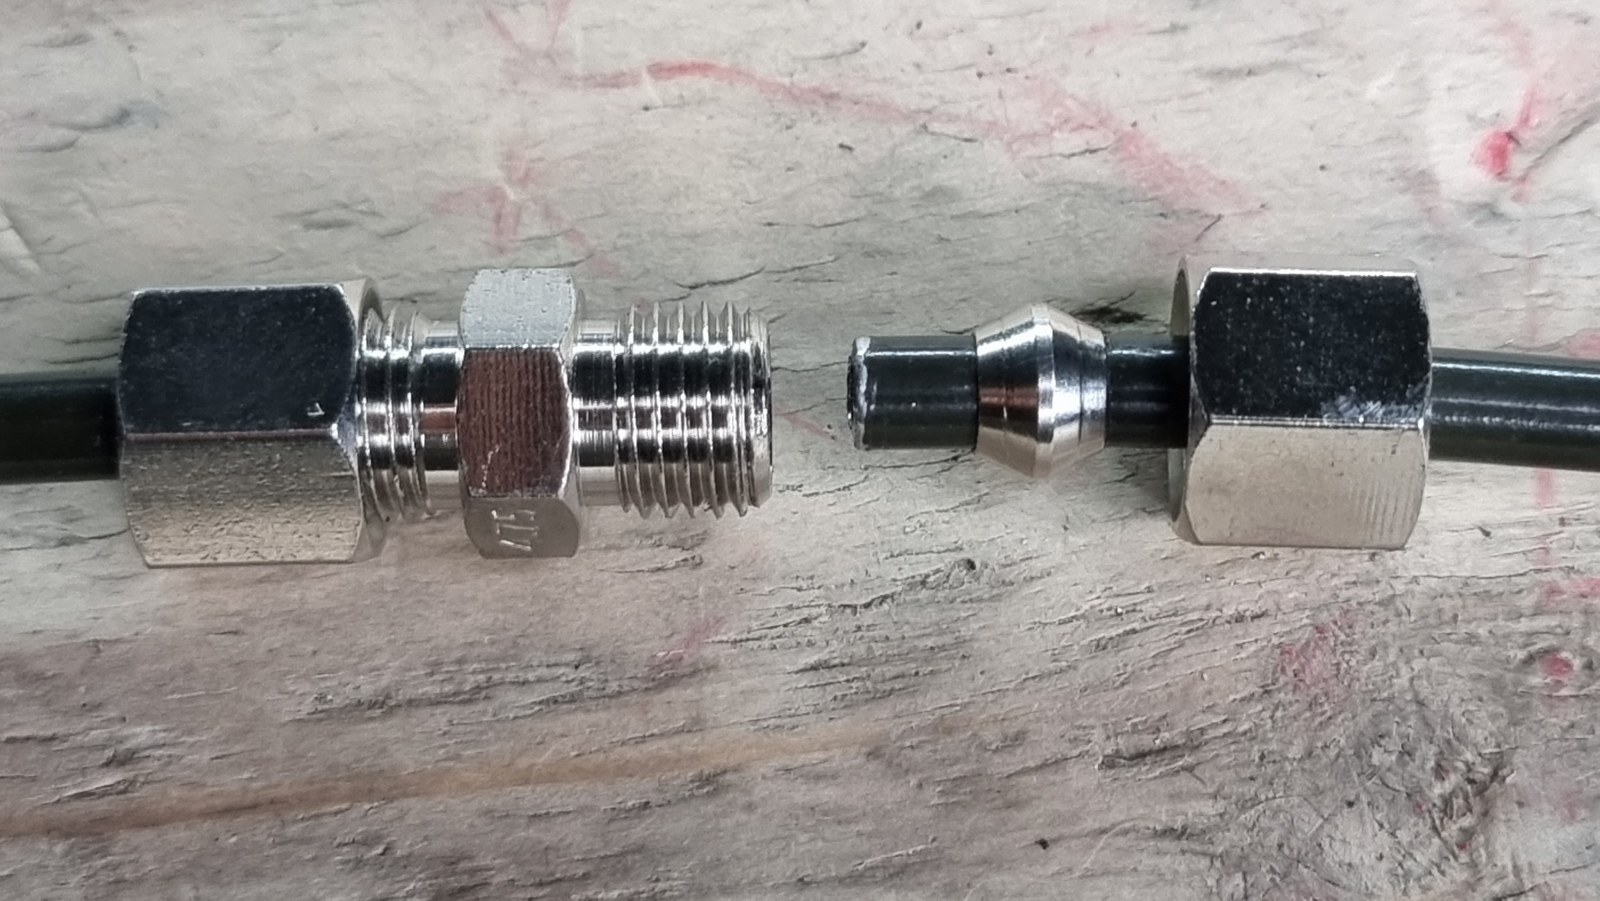
On other hydraulic or fluid lines in the vehicle, compression fittings are permitted.
Working on brake lines, flaring and bending
When repairing the brake line, or working with it in general, in the worst case two challenges await you: flaring and bending. The flaring has to be done very cleanly and neatly so that a tight seal is guaranteed. Before you set off, find out which brake-line material and which flare shape your vehicle uses. Then you can carry the right replacement material and flaring tool.
Flaring tool
A flaring tool in workshop quality and range is very expensive. Buying one really only pays off if you flare often and need various types. It is also usually a bit larger then and awkward to use out on the road while lying under the vehicle. For the road, small hand-held flaring tools that can do only one or two flare shapes are more worthwhile. But since you know what you need, you can pick the right system.
There are complete sets, which usually handle several flares, or you put together a small solution yourself. Professional sets usually have to be clamped in a vice or work hydraulically. For travelling, hand-held tools like the KS Tools FLAREFIXeco are better.
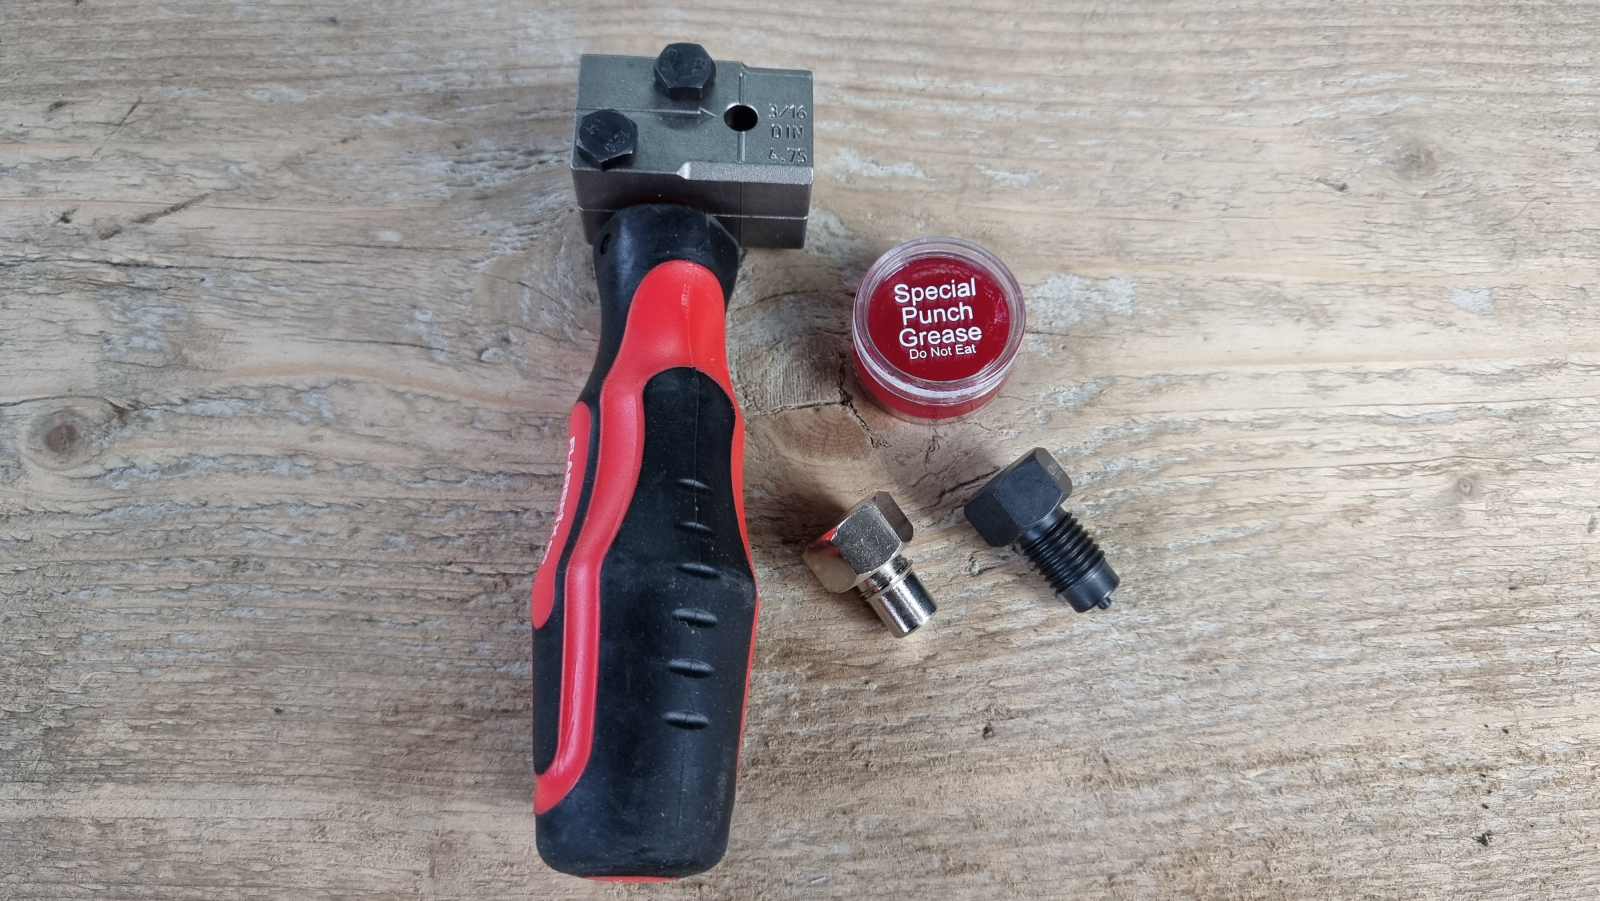
For this article we used the KS Tools FLAREFIX 1 set. As we have various vehicles that use different flare shapes, we’re better off with it. It is also still a hand-held tool that can be used right on the vehicle.
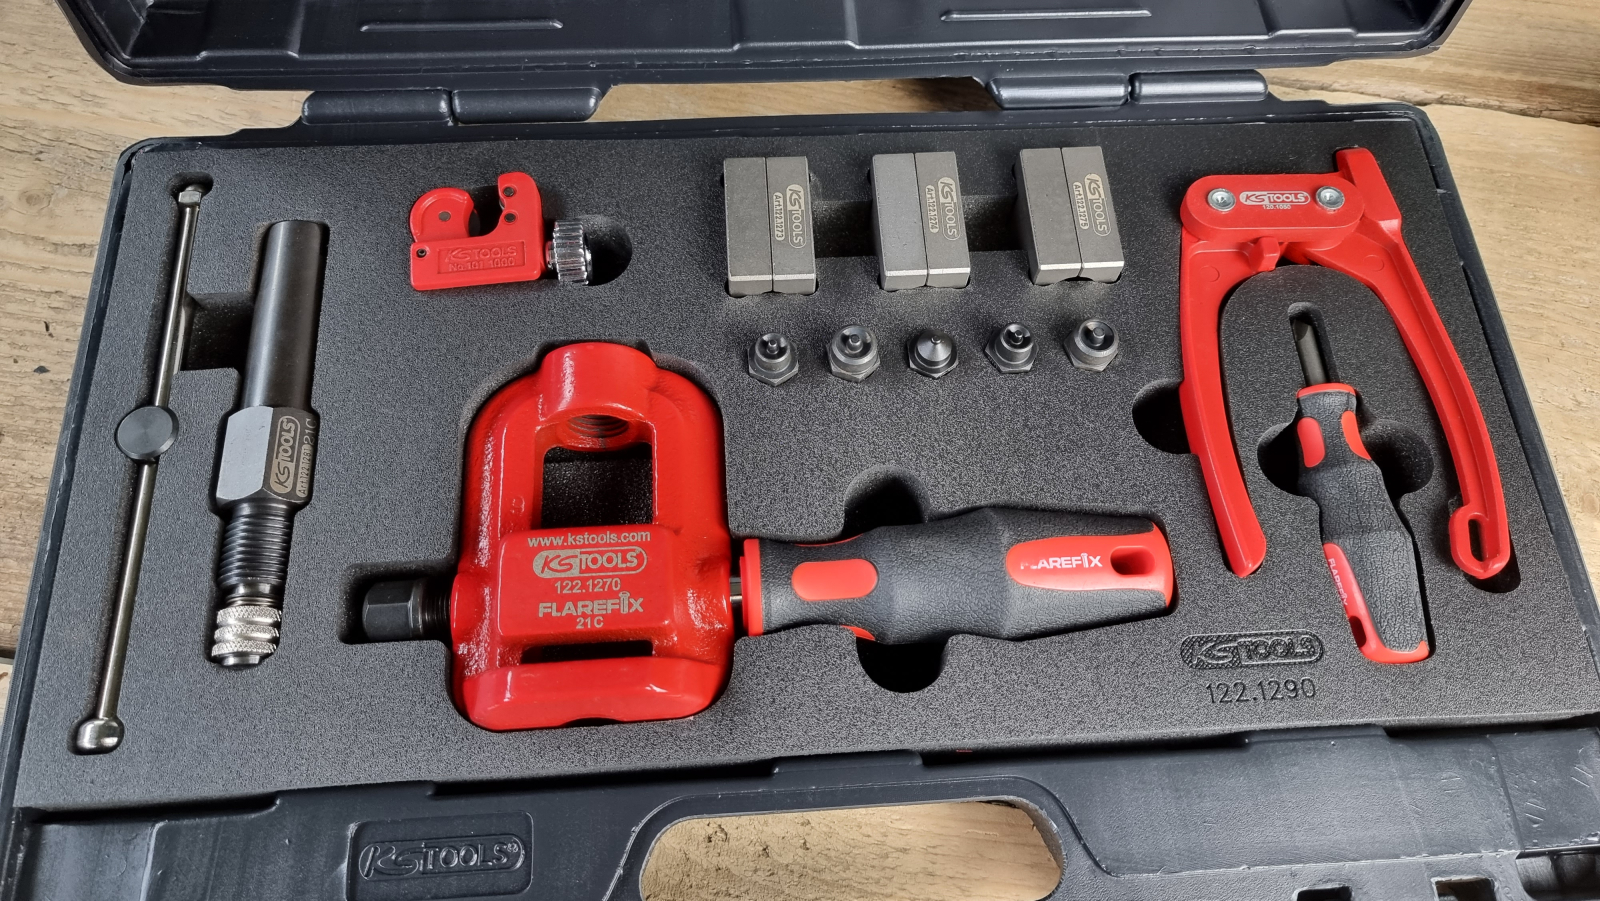
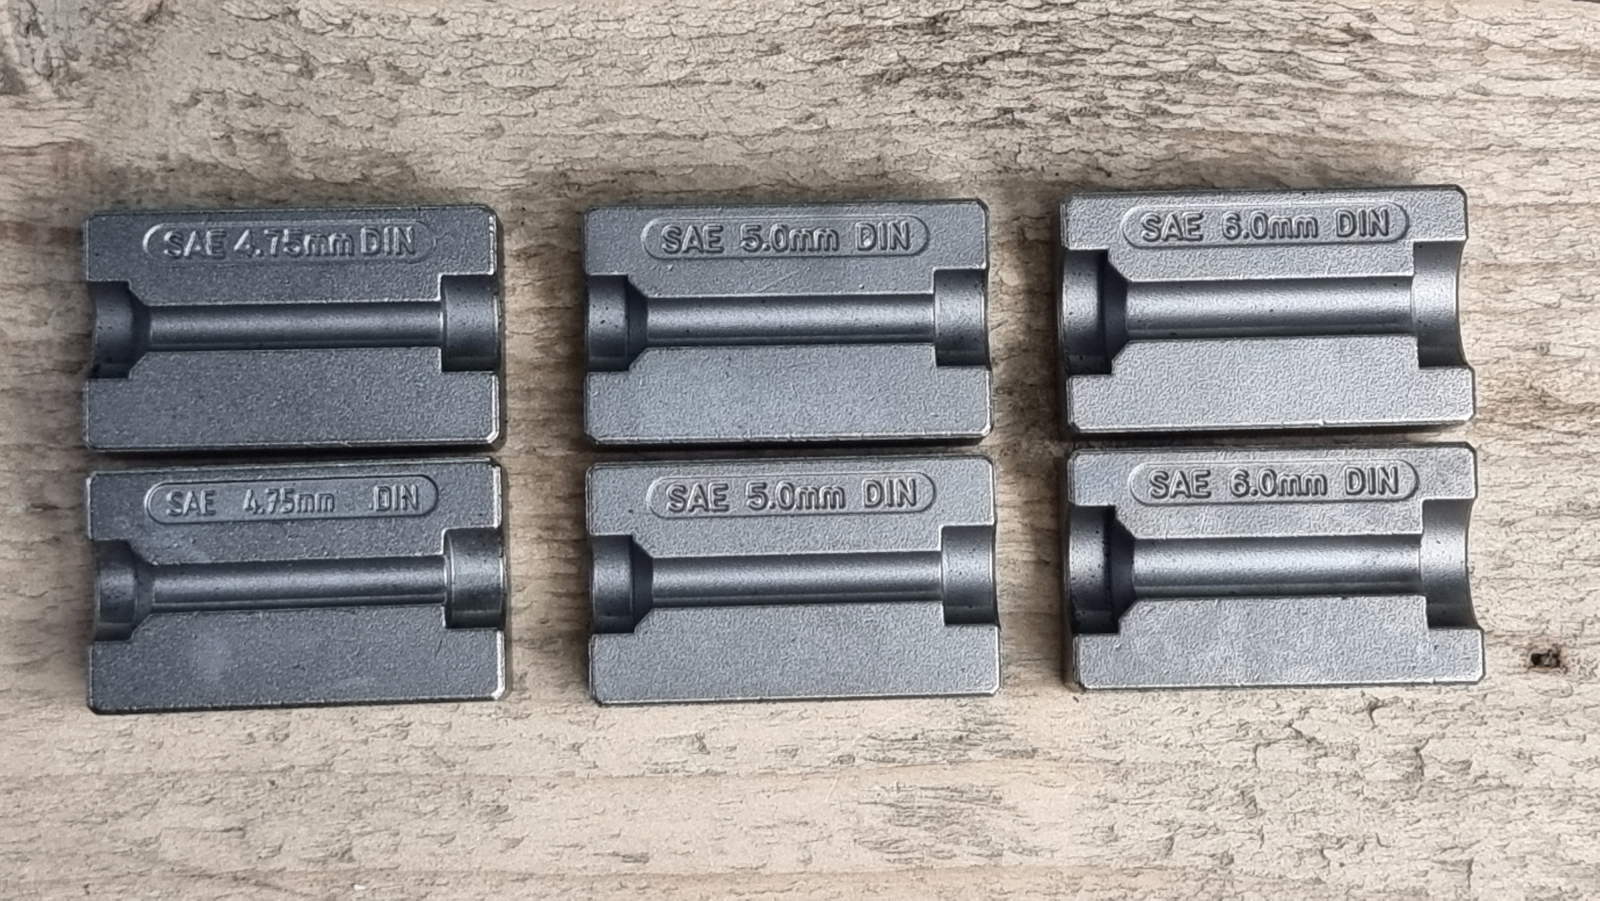
In detail, you always need a clamping die in which the brake line is clamped without damaging it. Then a flaring cone with the shape of the desired flare, and a mechanism for pressing the flare. In the complete set above you see the hand tool, into which the matching clamping jaws for the respective line diameter are clamped. The clamping jaws have the corresponding shape for a DIN or SAE flare on each side. Then there is the hydraulic press, into which the cone is inserted. The set contains the flaring cones for DIN and SAE-F single and double flares for 4.75 and 6 mm lines.
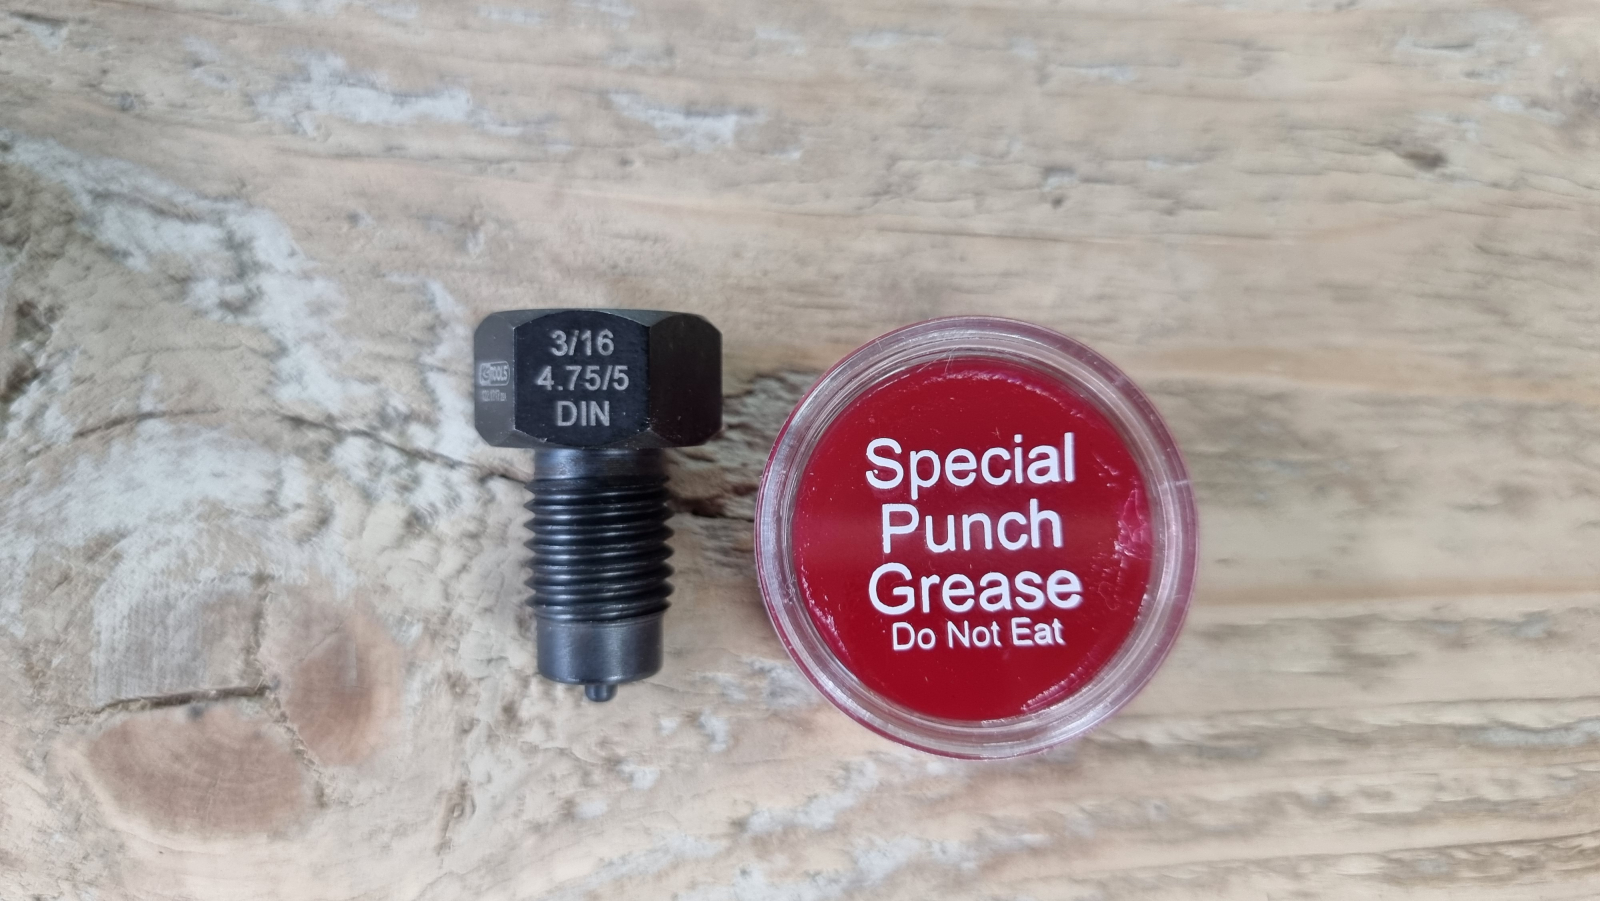
When the cone is screwed in during flaring, so it turns, you also need some grease, so the tool lasts and the line isn’t damaged.
Pipe cutter
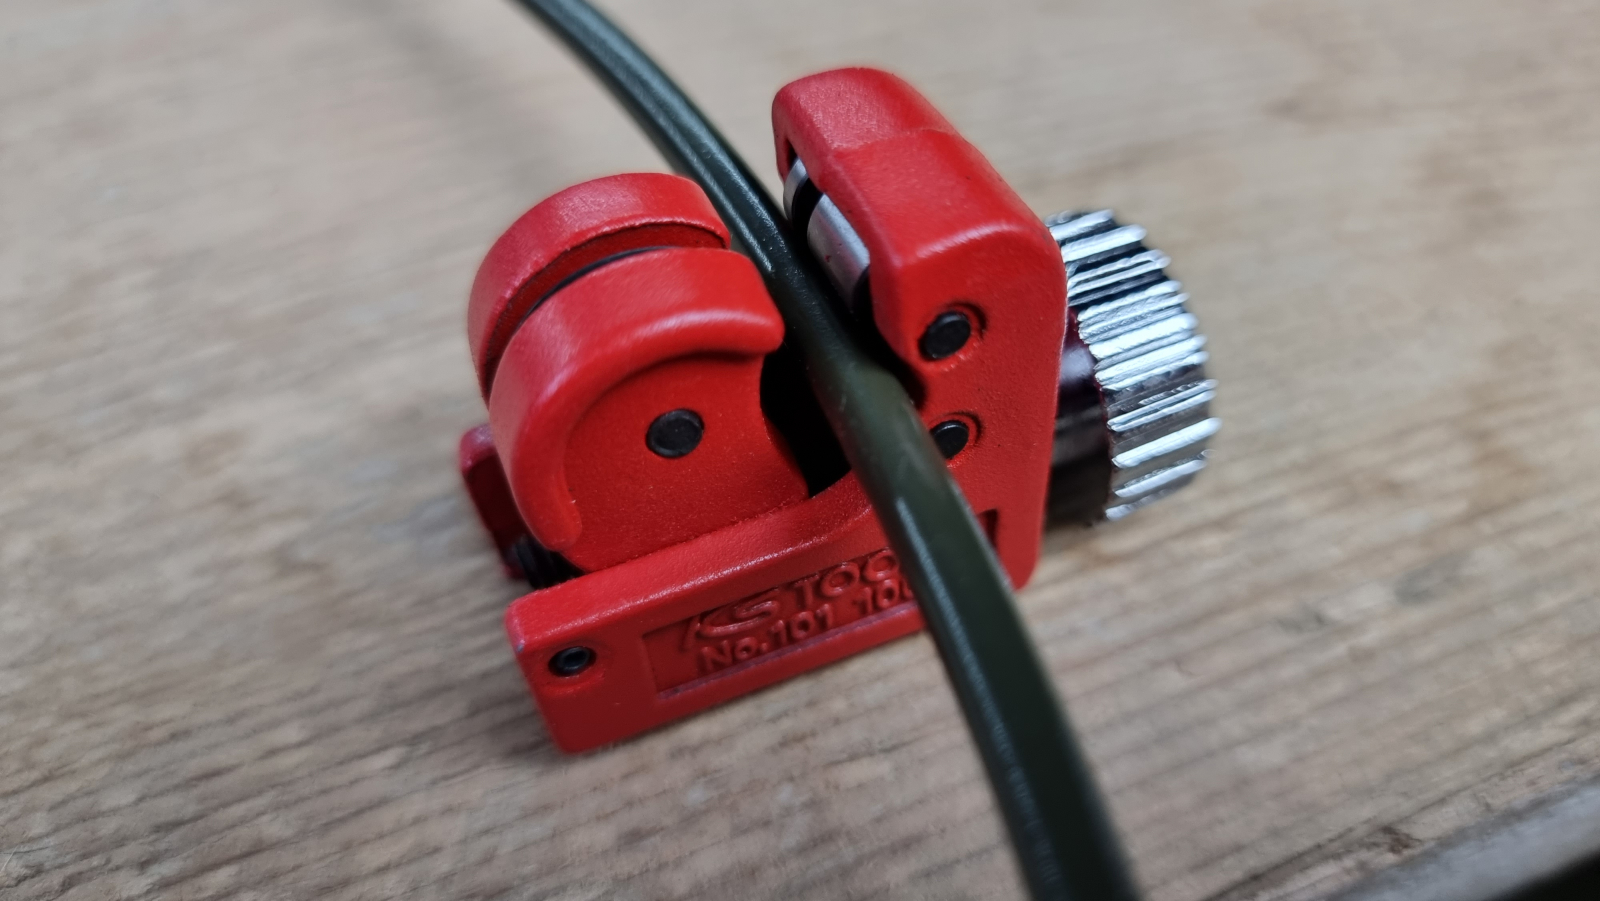
To guarantee a flawless flare, the line has to be cut cleanly and at a right angle if it needs shortening. A hand saw is no good for that, and certainly not pincers or the like. For this you use a small pipe cutter. Small, because that way it can be used on the vehicle too.
Deburring tool
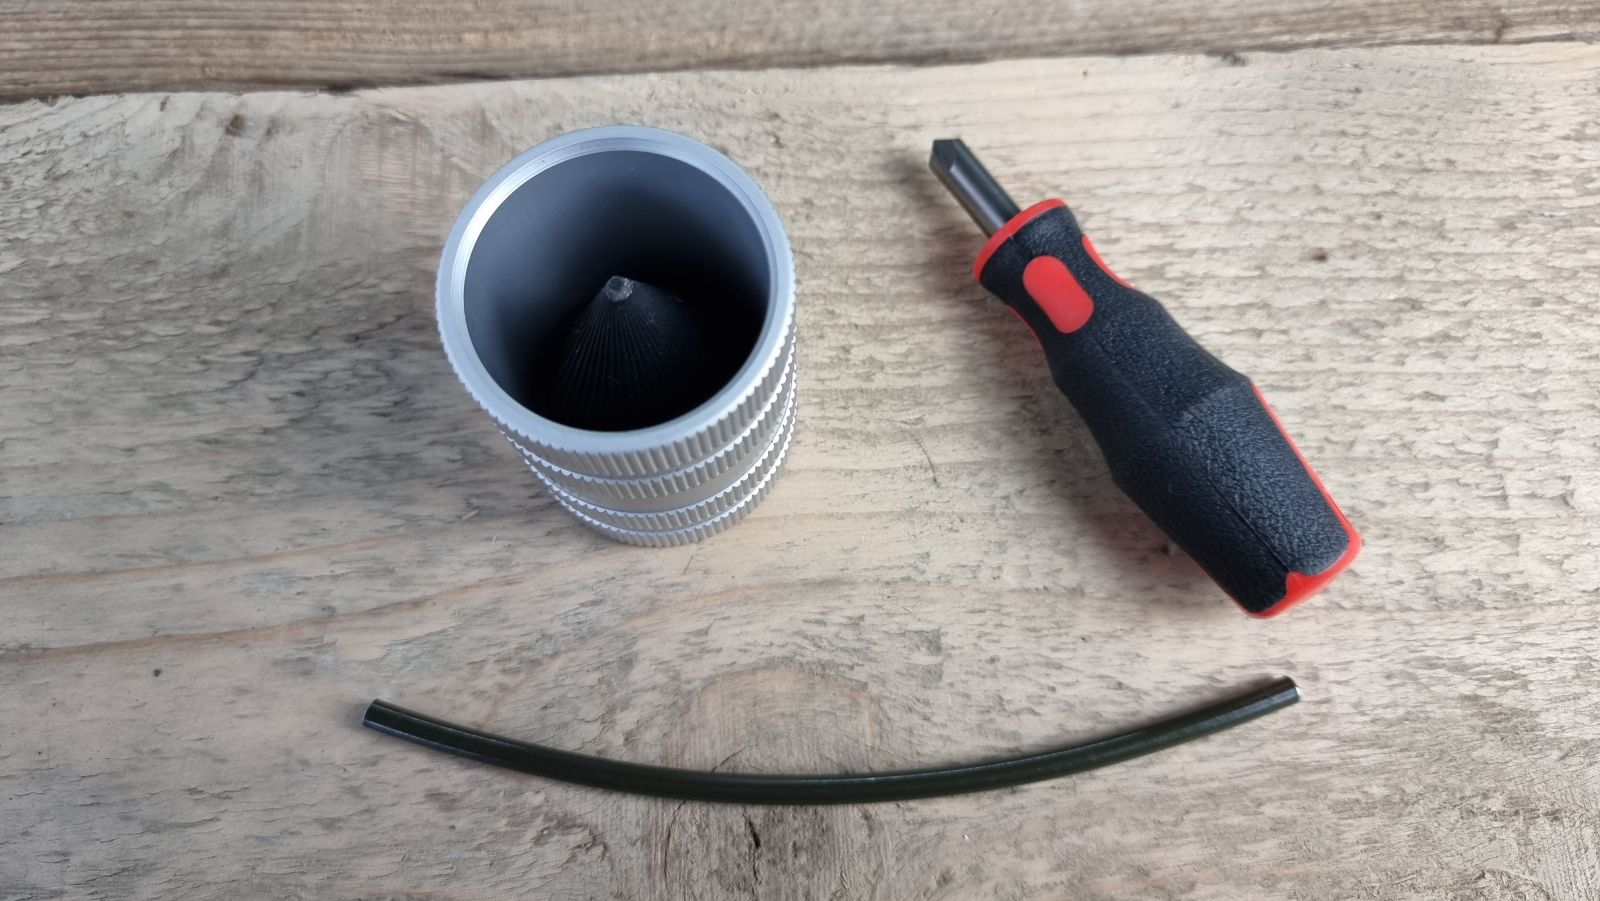
It is highly advisable to use a deburring tool. Depending on the flare, E or F type, you need an external or internal deburrer. Deburring is important, because only cleanly deburred pieces of pipe make a tight connection and prevent metal splinters from getting into the brake system later.
Bending pliers
Bending hollow lines should, where possible, be done with the appropriate bending tool. In an emergency you can also bend carefully and by feel, but the risk of kinking and of constrictions forming is high, especially if you’re not practised at it and the radius is a small one. CuNiFer is much easier to bend. Bent over your thumb, it can work quite well. In any case, though, a hand bender for brake lines is recommended, even if it takes practice. Whenever possible, bend the lines when they are removed.
Possible damage and repair work
Brake lines can be damaged in various ways. Poor maintenance and the resulting corrosion or chafing is one thing, damage from off-road driving another. Depending on the damage, you can help yourself with original spare parts (hoses) or line repairs.
- The flexible line tearing off between the axle and the body/frame, or on steered wheels between the axle and the wheel.
This can happen, for example, after a suspension conversion if the axle wasn’t fully articulated to see whether the length of the brake lines is enough. Lift kits usually come with longer brake hoses too. Were they fitted as well? It’s generally worth articulating the axle fully once after fitting different suspension, to check its freedom of movement. On off-road drives, branches and the like can damage lines. - The rigid line tearing off.
That should be quite rare, because on a decent off-roader the lines are routed in a protected way. - A leak from chafing, corrosion or damage.
That is likely to be one of the most common causes of one of the brake circuits failing.
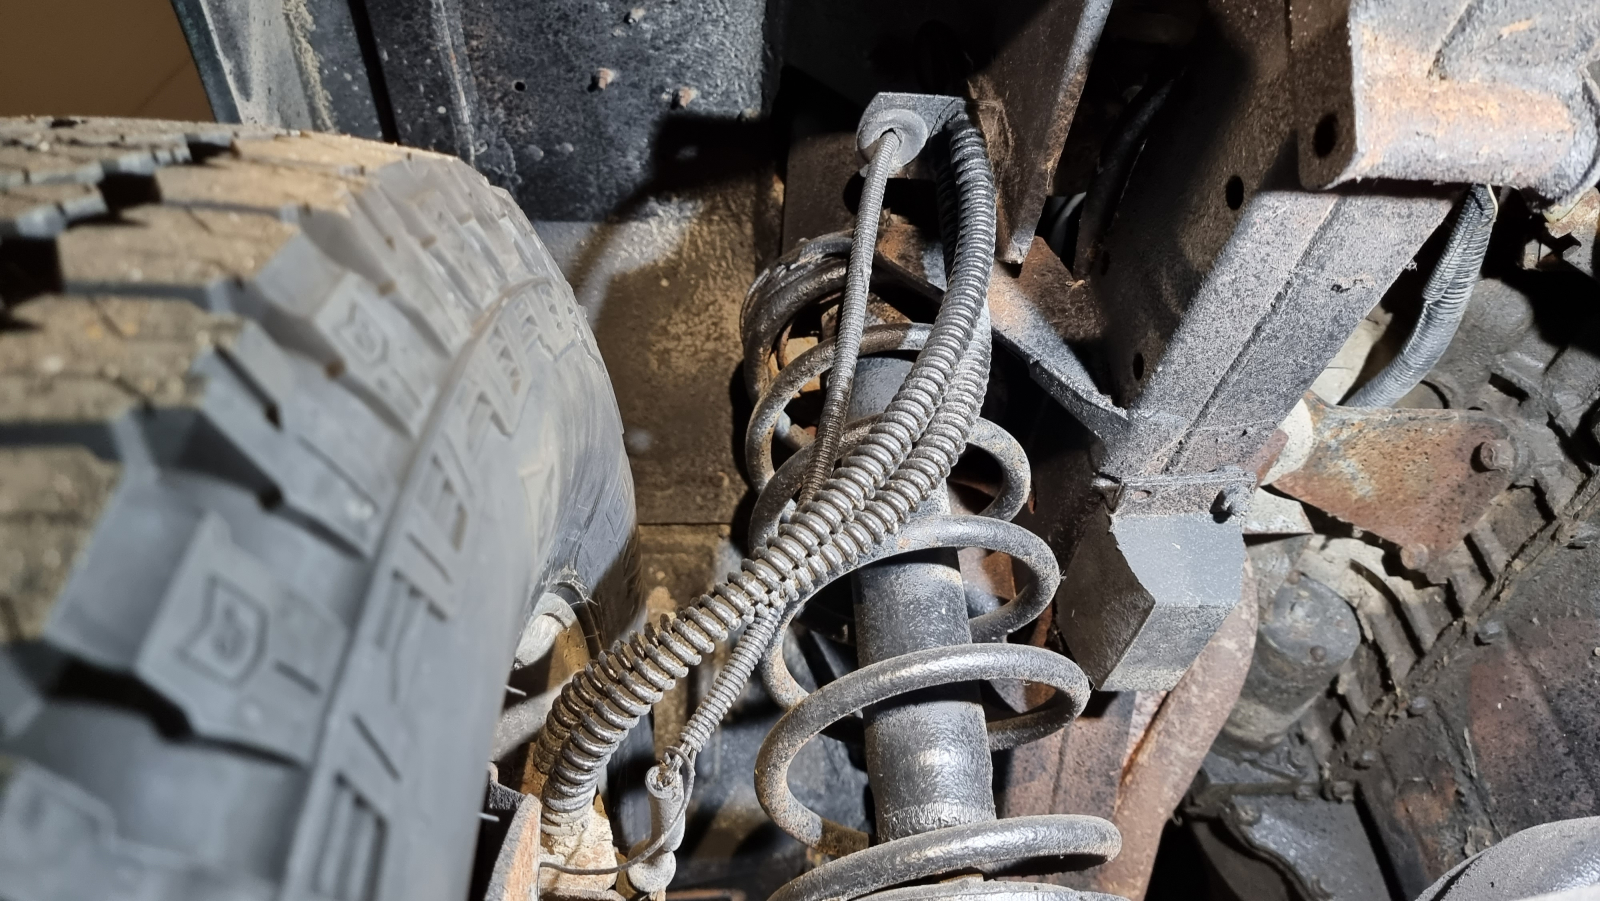
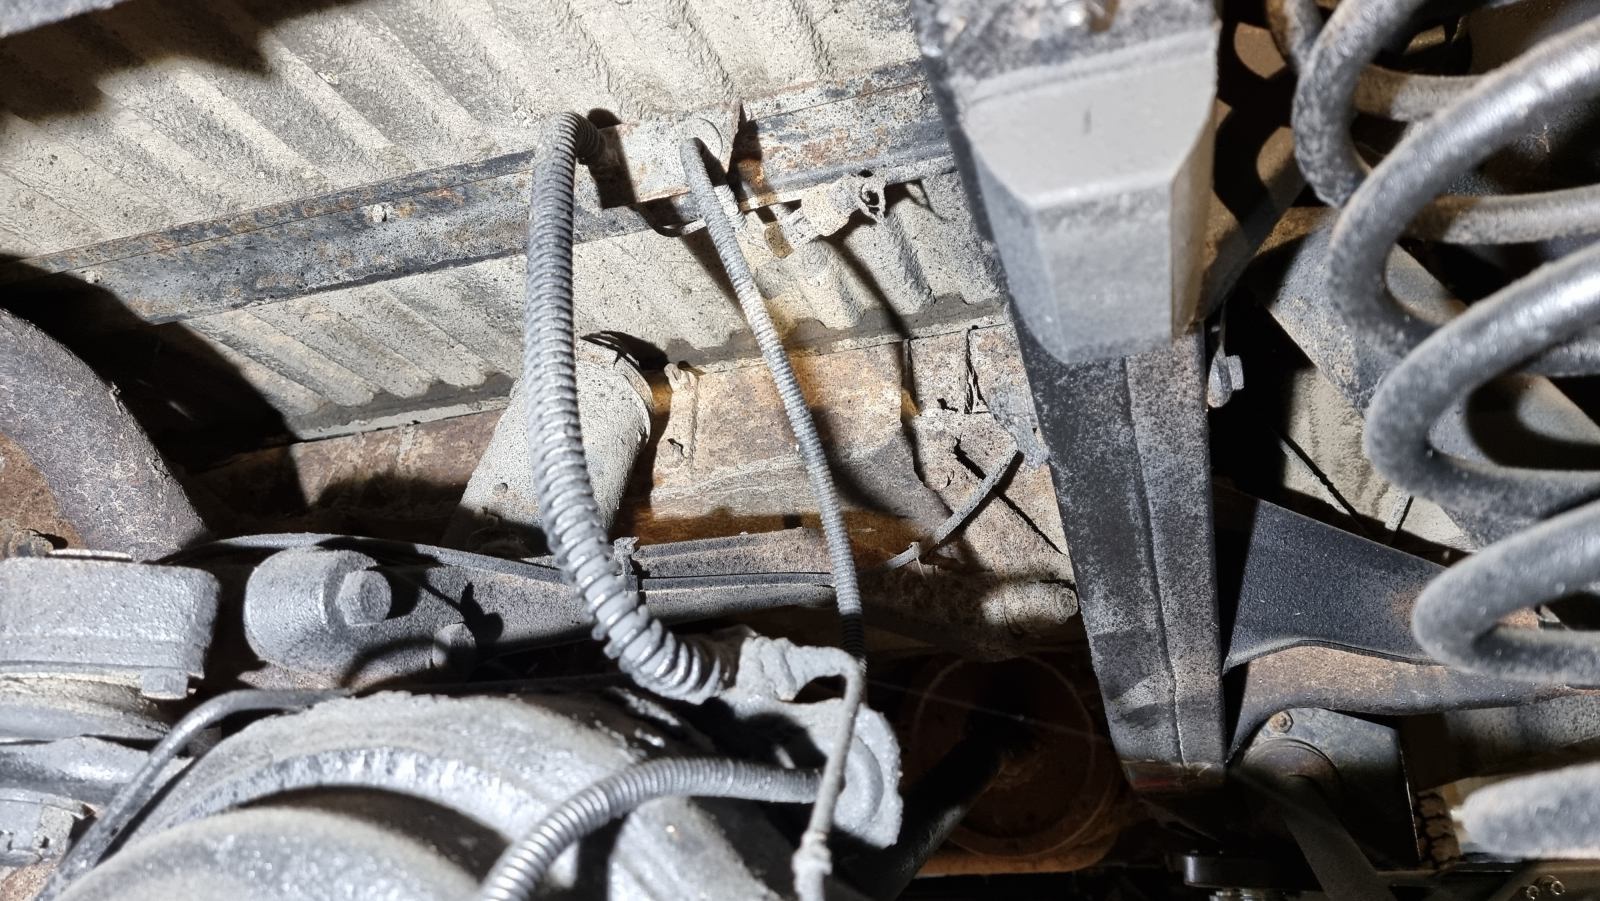
If the flexible line tears off, the complete replacement of the line is needed. These usually consist of pressure-resistant hoses with crimped-on end pieces. That can’t simply be repaired. It’s good to have one or two spare hoses along for this case.
You should of course also carry brake fluid. Handle it very carefully. It is very aggressive and should, if at all possible, not get onto the paint or other vehicle parts, and certainly not into the eyes or onto the skin. Hopefully you have safety goggles and protective gloves with you. Hand contact often can’t be avoided when handling brake lines and you’re not so practised.
Got new suspension?
If you’ve had new suspension fitted, have the axles or wheel suspensions articulated fully at the workshop. That way you can make sure everything really has enough room, and you can also see whether the flexible brake hoses are actually long enough and won’t tear off. Lift kits should come with new, longer hoses if those are needed.
Repairing a rigid brake line
If the damage affects the rigid line, a bush repair is possible with pre-made lines or with a flaring tool and replacement line. On the market there are ready-flared and cut-to-length pieces that greatly simplify the brake-line repair. If the lengths fit, you only need to fit and bleed, but no flaring.
The following pictures show a repair like this. Two pre-flared lines with flare nuts are to replace a chafed-through brake line on the rear axle. The rigid steel line runs from the rear-axle junction to the wheel cylinder. To reach the length needed, two lines were joined with a union. The resulting line was a bit longer, so it had to be routed a little differently to make up for the extra length. Here you have to make sure to route the line chafe-free again. It also shouldn’t hang down, so it can’t be torn off. It is always best to route the line behind the axle and use the original mounting points.
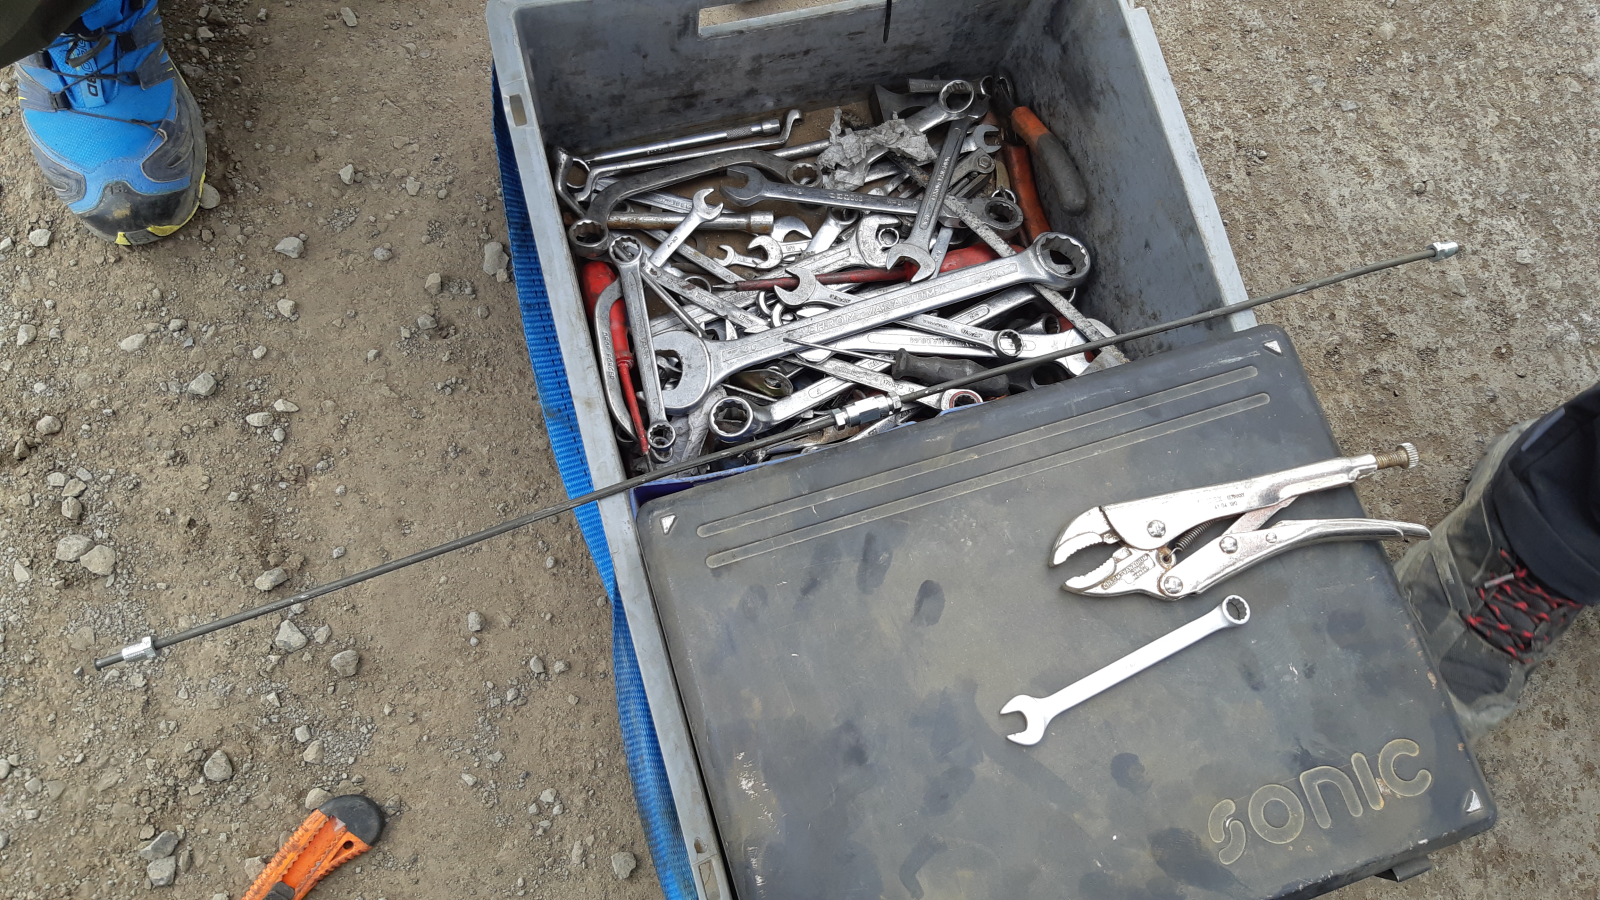
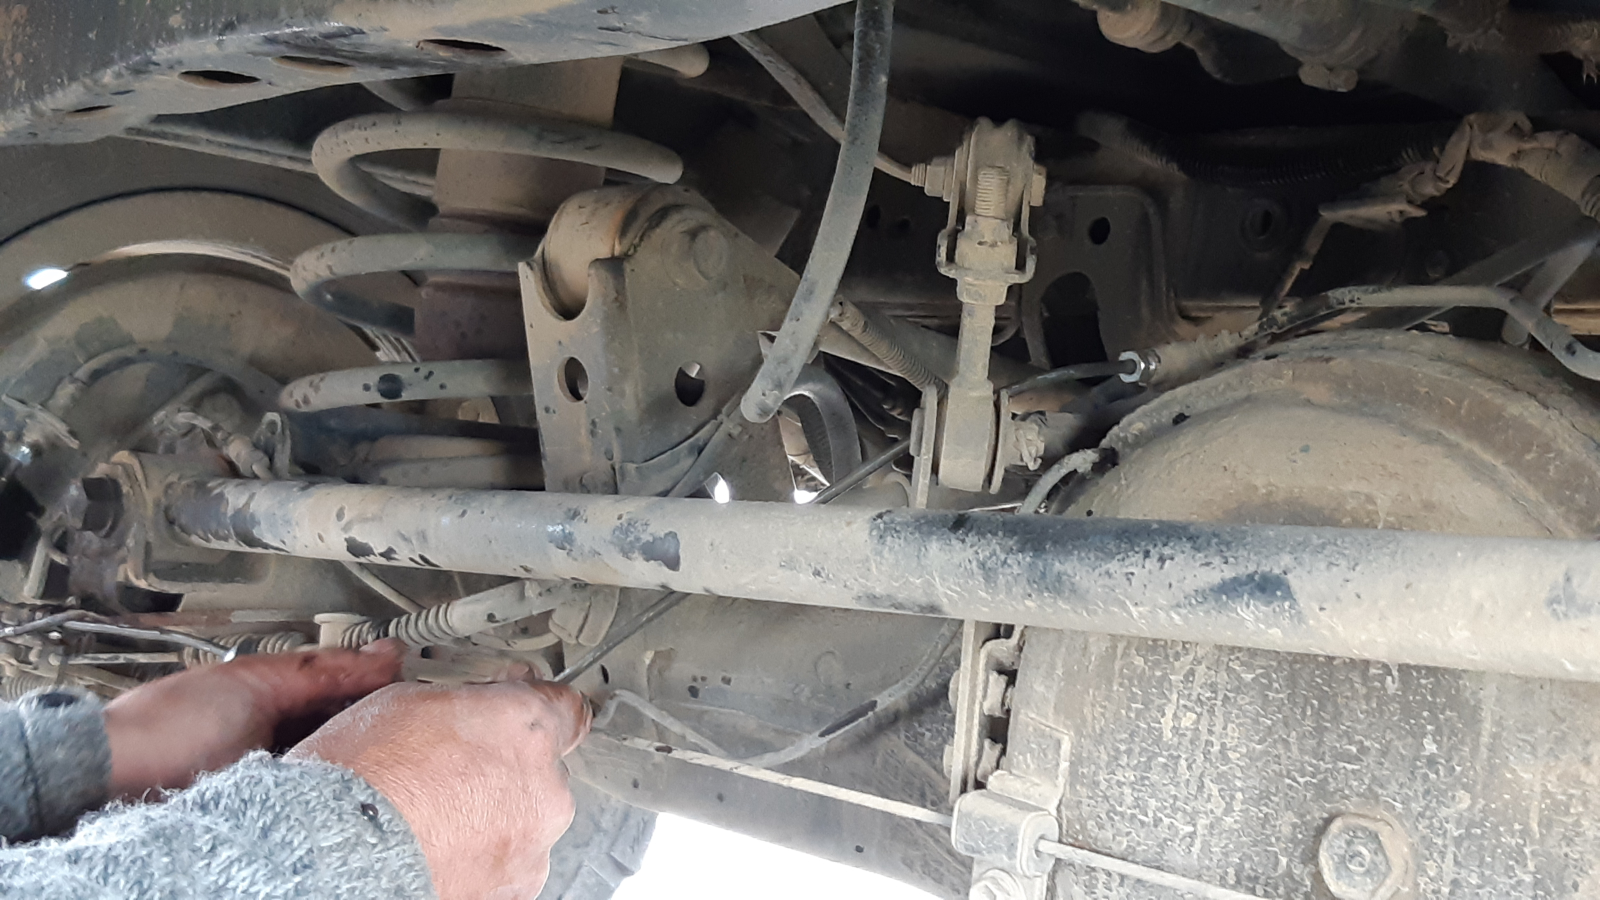
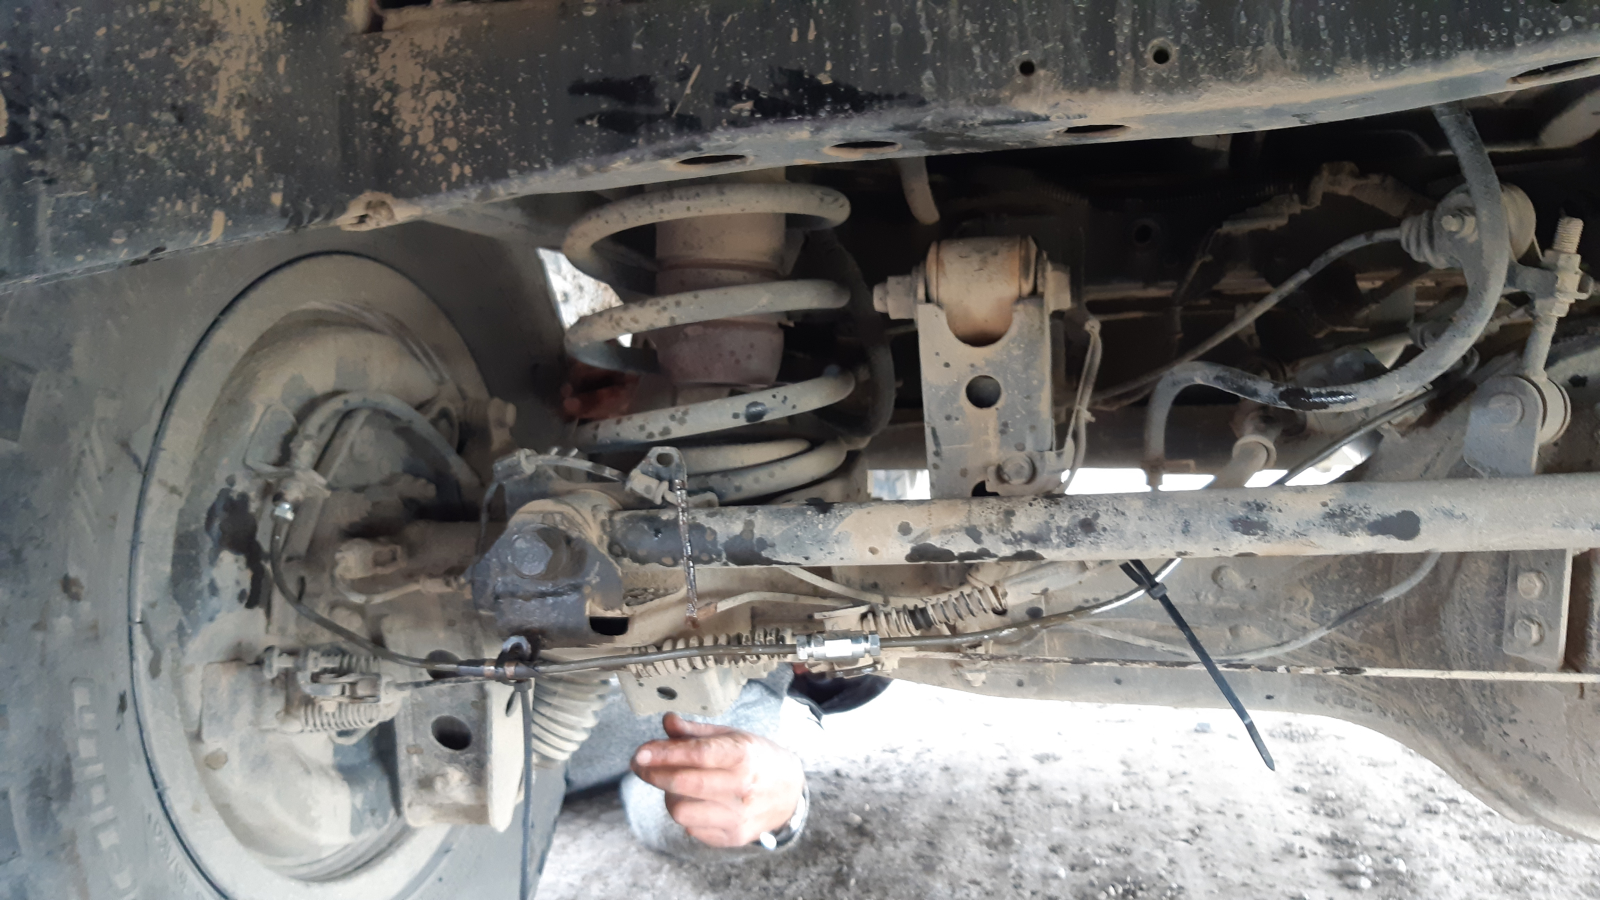
If you have unflared pipe by the metre with you, or the damage is so awkwardly placed that nothing can be done with pre-flared lines, there’s no way around flaring it yourself. With the pipe cutter you cut out the defective piece. Say 20 centimetres, since longer pieces are easier and more flexible to handle than short ones. Then you cut the bulk pipe to length with the pipe cutter, don’t forget to deburr. Onto the ends that get a flare, you first slide the flare nut, preferably the right way round. Then you flare according to the instructions for your tool. Don’t forget to flare the vehicle lines too. For a piece you fit in, you need four flares and flare nuts and two unions. If you can join an existing connection on one side, that reduces to three flares, three flare nuts and one union. And so on.
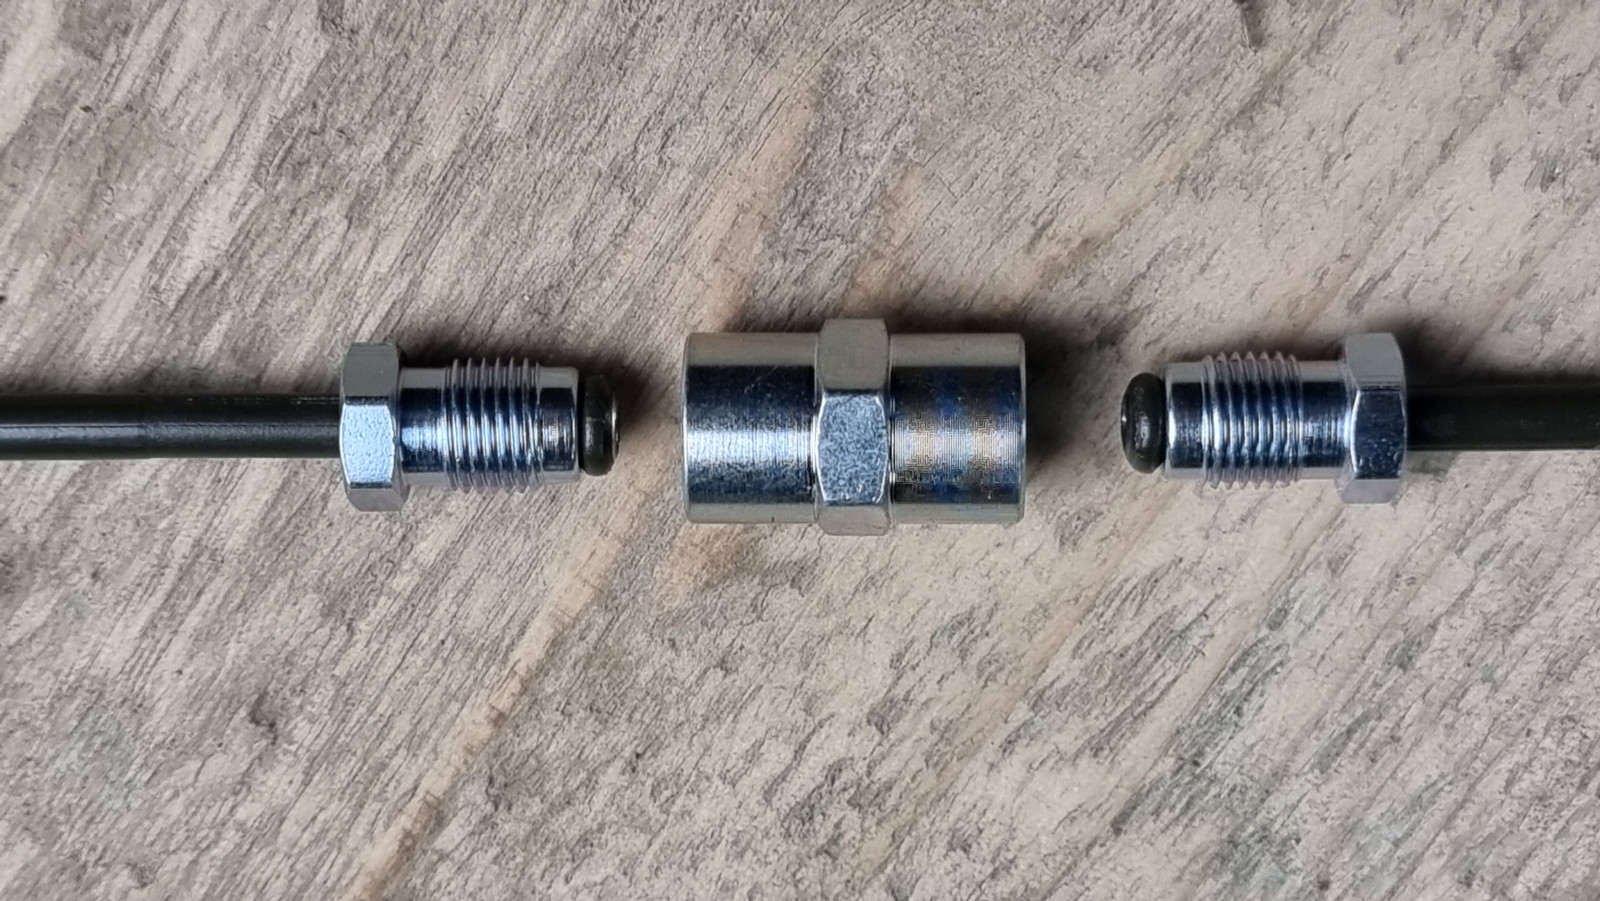
Then comes the bending, if needed. Take the piece you cut out and bend your line according to the template. Now you can fit the replacement piece.
Video tutorial: repairing a brake line
Bleed the brake system after the repair
To make up for the brake and the fluid loss that occurred, you should carry one or two small containers of the brake fluid specified for your vehicle. Handle it very carefully and cleanly, as it is very aggressive and damages paint, plastics and so on.
The bleeding itself can be done in various ways. Depending on the amount lost, on vehicles with an ABS system a bleed procedure may be needed. These are found, for example, in suitable diagnostic devices for the vehicle model. Otherwise there’s the classic way using the brake pedal and a helper, or, and this takes up little space, conveniently with a suction pump. Any other method you’re familiar with works too, of course.
With all bleeding methods you have to make sure the brake fluid reservoir is always filled enough, so no air is drawn in there. You start at the wheel furthest from the master cylinder. Bear in mind the routing of the line, because on a left-hand-drive vehicle it doesn’t have to be the rear right wheel automatically.
Pedal method
This works best with a helper. Open the brake fluid reservoir and fill it to the max mark. The helper sits in the driver’s seat and you head to the first wheel cylinder with a brake-line spanner. There is a bleed screw there. Onto it you put a clear hose that dips into a small jar of fresh brake fluid. That prevents air from being drawn in from there. Then you put the spanner on and the helper presses the pedal. Be absolutely sure the pedal is never pressed to the floor, but at most two-thirds of the way. Otherwise you can damage the piston in the master cylinder. Now you open the bleed nipple until air and fluid come out. While the helper is still holding the pedal down, you close the bleed screw again, then let the brake pedal be released, which draws fresh fluid from the reservoir. You repeat the process until no more air bubbles are pumped from the wheel cylinder into the clear hose. Then move on to the next wheel.
Suction method
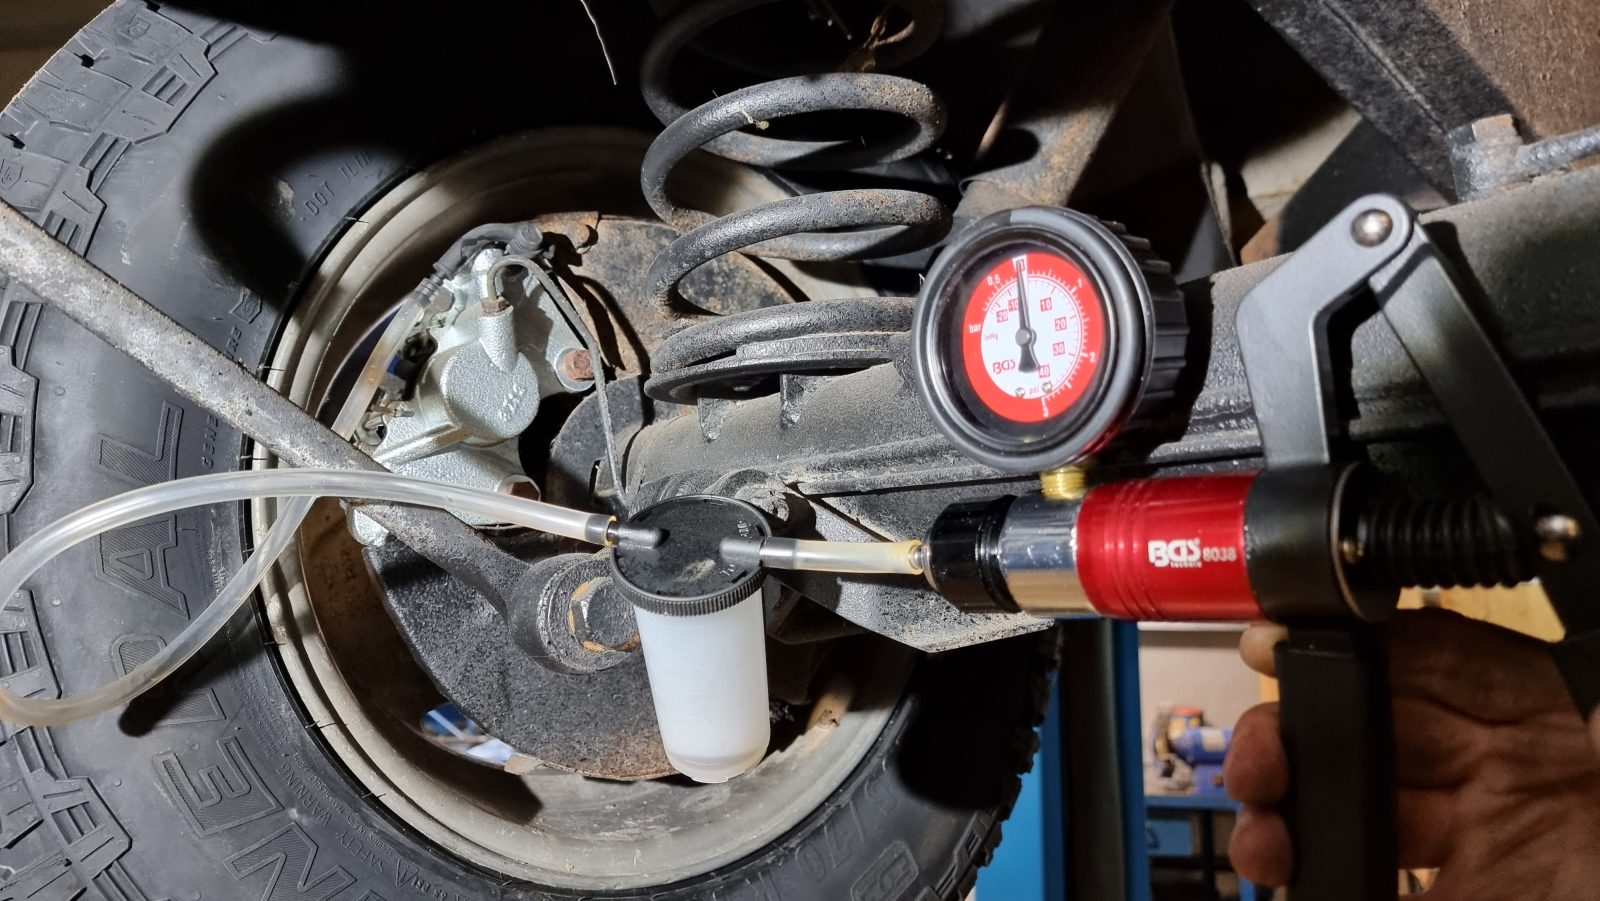
For little money you can buy vacuum pumps for bleeding. After testing all sorts of systems, I’m most convinced by this one. With the suction pump you simply suck the air out of the system. Connect the suction pump, open the bleeder, suck it out, close it, done. We use the BGS vacuum pump for that.