Sadly, there are still new vehicles where the maker does almost nothing to prevent rust. With older vehicles it’s just as much a topic, because if you want to keep your 4×4 in top shape for years, or you put it through conditions that invite corrosion, you’re well advised to take care of rust prevention. How you can do it and what you need is all in this article.
Yes, rust prevention is a must, even, or rather especially, on brand-new vehicles. My feeling is that new cars are built to survive the lease and after that nobody cares. We, at least, are attached to our vehicles and want to enjoy them for a long time. Still, we don’t baby them. That makes rustproofing twice as important.
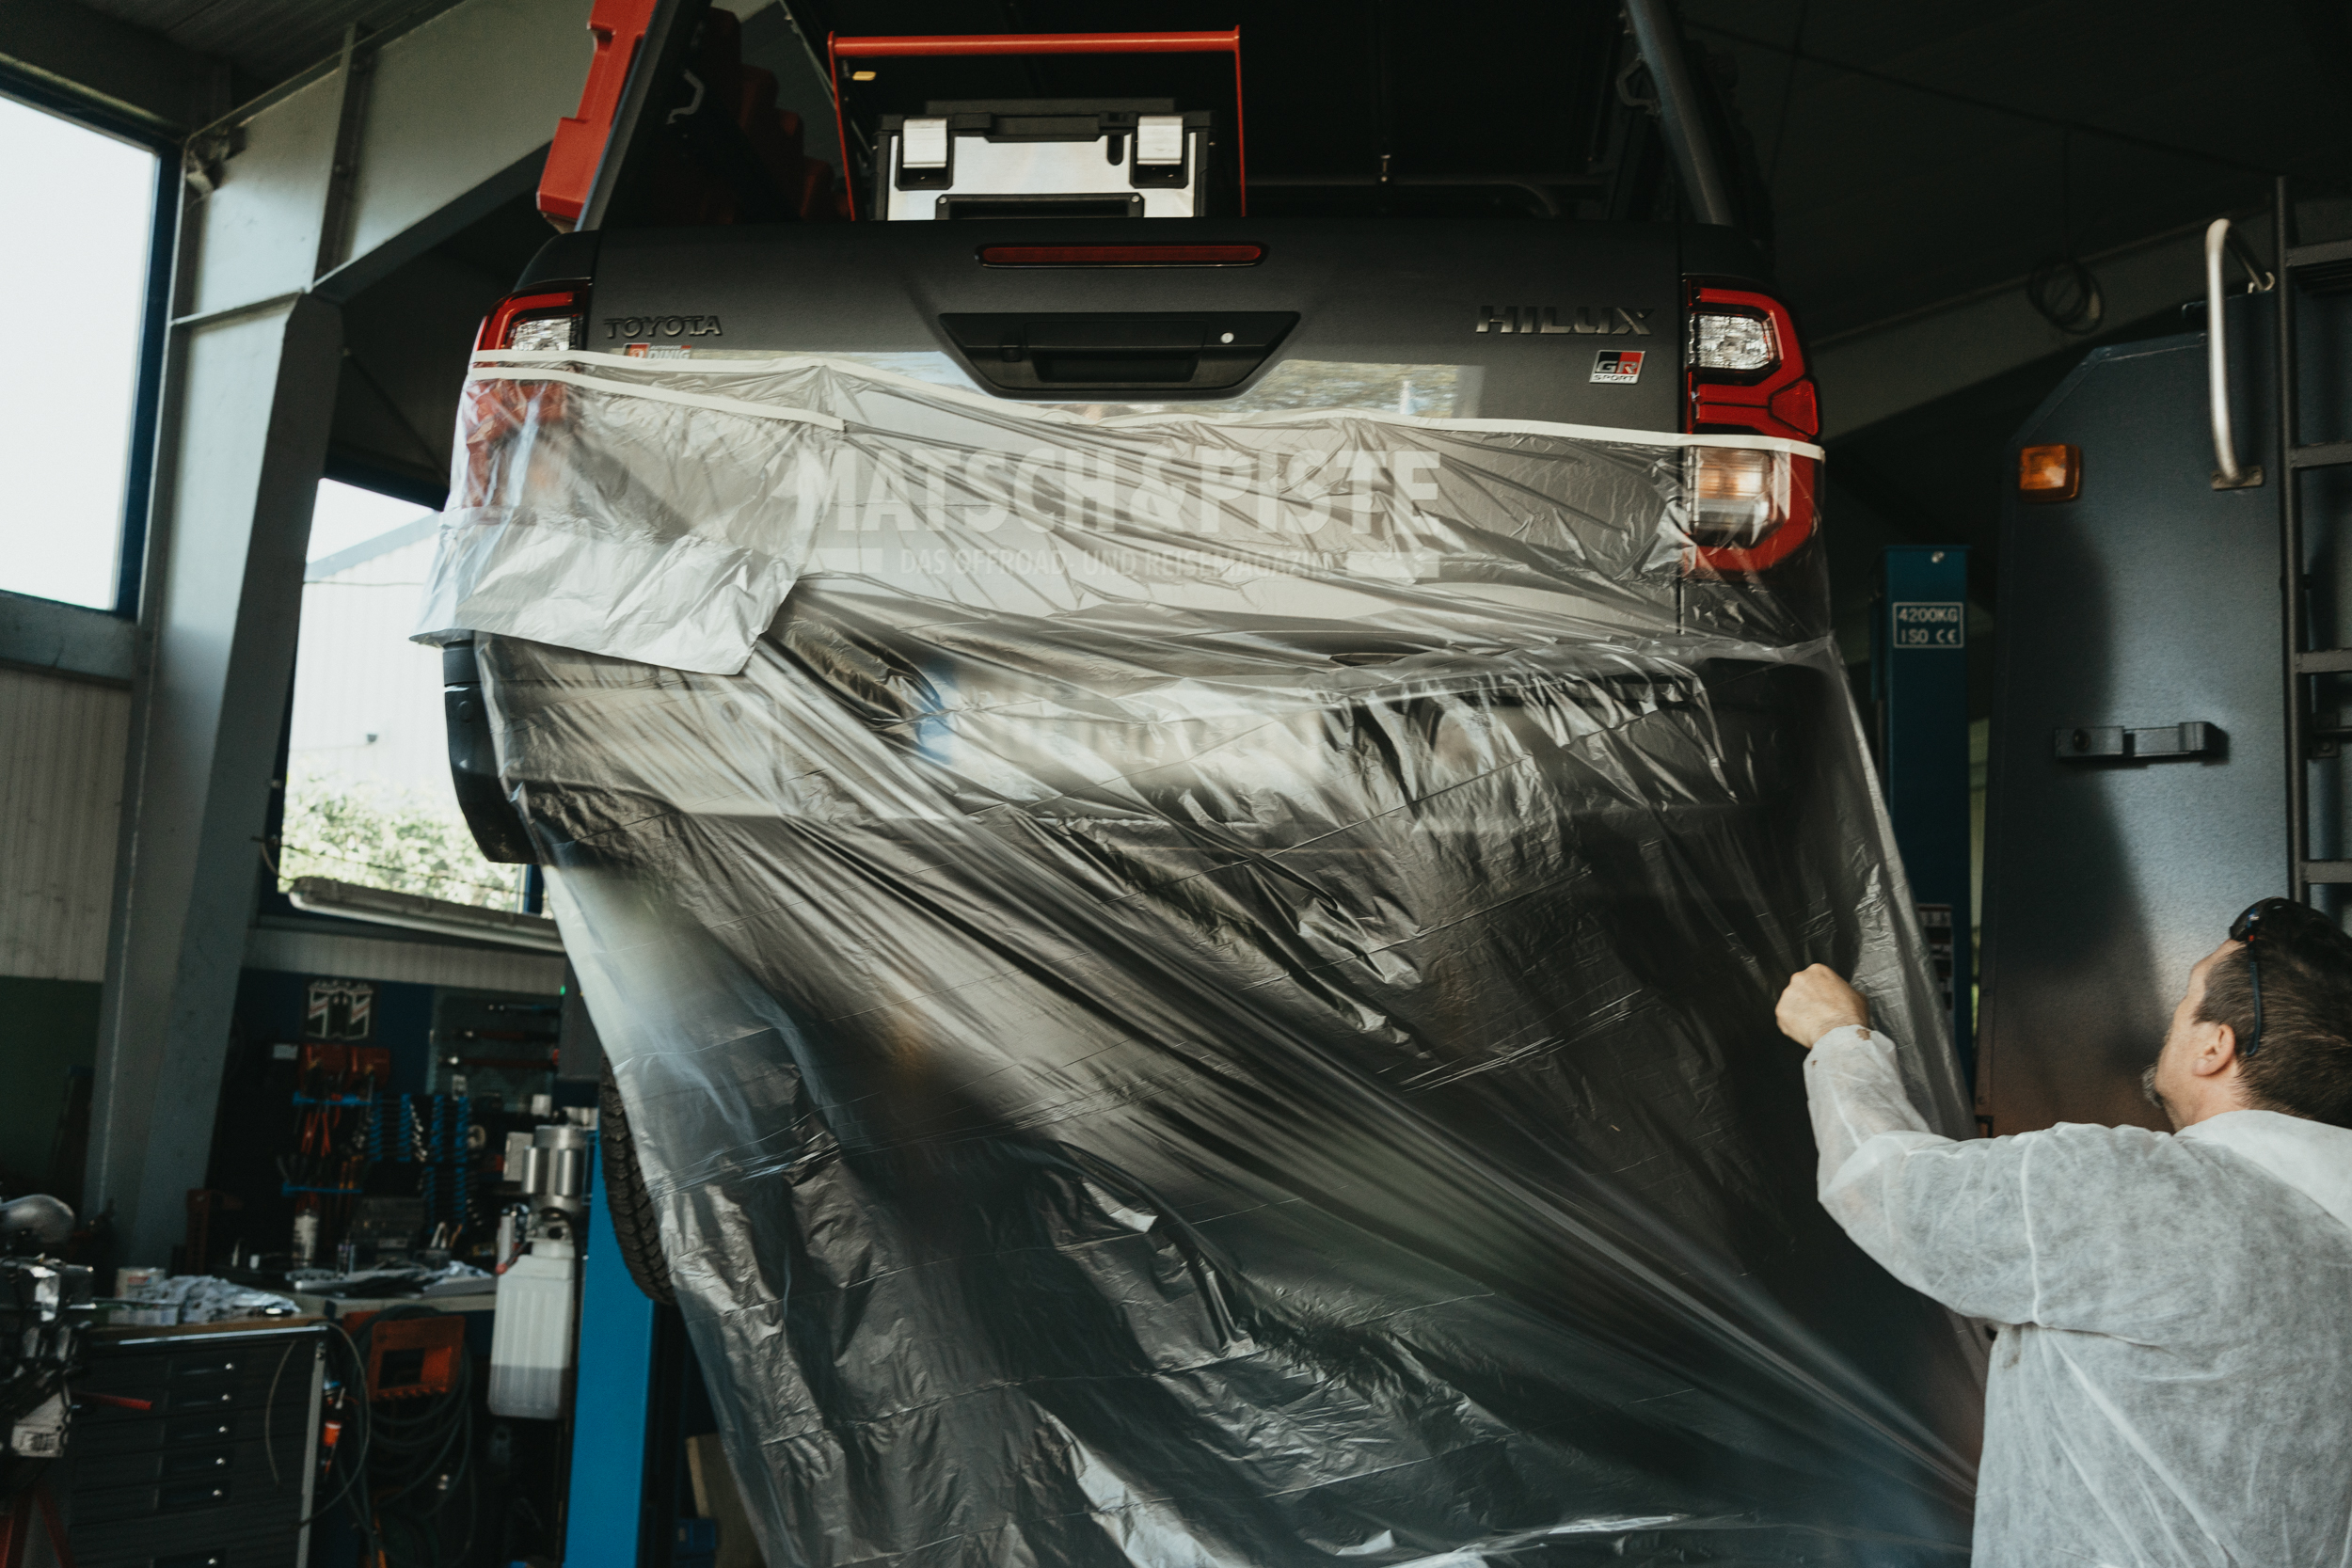
Our Toyota Hilux, a 2024 new car, came to us without any protection at all. As it’s the last model without a hybrid drive, we want to keep it longer. So it was clear, we had to do something. There are loads of systems and products on the market, but that’s not really the point here, because all systems are applied in more or less the same way. This article is about the how and the what.
Is rustproofing a job for everyone?
The first question that comes up is probably: “Can I do this myself?” The answer is a clear “it depends”. The market offers a huge range of rustproofing products. There are proven classics and newer products whose effectiveness will only show in a few years. What we can say for sure is that good rust protection needs good material, good tools, good preparation and good workmanship. If you want to sort it in the driveway, lying under the car with a couple of spray cans, you can’t expect the same result that professional kit and a proper protection system give you.
Kit and materials
What do you need to put on professional protection? We recommend the following kit:
- Compressor. You need an air output of at least 250 l/min. The output is roughly 70% of the intake. From 270 litres intake you can already do smaller rustproofing jobs with a pressure-pot gun. 400 litres intake would be better. The tank should then hold at least 50 litres. Compressors like that are available as mobile versions from 250 euro, for example the Scheppach H53dc.
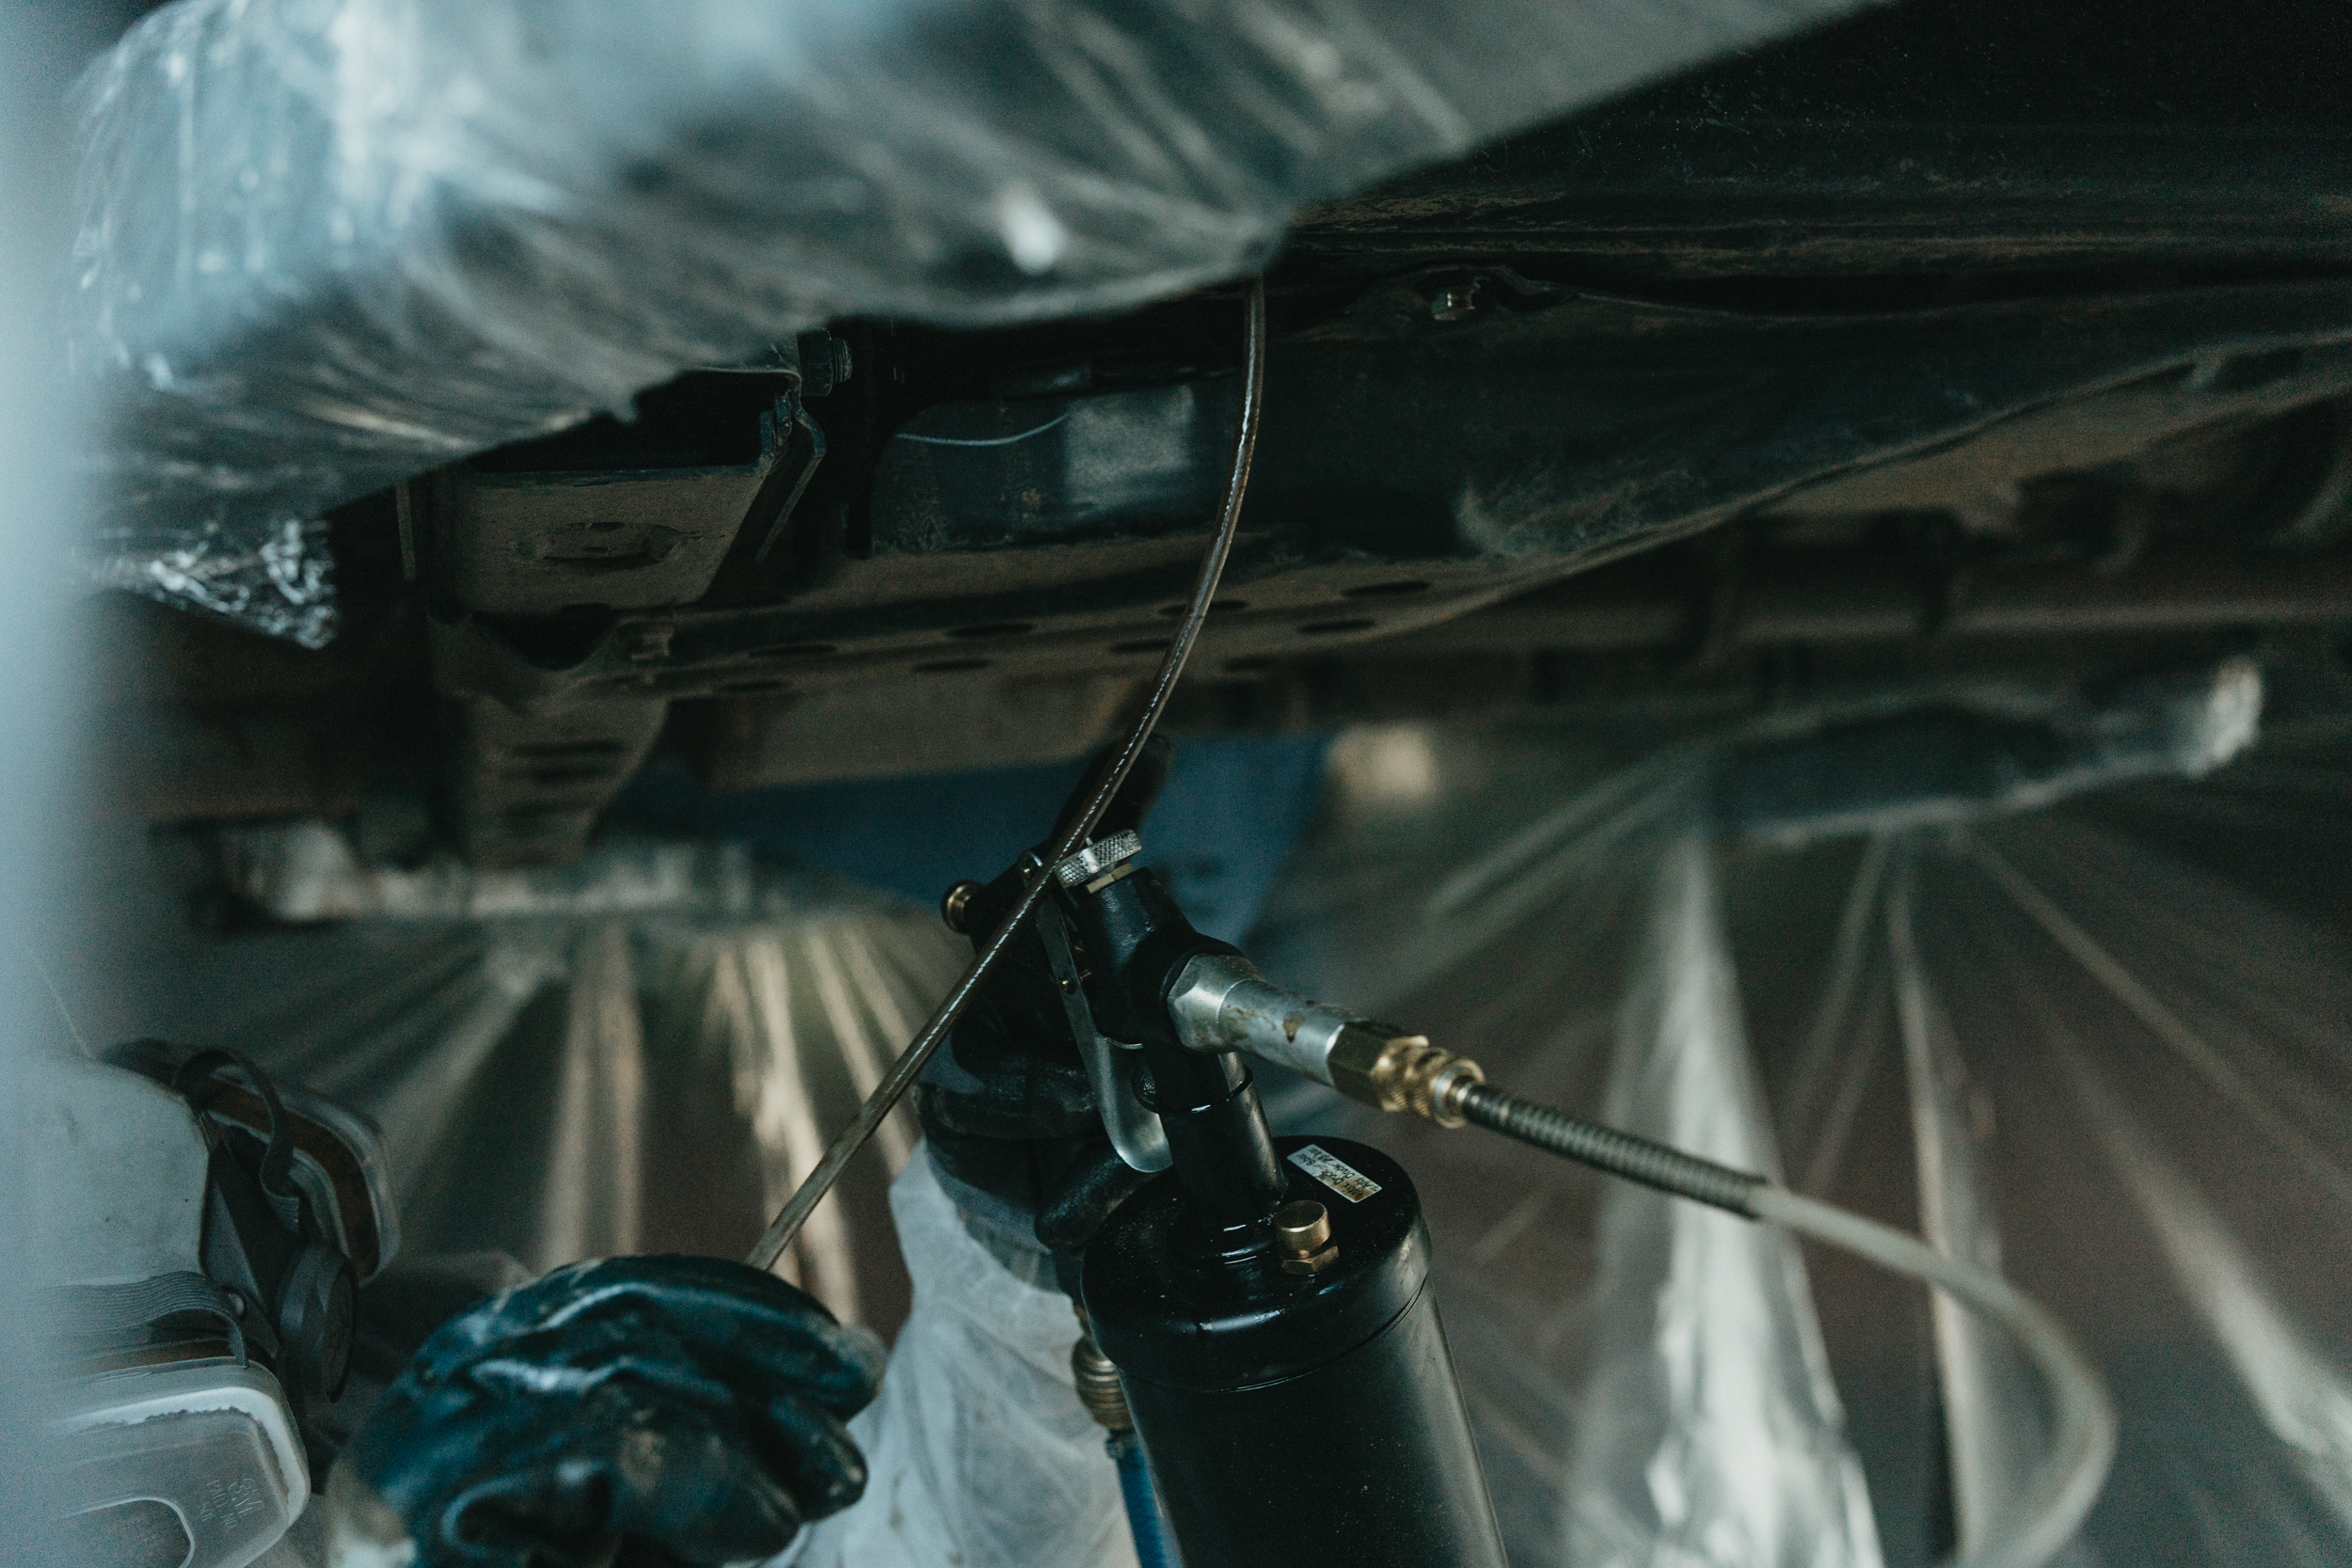
- Pressure-pot gun with lance and flexible probe. With the compressor and the pressure-pot gun you get a good, even result and use the material most efficiently.
- Safety goggles that fully seal around your eyes. Better safe than sorry!
- Respirator mask. Use an A2P3 mask. A (brown) means it protects against organic gases and vapours, the kind you usually find in paints, lacquers and rustproofing materials. 2 means a medium capacity, so you can work for longer. P (white) with high capacity 3 protects against liquid and solid particles in the air. We work with the 6502 QLPRO from 3M.
- Disposable decorator’s coverall and protective gloves. Even if you wear your old workshop clothes, after an intense rustproofing session the stuff is done for. So buy a few disposable coveralls and pull them over the top. We use the ones from 3M. Plus disposable nitrile gloves.
It also helps a lot to have access to a ramp.
The materials
The market offers a lot of choice. There are loads of products and systems that build on each other. How do you keep track? My tip is the Korrosionsschutz-Depot and its advice hotline. You get almost everything there, plus good advice. Whether your vehicle is new, used or already has some protection, they help you out. They recommend and explain the right material for you. Every product comes with a detailed description for its use, its application and the later steps, like painting over it.
The Dinitrol system
For the Hilux we went for the system from Dinitrol. It uses a low-viscosity oil, about as runny as WD40, that goes on as the first layer over all surfaces and into all cavities, into the inside of the ladder frame, the door interiors and the sills. This oil creeps strongly and works its way into every gap and seam. After applying it, you should leave the car standing for two to three days. Then you apply the wax. It goes onto the same surfaces and into the same cavities and sets the oil so it stays put. Only the outside of the ladder frame gets just the underbody wax.
- Dinitrol Cavity Protection ML 3125. Strongly creeping oil, low viscosity, into and onto all surfaces and cavities to be protected, except the outside of the ladder frame.
- Dinitrol Cavity Protection 3642W: protective wax for all cavities and surfaces
- Dinitrol underbody protection 4941 or 4942: underseal (ladder frame)
Depending on the material and system you’ve chosen, you need an electric hotplate with a pot for boiling water. Many systems use a wax that has to be warmed and made liquid before you can apply it.

On our Land Rovers, which were protected with Mike Sander’s grease in the past, we top up the protection regularly with KSD cold grease. It’s quick and easy to apply. There’s no big masking and wrapping needed and you can work with it at normal room temperature.
Don’t forget the after part, cleaning
It’s in the nature of rustproofing materials that they’re meant to stick around as long as possible. On the vehicle that’s the idea, on your tools it isn’t. Check the data sheets or the instructions for the material to see how the tools, especially the pressure-pot gun, should be cleaned afterwards. Most of the time it’s cellulose thinner. But careful, cellulose thinner is the crowbar among solvents and dissolves almost everything. In other words, it’s aggressive. Wear your nitrile gloves and the respirator, because cellulose thinner is neurotoxic. It attacks many materials and paints, except cured 2K paints. You can clean your pressure-pot gun and the probes with it. Soon after use, put some into the gun and flush it through. Best done outdoors with plenty of space around you.
Also keep enough rags and paper ready to wipe all the parts dry. With a rag lightly soaked in cellulose thinner (wear gloves!) you can wipe down your tools.
Preparation I, the workspace
Rustproofing materials are meant to reach the bare surface and every corner and seam. So they’re usually very runny and keen to creep. To leave no spot uncovered, the material is sprayed onto the surfaces as a fine mist with the compressor and pressure-pot gun. That inevitably creates overspray. It’s neither healthy nor easy to get off other surfaces.
Anything at risk of the mist settling on it should be protected. If you do have a ramp, cover its posts and arms too. A few rolls of cling film work well here. They wrap around the parts quickly and protect well. On the floor, lay out decorator’s fleece. Fabric on one side, film on the other.
Before you start, set up good lighting so you can see where material has gone on and where it hasn’t.
Preparation II, the car
Best of all is when the car is still almost unused and hasn’t seen any off-road work, let alone a winter with salt on the roads. If that’s not the case, you have to remove stuck-on dirt as well as you can. From the surfaces and out of the ladder frame too.
If the inside of the ladder frame is already dirty, it has to be flushed out. That works very well with a pressure washer combined with a drain-cleaning hose. These have a nozzle with jets pointing backwards, so the hose almost pulls itself into the frame. You can see it in this video:
Flush until only clear water comes out of the openings. After that, the vehicle should stand and dry for two to three days, for example in a hall or, in good weather, just outside in the sun.
You can also rinse the surfaces under the car wet, where a short pistol-type attachment has proven handy, much easier to handle than the long lances. I’ve had very good results with the APS Short Trigger Gun, which comes with three different nozzles.
If you already have a compressor, my tip: the best way to get the coarse dirt out of every corner and crack isn’t water, it’s compressed air. Wear safety goggles for this, because small stones and the like get blasted off with real force.
Then take off everything that blocks access to the panels. The plastic covers in the wheel arches, trims, add-on parts and so on. Remove plugs and covers that close off the cavities. If you want to do the doors too, take out any plugs on the undersides. You feed the probe in through these openings later. Close all the windows, or you’ll spray the glass.
On the doors, the overspray can come out at the door trim. Then it’s better to work on the door with it open. Seal the door opening to the interior with film first. Mask the door trim with cling film or similar. Anything that shouldn’t get rustproofing but sits in the direct work area, mask or wrap it too. The catalytic converter and diesel particulate filter, for example.
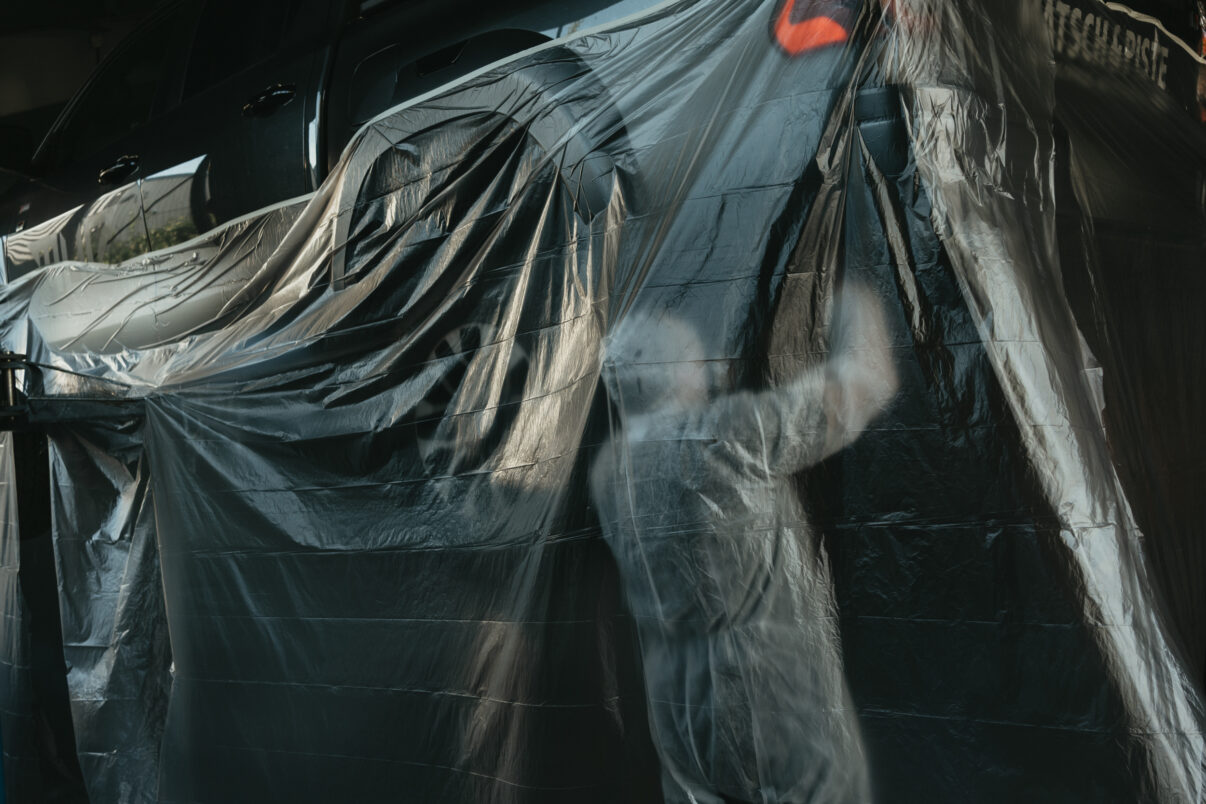
We protected the vehicle itself with masking film that has the tape built in. You stick that on as low as possible all the way around the car and pull the film down. Then you’ve made something like a booth.
The application
Material like the Korrosionsschutz-Depot KSD cold grease is easy to apply. Normal room temperature is enough for it to go through the pressure-pot gun, and it barely mists. That’s very easy to manage on your own. I only use it in the ladder frame and other largely closed cavities, though. I don’t use it on open surfaces, it doesn’t hold well there. Once you’ve sprayed the cold grease into the cavities, you’re already done. Like the Dinitrol system we use, there’s a very creep-friendly oil made specially for seams that you can apply before the cold grease: Kaltöl penetrant.
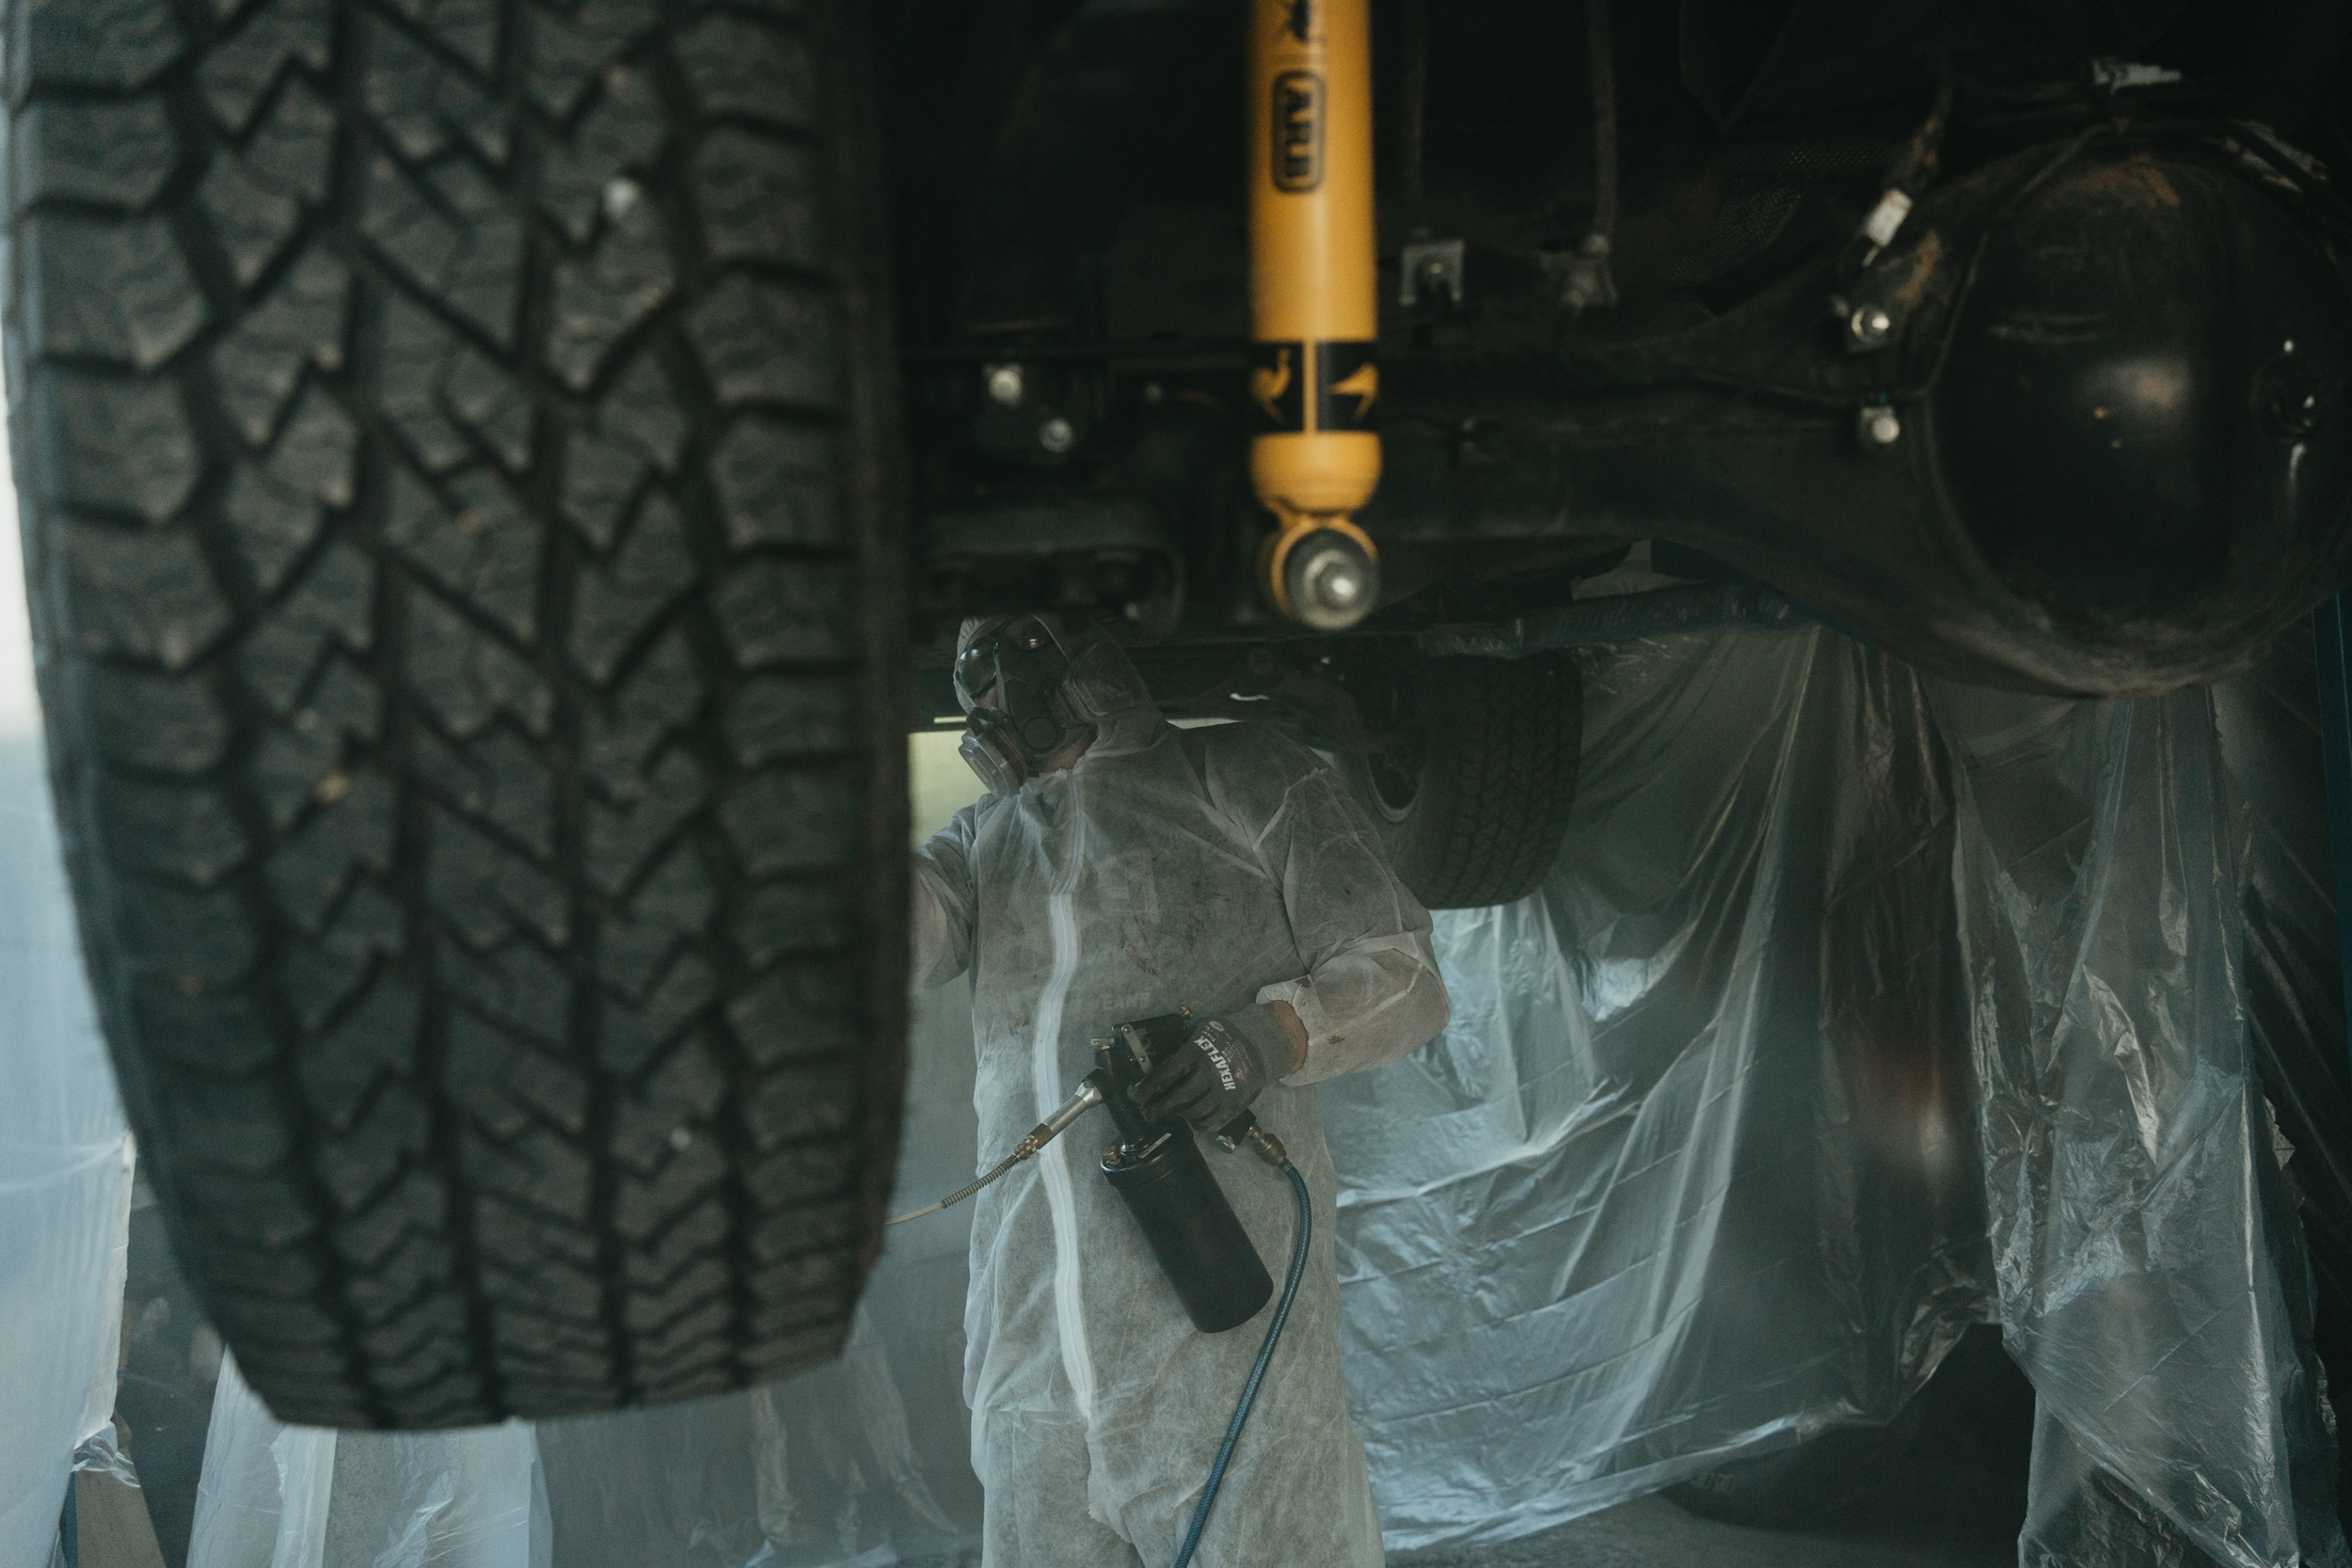
If you use the Dinitrol system or similar material, it really helps to work in pairs. One person spreads the material on the vehicle and wears all the protective gear, the other works from outside: liquefying wax, filling the gun and whatever else comes up. That way you’re faster, more efficient and the wax goes on quicker. Otherwise it can cool in the gun and get too stiff. So take smaller amounts and refill more often.
When you’ve prepped everything, do a kind of walk-around. Look at the vehicle calmly and decide where you want to put material. Then it goes faster later and you don’t have to search.
Cavities first
Start with the cavities. Doors and the door pillars of the A, B and C pillars, then the load-bearing pillars if it isn’t a ladder-frame vehicle. Carry on with the control arms and crossmembers and the side outriggers and supports of the body.
Try to work so you don’t have to swap the probes or spray attachment too often, because then you keep having to clean them. Feed the probe with hose into each opening as far as it goes. Then spray and slowly pull it back out. I keep moving the probe back and forth to make sure all the surfaces in the cavities, and above all all the seams inside them, get enough coverage. Watch the other openings to see whether and where mist comes out. If you see openings where no mist comes out, there’s no connection. You have to go in there with the probe too. I always go into every opening with the probe, it can’t hurt.
Then the surfaces
You’re best doing these with the hand sprayer, without hose and probe. Here too, make sure the seams in particular get sprayed well. The material does creep, but better safe than sorry.
We did the insides of the wheel arches (inner wings) and all the underbody surfaces.
The sealing
After the car has stood for 24 to 48 hours, to give the oil time to work into every nook and seam, it’s time for sealing with wax. Fill the pot with water, put the wax tin and your probes and sprayers in it and heat the lot. It doesn’t have to boil. When the wax is liquid, fill it into the pressure-pot gun. Again, better to refill more often than to let it set in the gun.
Go in the same order. Cavities first, then the surfaces. For the surfaces we used the brownish to transparent Dinitrol Cavity Protection wax, while on the outside of the frame we used the black Dinitrol underseal, because it’s firmer and tougher.
Finishing off
Of course everything goes back on now. Think about whether you want to refit the lower door plugs. I didn’t put them back at all. Even before the rustproofing, water once sloshed around in the driver’s door after heavy rain because it couldn’t drain. That shouldn’t happen. These plugs may be meant for wading, so no water gets in from below. Still, look at the openings and check whether they got sealed with wax. If so, take a plastic strip or the wooden stick from your favourite ice lolly and open the holes again. They’re water drains and have to stay open.
Pro or DIY
That’s the question. Do it yourself or hand it over? Both have their pros and cons. Anyone with no feel for this work usually won’t have the gear for it either. Then it’s better to hand the vehicle over. If a lot of prep work is needed, dry-ice blasting for example, the vehicle goes to the pro first for that anyway in most cases.
But you have to reckon with costs well over 1,000 euro here. Dry-ice blasting a ladder frame alone is likely to come to 1,000 to 1,500 euro. One reason why protection should be tackled straight away on new vehicles, before you have to remove old damage or rust later.
The advantage with the pro is that all the material is there and they know how to apply it. They also know the vehicle models, where and what to protect and how to reach it quickest.
What speaks for DIY is the cost saving, if you already have the gear and the space. It can be considerable. We’re talking several thousand euro that can be saved. People often work more generously then too, almost more than needed. But there’s effort, dirt and mess behind it.