

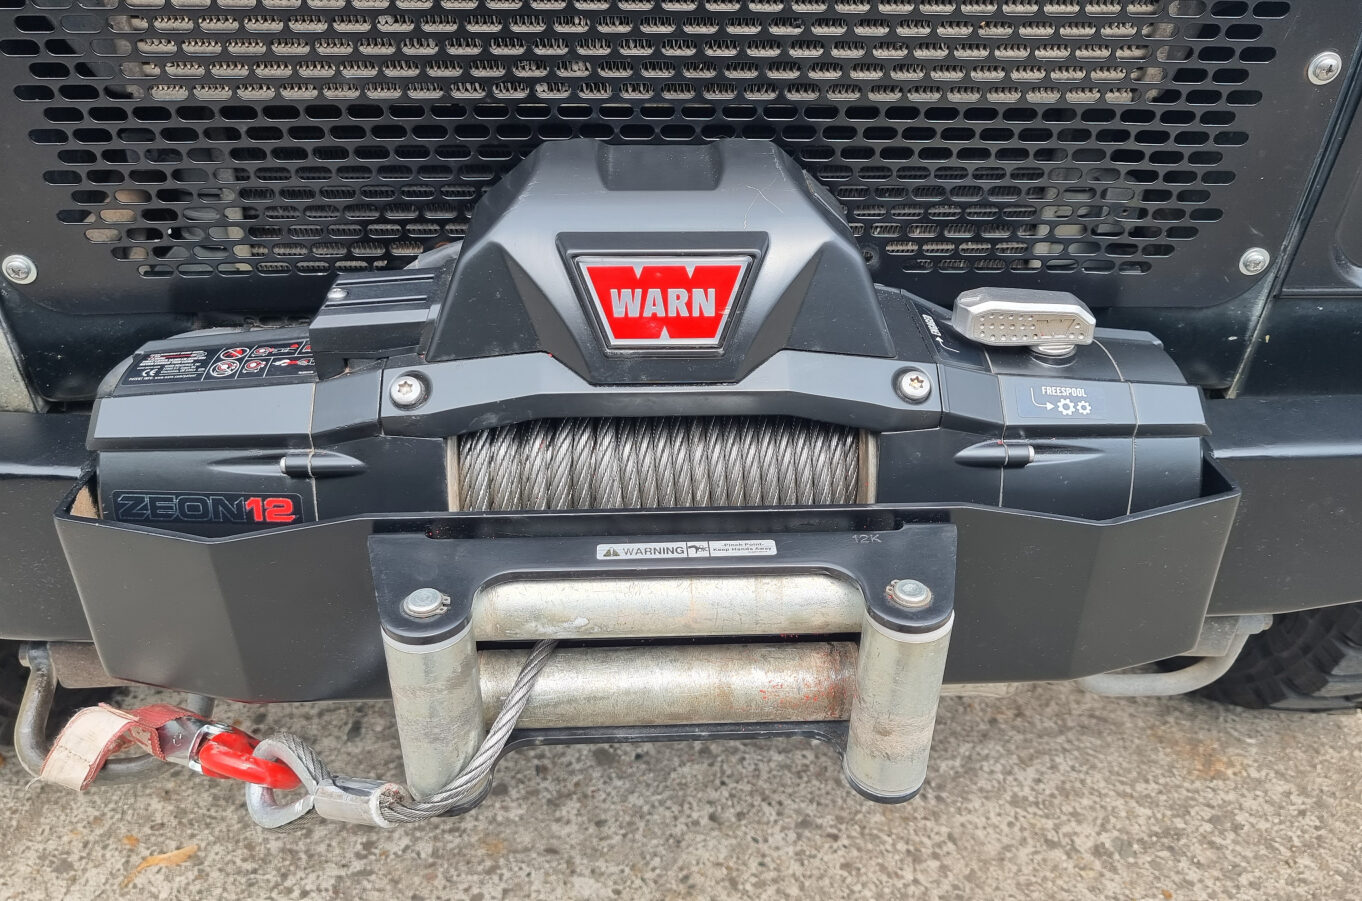

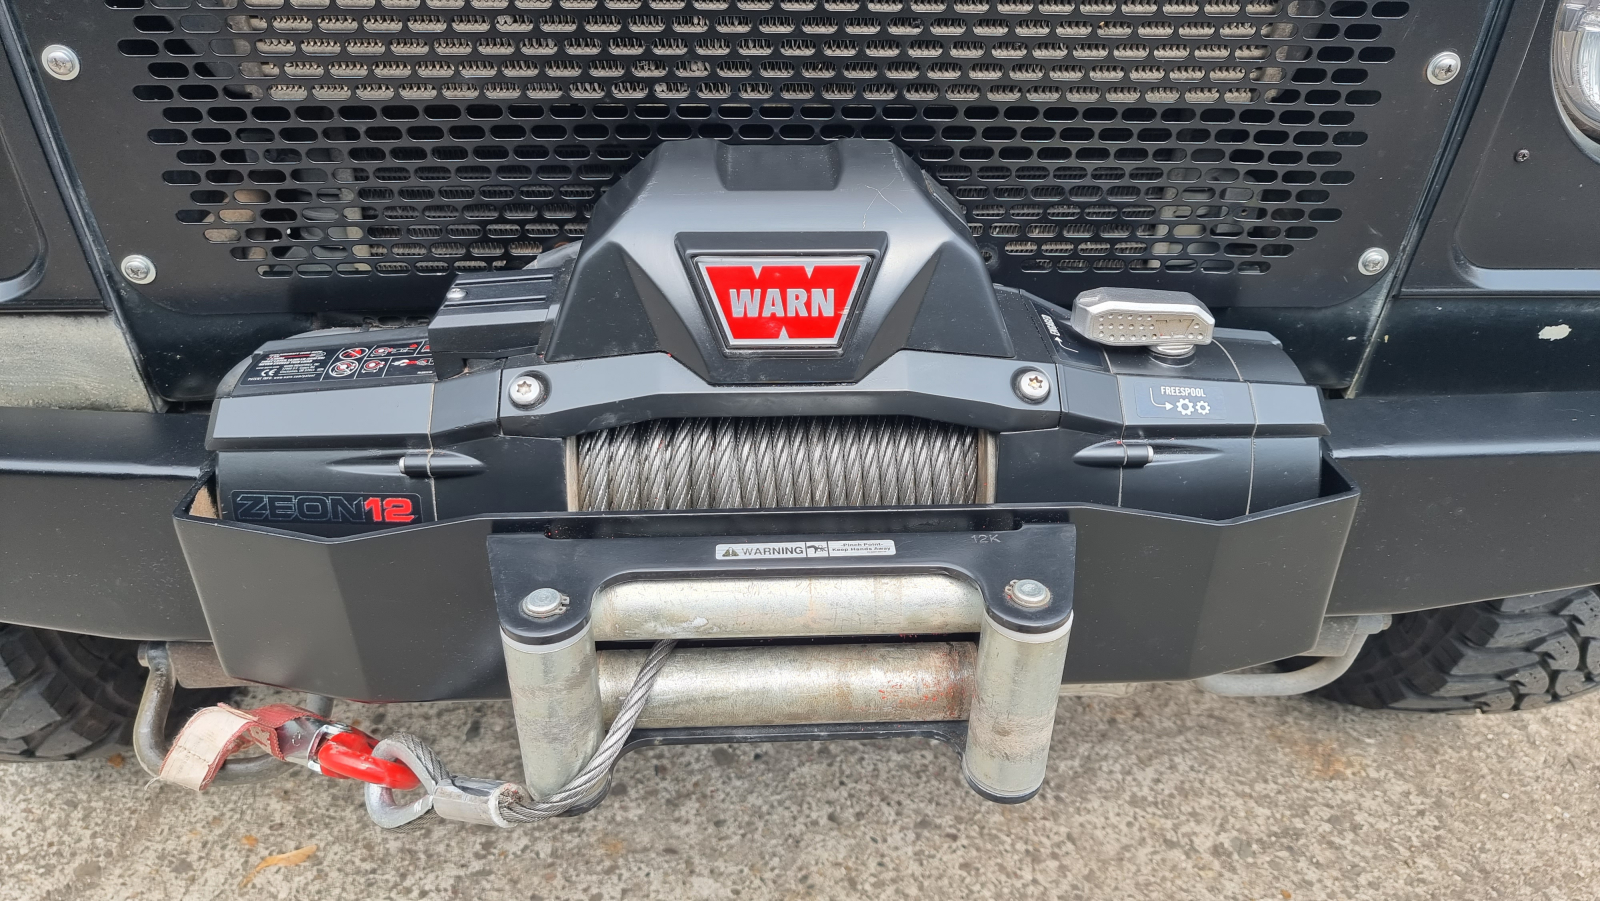
After cable damage in particular, the winch rope has to be replaced. But also when it’s simply no longer in a trustworthy condition. Using a WARN Zeon 12 as an example, we describe how to carry out such a rope change.
Replacing the steel cable of a winch is no big deal and can be done in one to two hours. That naturally also depends on the winch’s mounting position and how well you can reach everything. On my vehicle the winch sits easily accessible in the bumper and is not concealed.
There are various systems for how the winch rope can be fastened on or to the drum. There are ropes with a crimped end piece with an eye that is bolted to the drum. Or there is a hole in the drum through which the rope is pushed and then locked with a grub screw. Or, as in the case of the WARN Zeon winches, where the rope sits as a loop in an elongated hole in the drum. A small pin pushed into the loop locks the rope. At Warn this small part is called an „Anchor Puck“. This small pin has the rope diameter it suits printed on it. On the Warn Zeon 12 that’s 3/8″, which corresponds to 9.5 mm. So make sure you buy the right rope to match your system.
Replacing the winch rope on WARN Zeon winches
Caution: please disconnect the winch from power while working directly on it. Every winch should have a main switch, the so-called „emergency stop“, for this.
Depending on how the rope is fastened and on access, you may have to dismantle parts of the winch. On the Warn Zeon 12 it’s advisable to unscrew the bridge together with the control box so you have good access from above. Be careful: at the back of the control box there is a thin earth cable that you shouldn’t tear off. But it isn’t necessary to unscrew the cable either, because the whole bridge can simply be folded up and laid on the winch. On my vehicle I also quickly removed the radiator grille to reach everything even better.
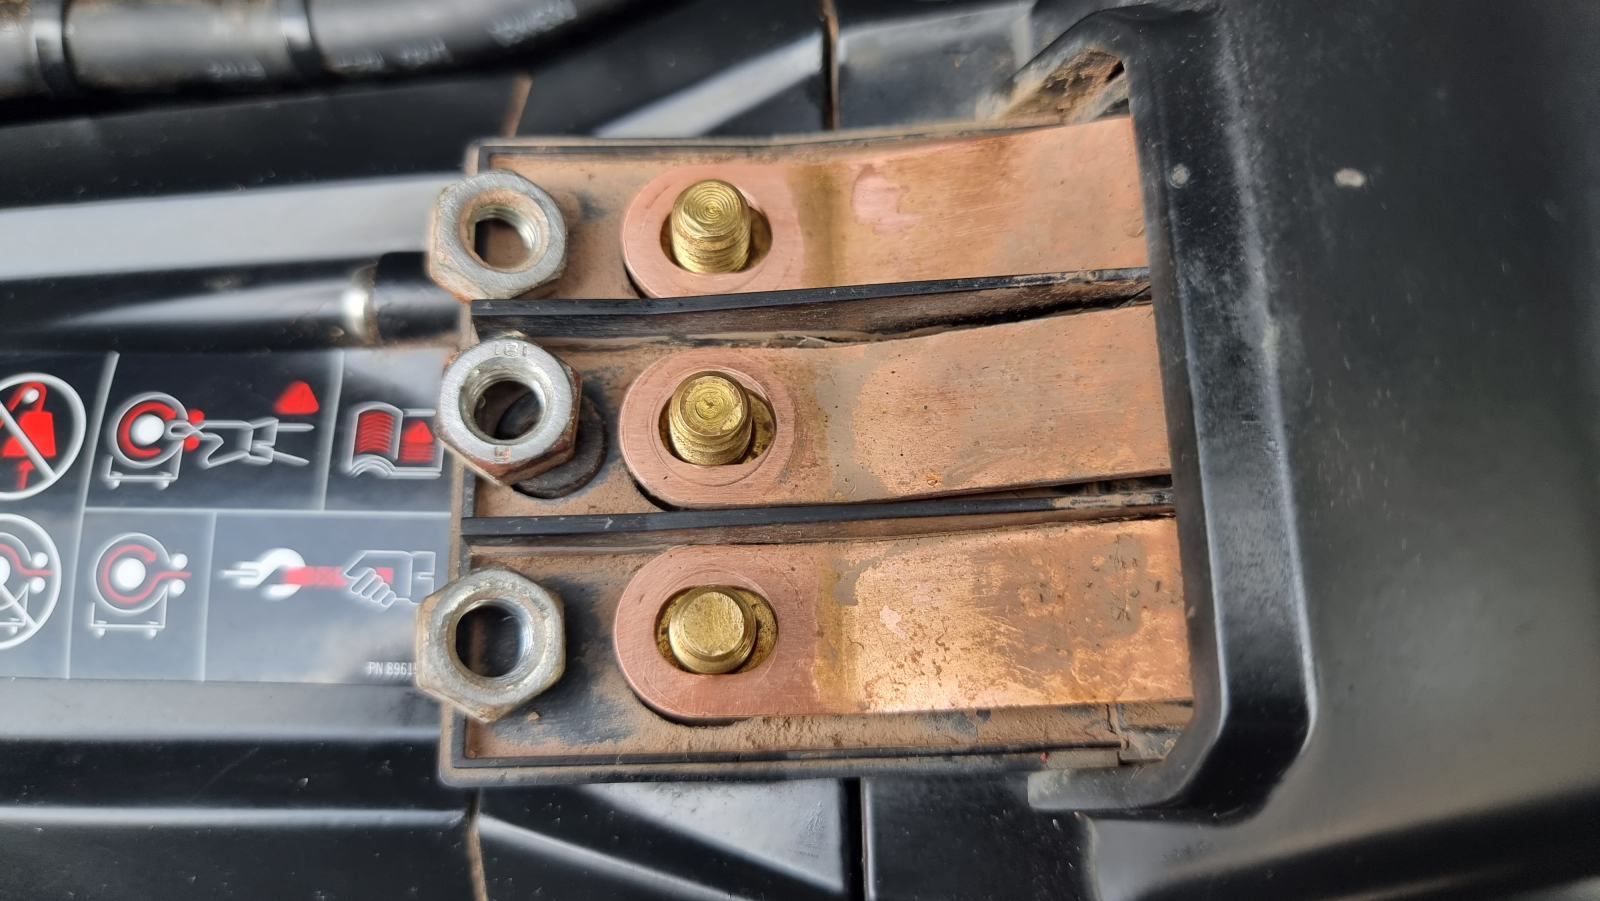
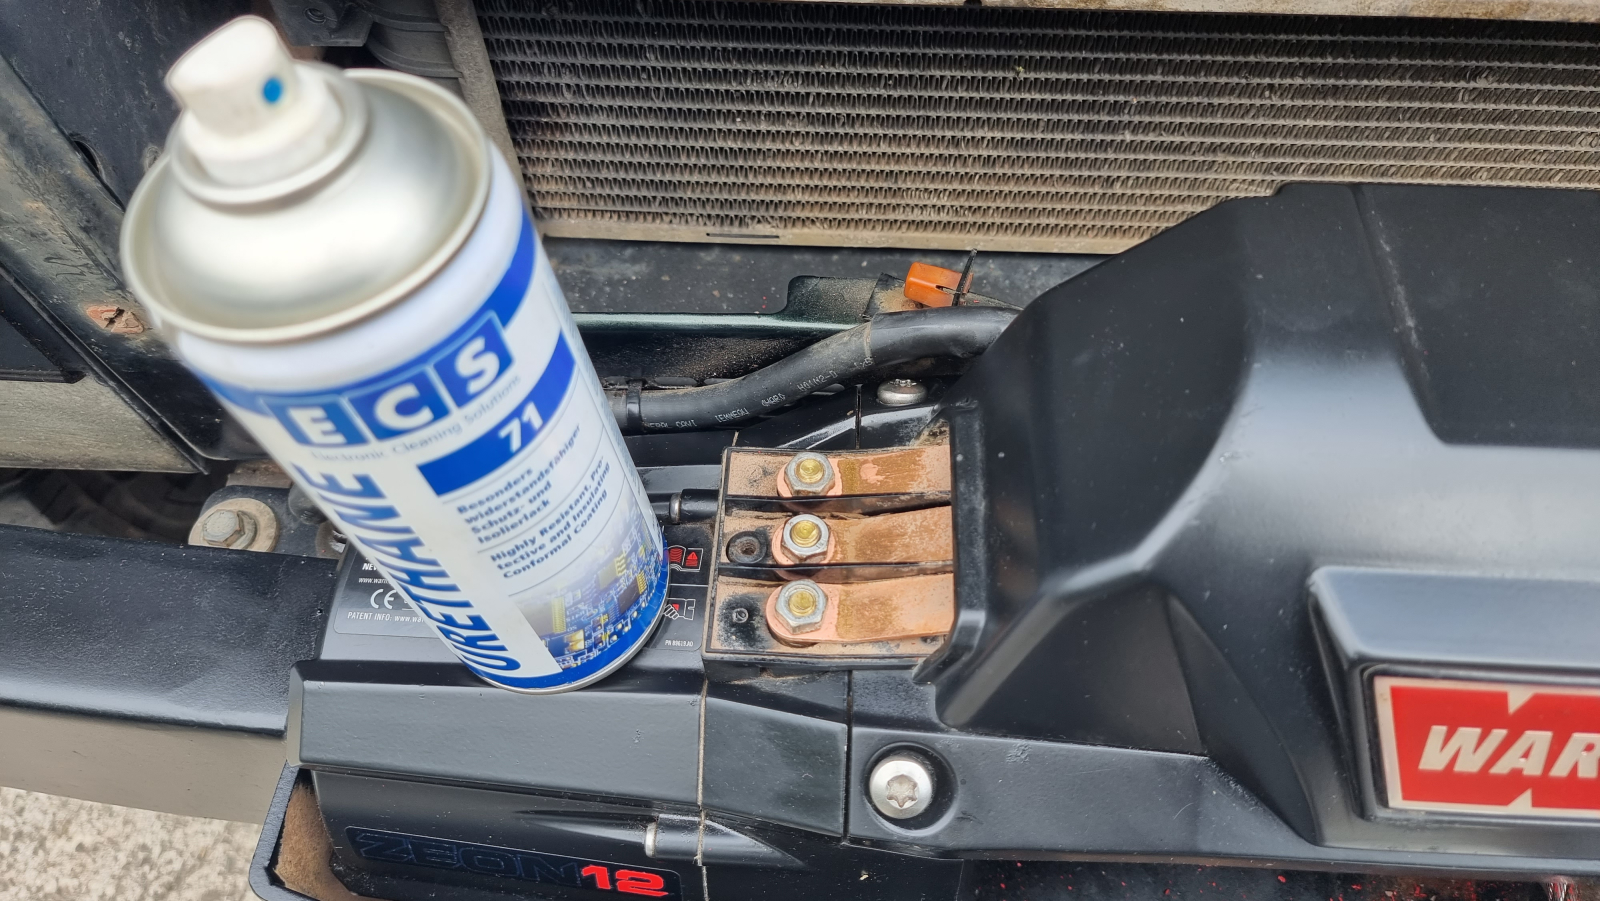
To release the bridge, first remove the small plastic cover under which the contact tabs are located and unscrew the three nuts of the contacts. On mine the metal strips of the contacts were coated with dirt, but that’s no problem. When fitting the winch I sprayed everything with ECS 71. This creates a durable, flexible protective film.

Our tip: protect electrics and electronics properly
on our vehicles I spray exposed contacts, control units and the winch contacts with ECS 71. This is a polyurethane spray to protect and insulate electrical and electronic parts. Unlike a contact spray or creeping oils, ECS 71 doesn’t evaporate. It dries and forms a flexible skin. This way it protects permanently against moisture, water and salt water as well as other environmental influences.
Once you’ve released the four retaining screws of the bridge, you can easily fold it up and lay it on the winch. The drum should now be easily accessible from above. Now you can fully unroll the old winch rope in freewheel.
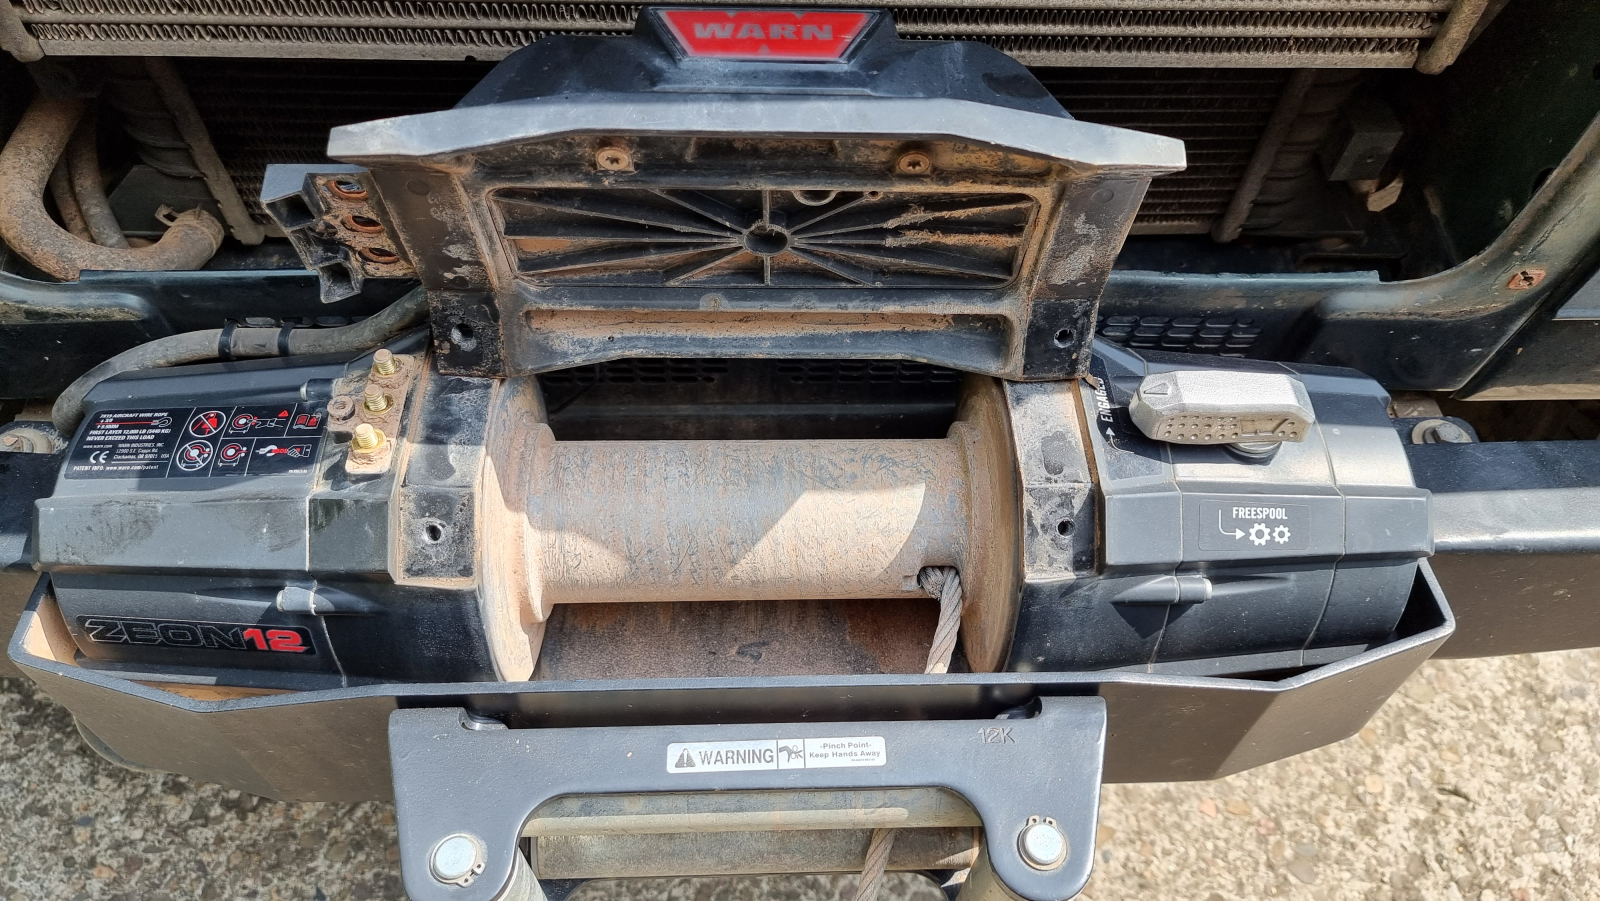
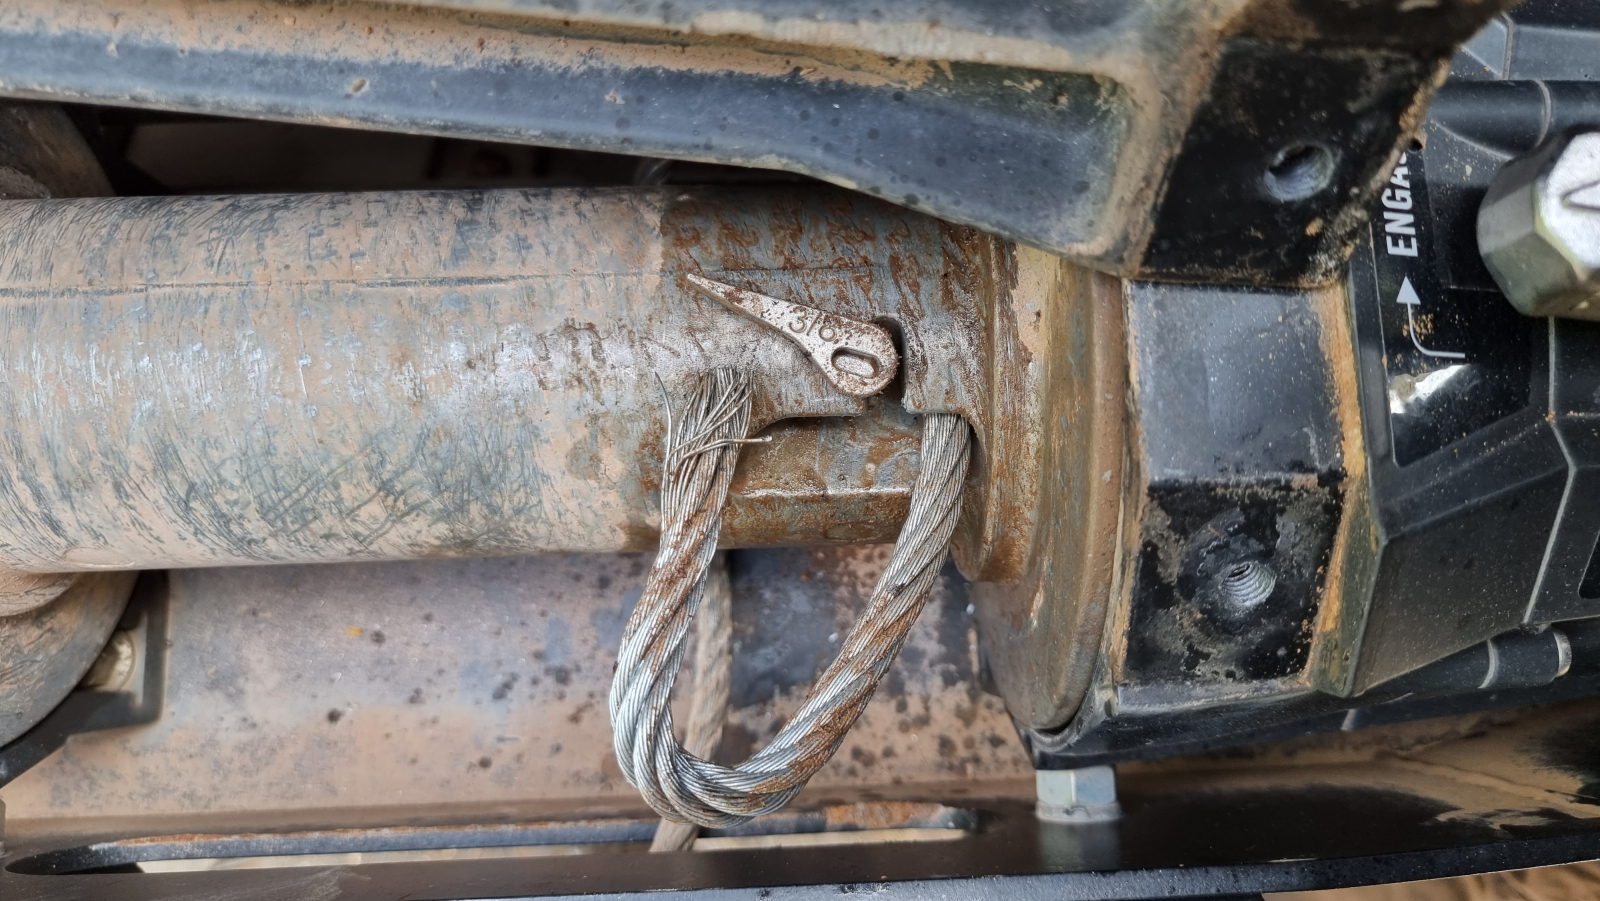
Then the rope-retaining mechanism appears. Note which side the rope enters the drum from and which way round the pin sits. It’s best to take a couple of detail photos with your smartphone camera.
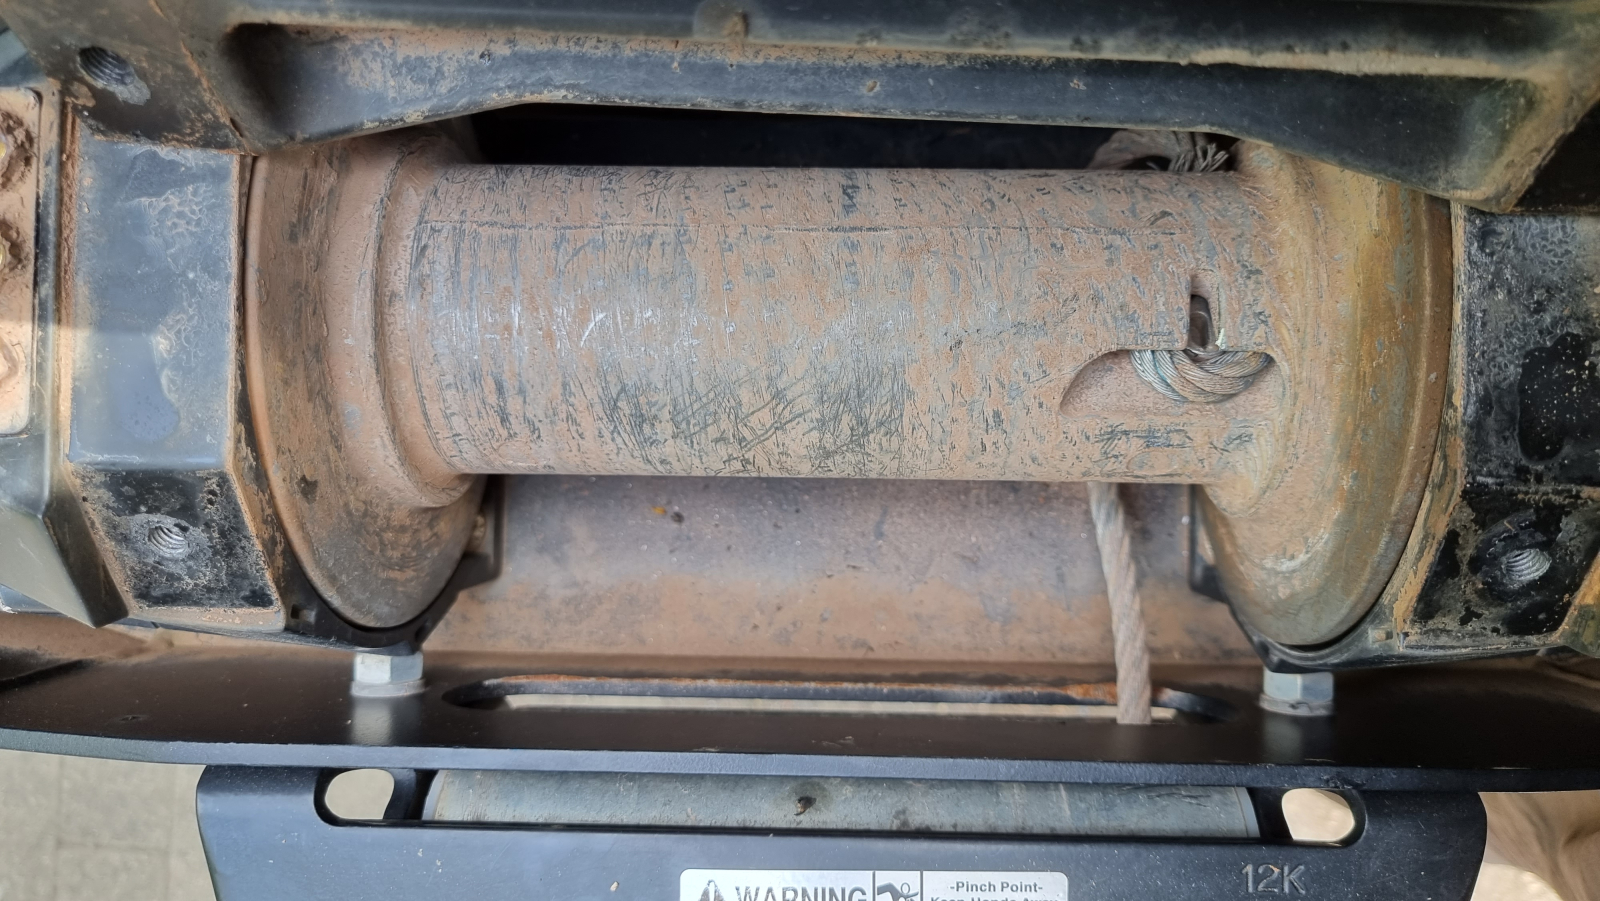
You can spray the rope and the rope opening in the drum with a little spray oil beforehand so the whole thing moves a bit more easily.
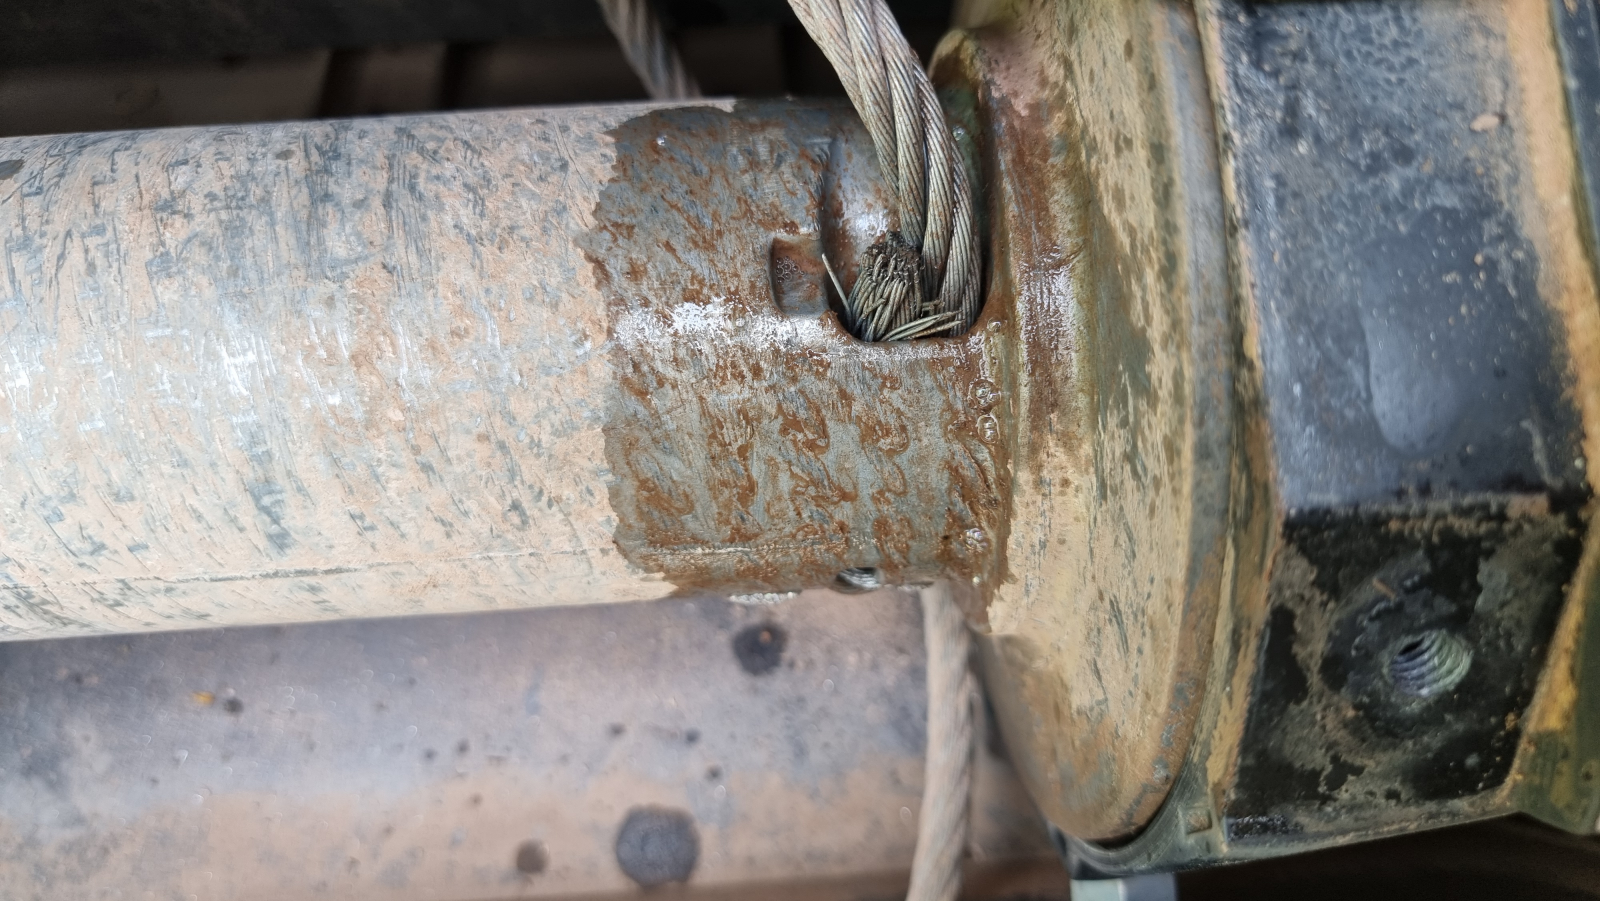
Turn the drum so that you can set a wide screwdriver or similar against the winch rope from above, and engage the gearbox (Engaged). Then, with a few gentle taps of the hammer, drive the rope loop out until the pin comes free. Please remember not to hammer a steel hammer onto a steel part, as dangerous splinters can chip off. Once the loop has widened enough, or the short rope end has even come completely out of the opening, you can remove the pin and pull the rope out.
Fitting the new rope
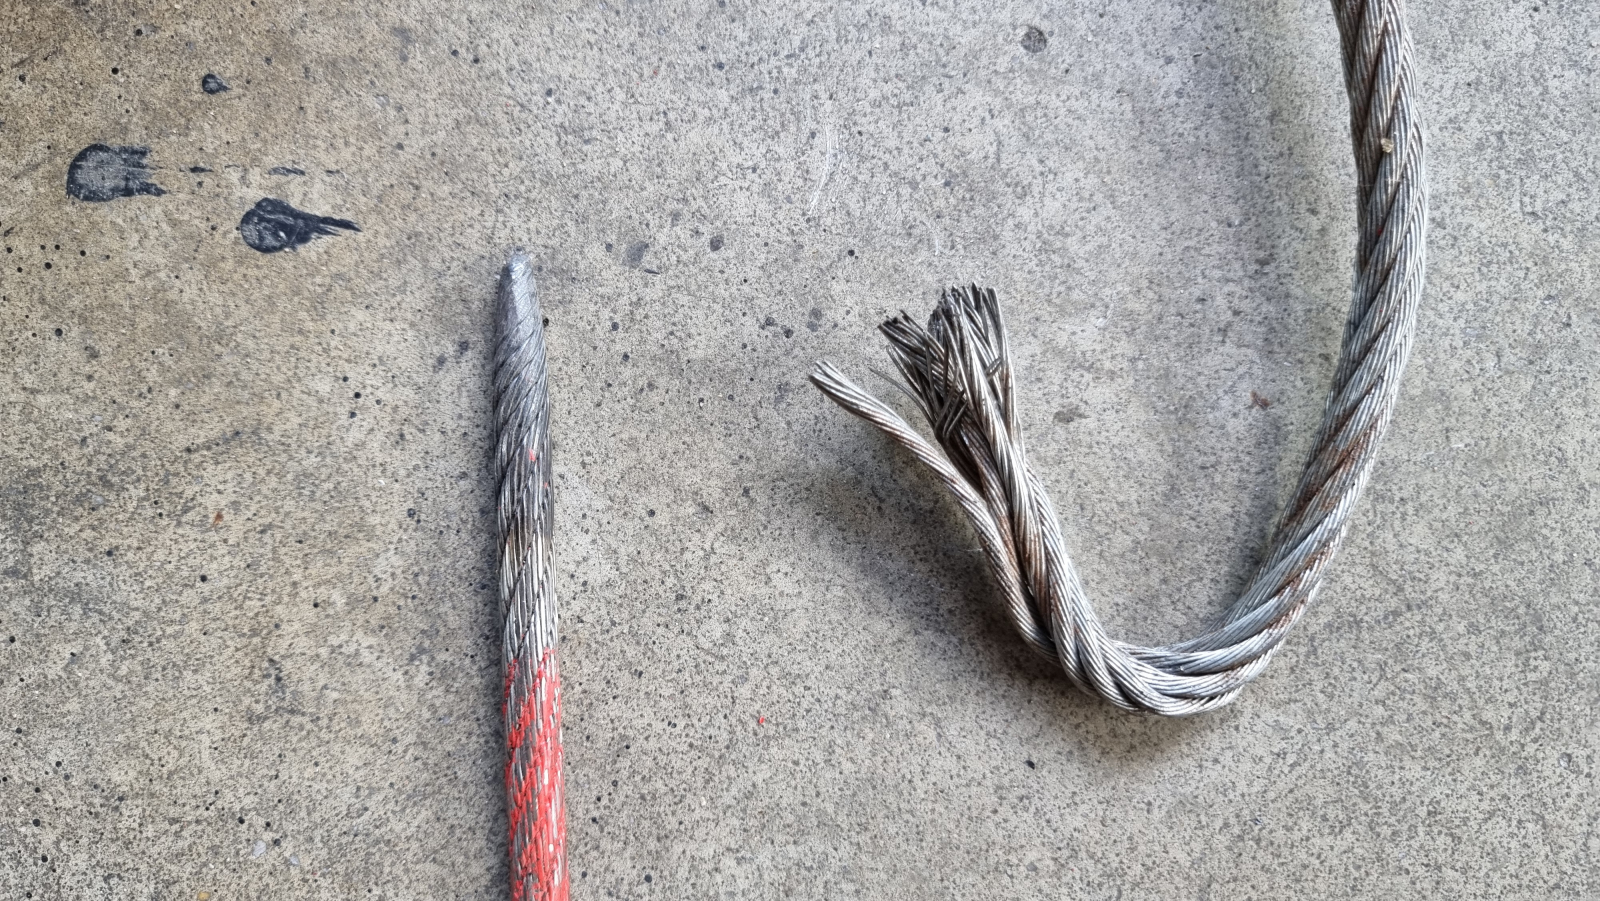
The new winch rope has a tapered end and the steel strands are protected against splaying. By comparison, the original winch rope has an open end that looks accordingly. You can easily hurt yourself on it.
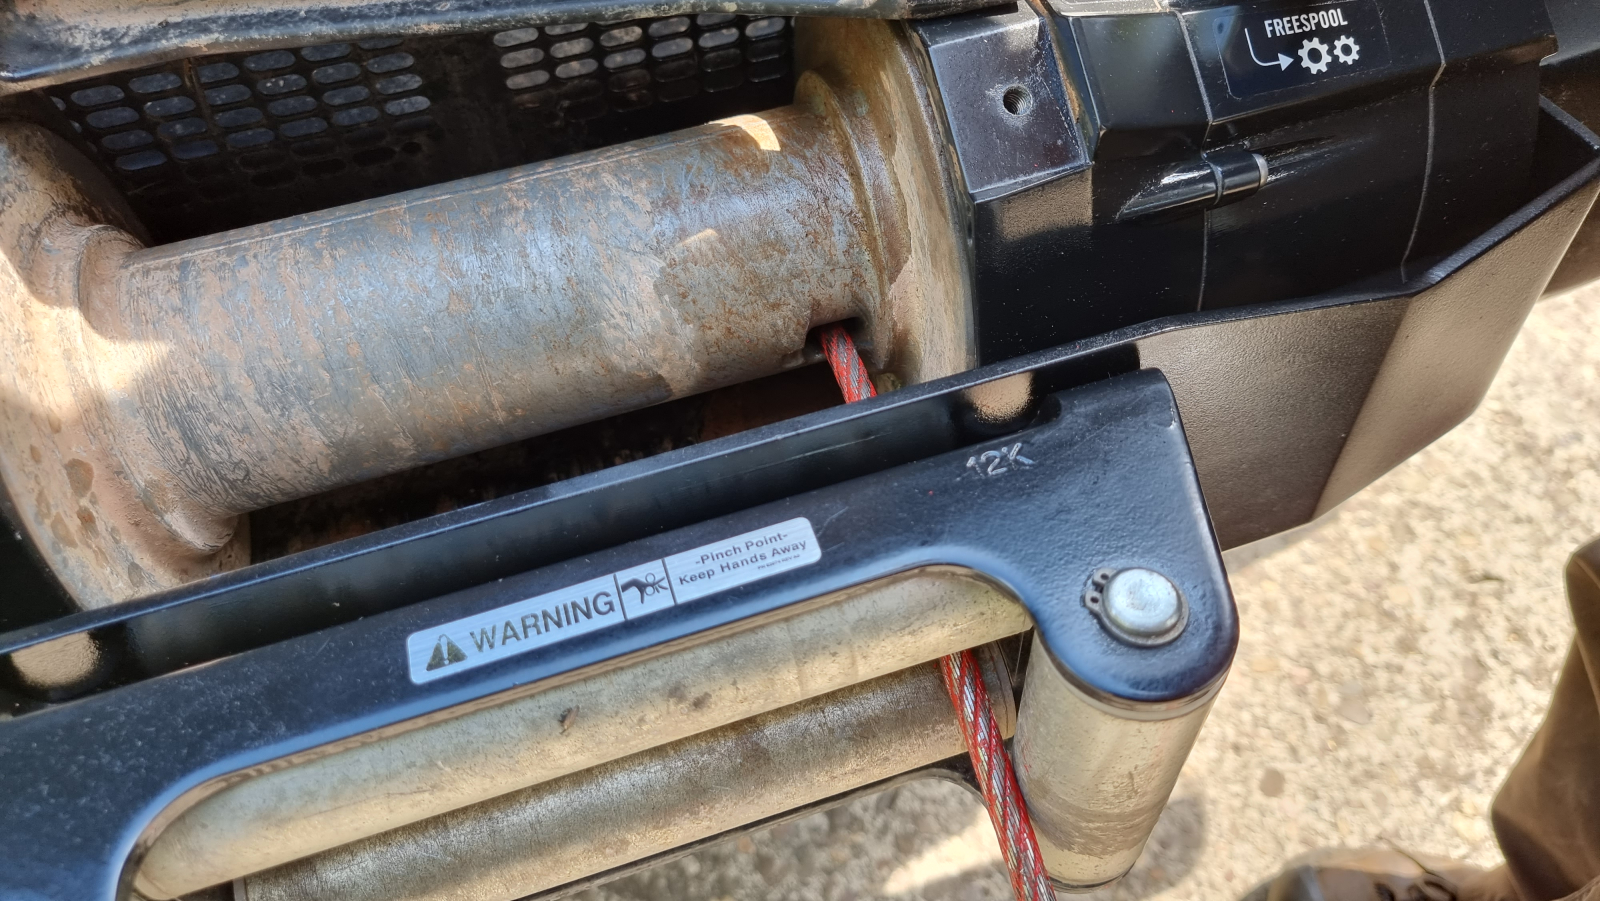
Fitting the new rope runs in reverse order. You feed enough rope length through the opening in the drum. Make sure you feed the rope through on the correct side; on the WARN Zeon 12 that’s the small opening in the drum the rope must come from, and it is inserted towards the drum edge. Then turn the drum in freewheel so the other side of the feed-through becomes visible.
Then you make a large loop and feed the rope end back through the wider opening. The rope end should finish flush with the drum surface on the other side so that it doesn’t protrude later when the rope is wound onto the drum.
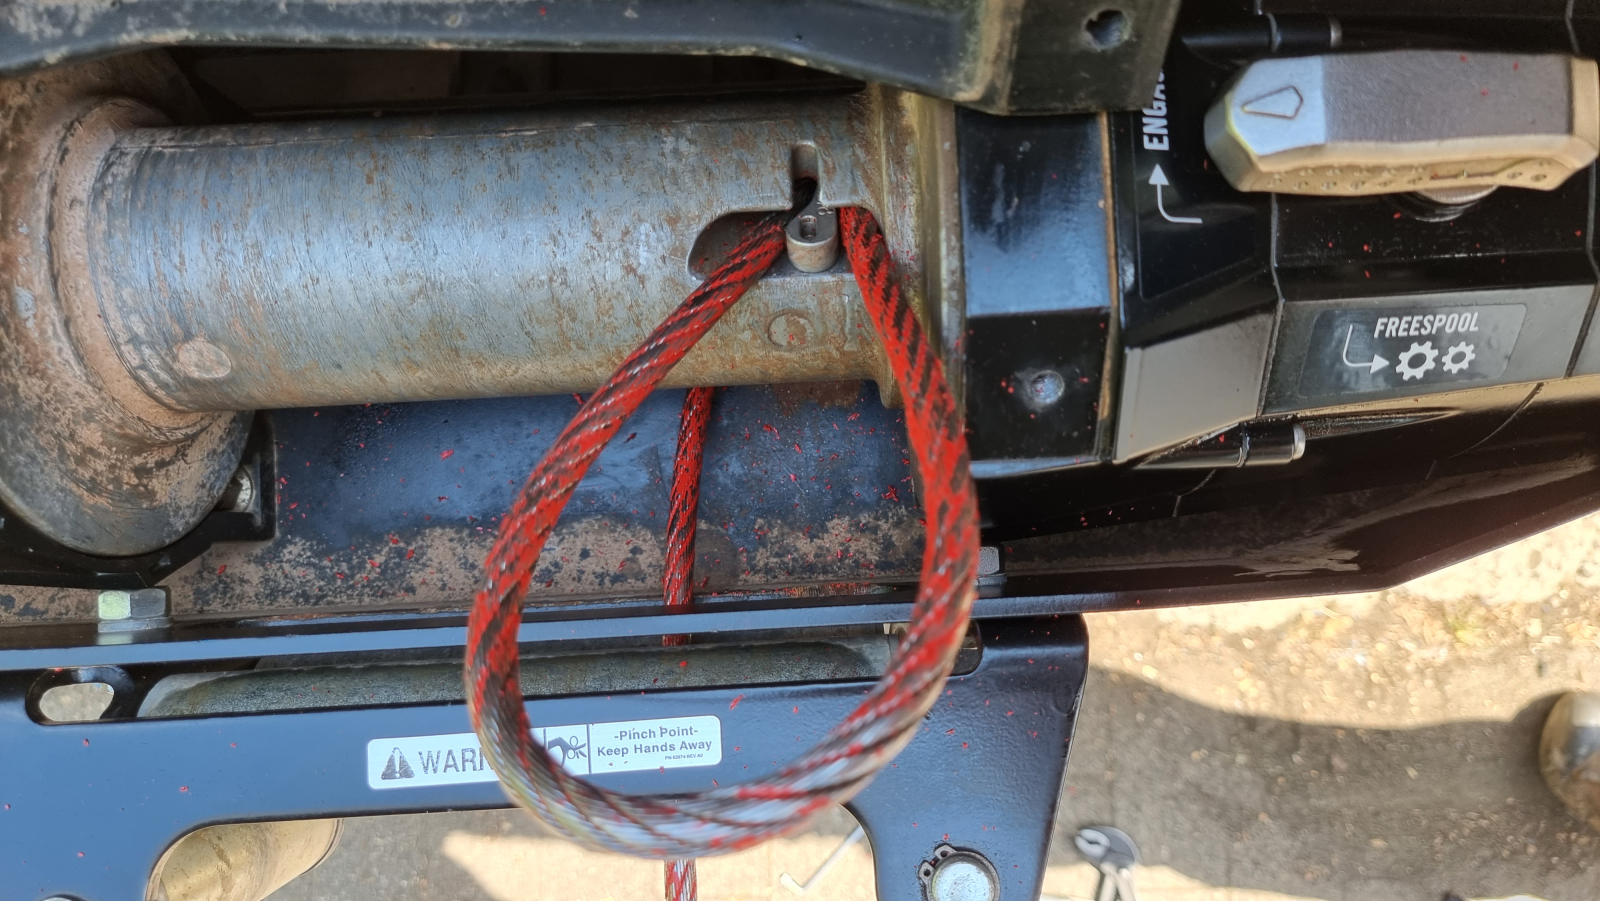
Pull the loop closed as far as you can by hand. Just before the loop closes, insert the locking pin again; it still sits a little loose now. Its bulbous side faces the centre of the drum. Make sure it doesn’t twist or fall out.
I didn’t manage to pull the loop tight enough by hand for the pin to be drawn in properly and for everything to sit firmly. So I had to find a small workaround. I looked for an anchor point, in this case the tow hitch of our truck, and fed the winch rope back to the vehicle there with a snatch block. That way I could work in a smaller space. Then I reversed very carefully and very slowly. The resulting tension pulled the loop cleanly closed around the locking pin. The loop shouldn’t protrude either.
A second person is helpful here and can watch what’s happening at the winch drum. Since only very little pulling force and a few centimetres of travel are involved here, there’s no danger of the rope snapping or the like. Of course, you should be very careful and cautious. While the vehicle is moving, the observer should stand to the side of the vehicle and not in front of it.
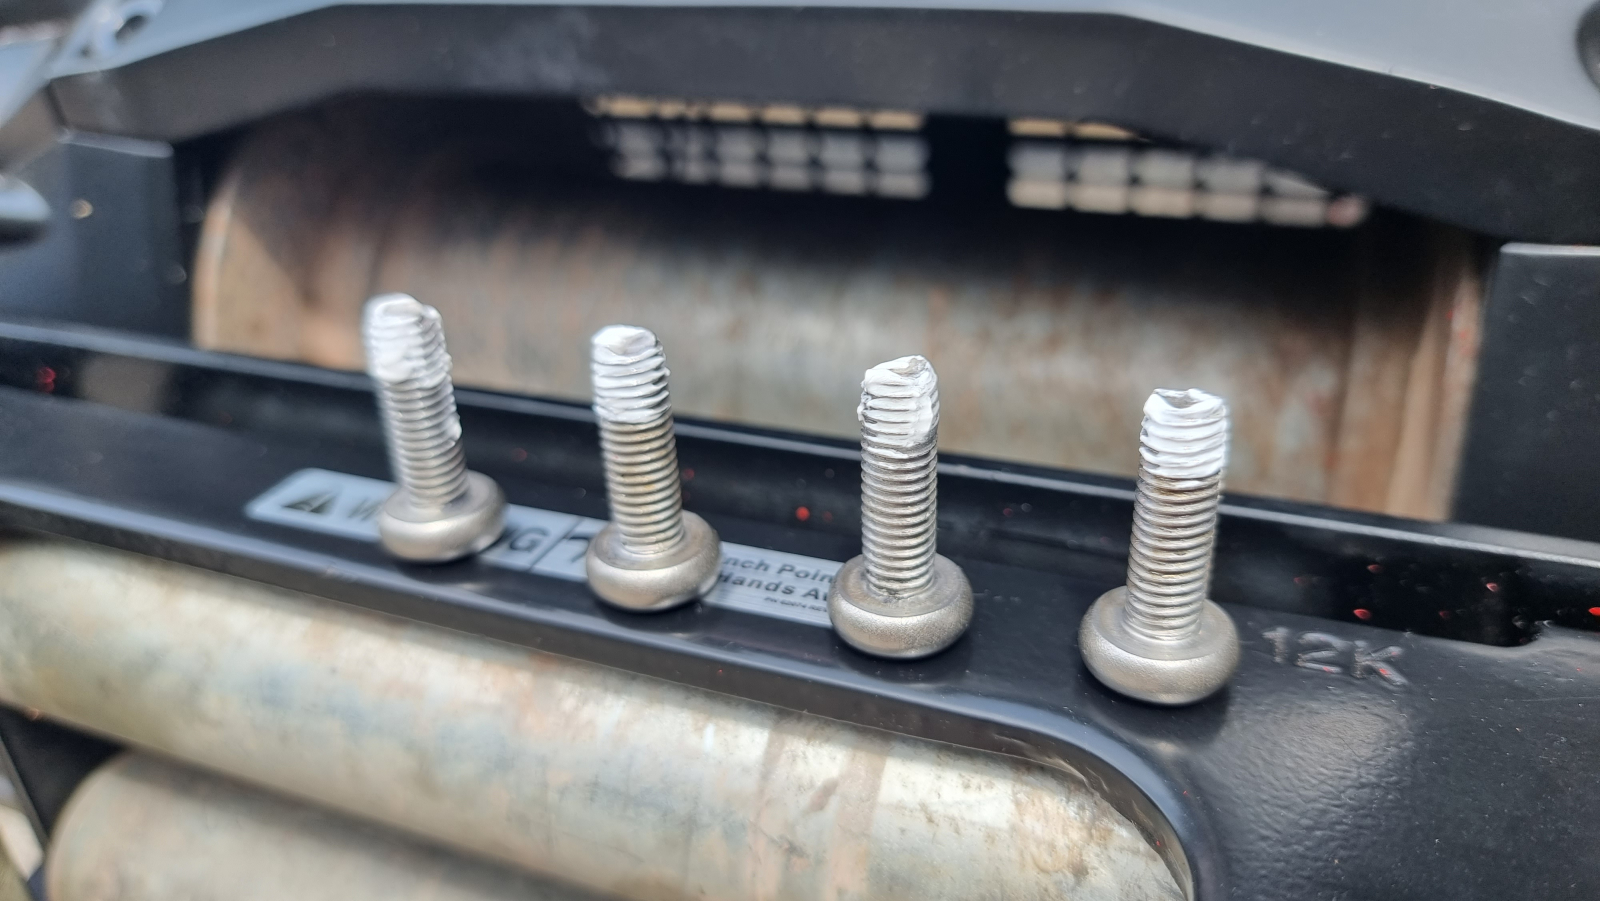
Then I refit the bridge. I insert the screws with ceramic paste. It behaves neutrally towards the metals and prevents seizing.
Since I have the contacts open in front of me anyway, I clean them straight away with an abrasive fleece. Sandpaper works too, of course, ideally 120 grit. Likewise the contact surfaces of the nuts. Then I screw the nuts back tight on the contact tabs and, at the end, spray everything with ECS 71 again to seal it. Then screw the plastic cover back on.
Spooling the winch rope
It’s best to get help for this. During spooling, the winch rope should be kept taut at all times. If you have to work alone, it’s quite laborious and an annoying fiddle. You tend to let the rope glide through your hands. Sure, on a new winch rope no wire should be sticking out yet, but there is always a risk. Since it’s much harder to feed the rope properly through your own hands, as it should be, control the winch’s run and hold the rope tension at the same time, please only practise this one-person version with the appropriate thick leather gloves for steel cables. Alternatively, you can hang an old 20-litre metal jerrycan filled with water on the winch hook as a pulling weight.
A small piece of wood, about 5x2x20 centimetres or something similar, and a hammer are also helpful for moving the rope layers sideways on the drum. This is of course only done with the winch stationary and never while it is turning!
When spooling, you must be sure to watch the correct direction of rotation. The winch should draw the rope in at the bottom, but that should already be set if you press the right button on the remote control.
Your helper therefore only serves to keep the rope taut. So they go to the rope end and start to pull. You position yourself with the remote control in front of the winch. In your other hand you grip the winch rope at a sufficient distance from the fairlead. Then you let the drum turn and guide the rope a few centimetres. When your hand comes near the fairlead you stop the winch and reach back again. Then let the winch draw in once more.
With your hand on the rope you guide it so that one layer of rope lies cleanly next to the other. That doesn’t sound hard, but the steel cable is stubborn and under tension. If the rope layers don’t lie close together, stop the winch and tap the rope sideways with the piece of wood and the hammer with a few light blows to shift it on the drum and bring the layers close together. Let the drum turn on briefly and repeat the whole thing until all layers sit tightly. The rope has to be under tension the whole time, otherwise its tension will immediately lift it off the drum and loosen it.
This way you bring layer after layer onto the winch. You should always practise this clean winding if possible. In use, when there is a load on the rope, it is important that no rope layer under tension lies between other rope layers and gets jammed there. This can lead to rope crushing and to shock loads if the jammed rope suddenly releases from the jam.
Since I had no help, my rope isn’t perfectly wound at the end. But it’s enough to drive home for a meal now. I’ll have to come back to it later, though, when I have help.
More reading on the subject of winches
Also read our other articles on the subject of winches: