Autumn is striding on fast. Now comes the time again when it’s all the more important to give our vehicle lighting some attention. But what’s there to bear in mind with vehicle lighting, and what’s recommended? We’ll tell you in this article.
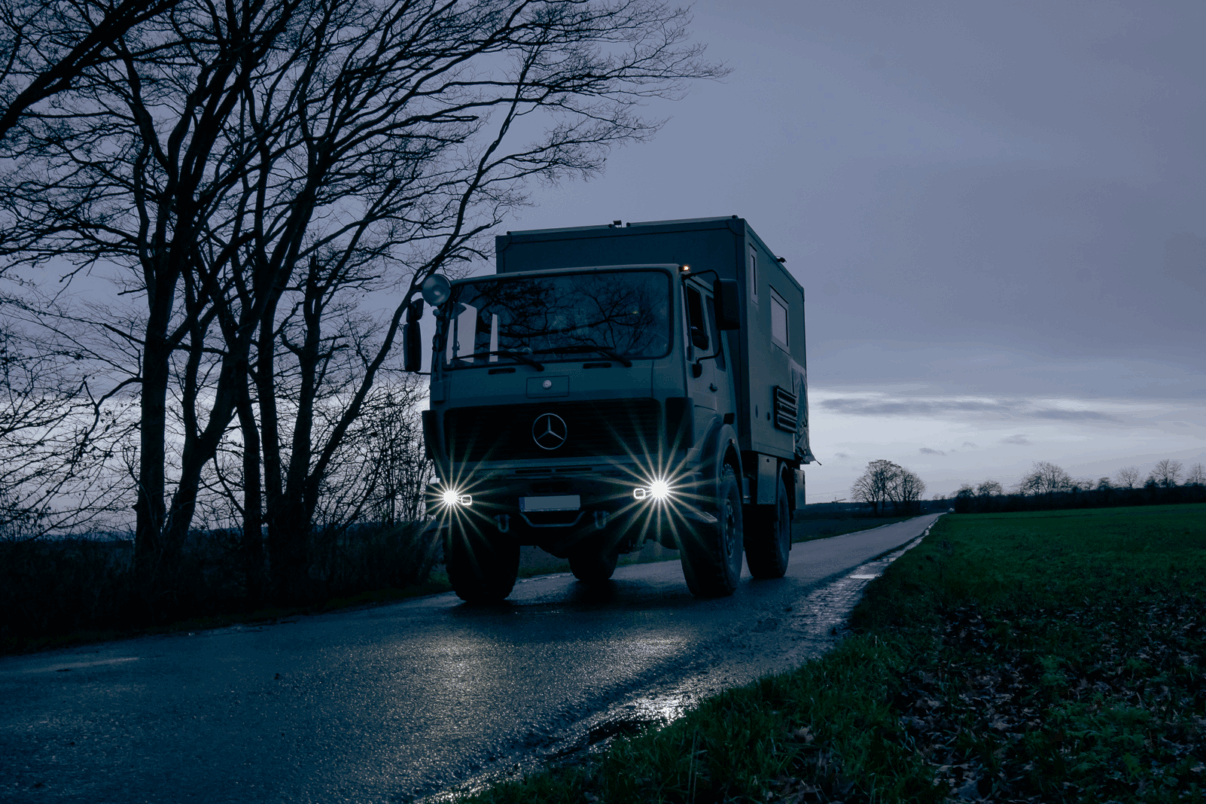
Last night on the way back from friends it struck me again how early it gets dark now. The “caution, wildlife crossing” signs are already showing up. I know this stretch of woods, and the wild boar often hang around close to the road here. It’s exactly in situations like this that working, good light on the vehicle matters. Let’s take a closer look at that together.
It’s often the simple things that make for good light
Again and again I see cars with a rear light not working, the brake light completely out, or a headlight only on in sidelight mode. Flying blind through the dark like that doesn’t have to happen! A regular check of the lights should be a given, and it’s no big effort either. On the road on a trip too, regular checking and cleaning is worth it, because otherwise faults give the authorities in some countries a welcome reason to wave you over.
Because in some countries you have to drive with dipped beam even by day. The rules vary a lot and range from a time-limited lights requirement in the winter months through to a year-round requirement. Sometimes the rule to drive with lights is only limited to certain roads, or it’s merely recommended to switch on the dipped beam by day too. In some places so-called daytime running lights are accepted. Careful, that may not be enough in all countries. So it can make sense to drive with dipped beam as a precaution.
This article goes into individual rules and regulations in more detail later.
Small causes, big effect
So I often combine a short rest stop with a walk around the car. That way not only lighting faults can show up, but also other faults or, say, roof loads coming loose, before bigger damage happens. Faults at the rear lights the driver notices less often. But you can check these quite easily on your own too. Park your vehicle rear-on close to a light wall, and you can see the rear lights, brake lights, rear fog light and reversing light work in the mirror. Shop windows are very helpful here too.
Watch for regular cleaning of the lights too. Not only after a trip to the off-road park, these are usually so dirty that safe illumination is no longer possible. In winter especially, please make sure the headlights and lights are clean and free of ice and snow before setting off, so you see well and are seen. We’ll come to the popular topic of LED headlights and snowfall later.
Best to clean only with plenty of water and maybe a drop of washing-up liquid. Glass is generally less sensitive, but with plastic lenses (always polycarbonate at the front) you should be more careful and go without harsh cleaners, glass cleaner and so on. Let the headlight cool down too.
Spare bulbs are sensible and in some places compulsory
In some travel countries, spare bulbs for the vehicle lighting are not only compulsory to carry, but absolutely sensible. These carrying requirements apply to bulbs you can change yourself. So for xenon or LED lights you don’t need them. Anyone who’s once stood somewhere on a dark, rainy night with a broken headlight knows it. Small sets that contain everything needed are good for this. Please make sure the bulbs have UN-ECE approval. With halogen bulbs, never touch the glass with your fingers, that shortens their life. The grease on the glass causes “hotspots” that quickly lead to failure.
Unfortunately, some vehicle makers don’t make it easy to change the bulb. When I think of the Ford Ranger, where depending on the model the whole battery has to come out for more space on the driver’s side, just to change the dipped or main beam bulb.
Don’t forget fuses!
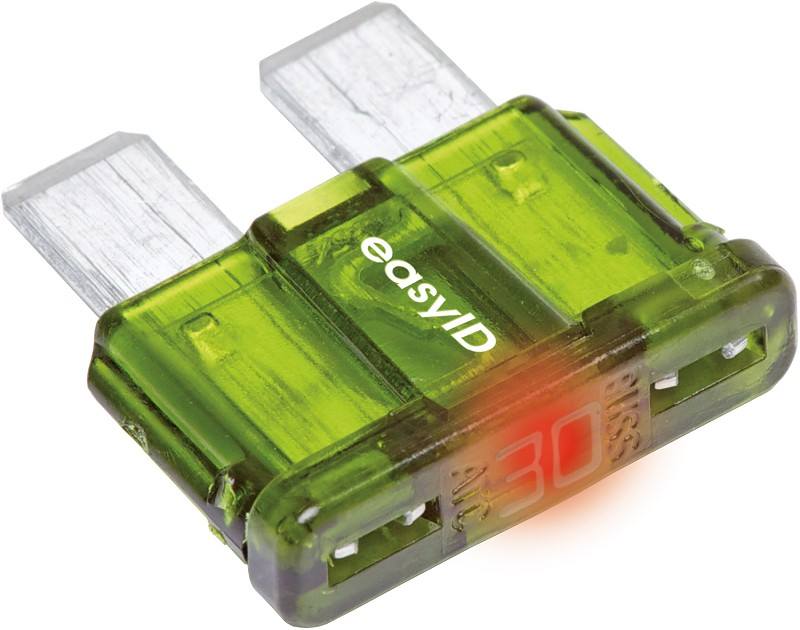
I also always keep a few spare fuses to hand. As an alternative, the reusable automatic fuses offered by Tigerexped are handy. That way you save on spare fuses. Find out what kind of fuses are fitted in your vehicle.
Here on Matsch&Piste you’ll find many more articles around good preparation of your off-roader, like our guides Kit for off-road travel and Useful tools for travel.
Only correctly aligned headlights make for good illumination
Working vehicle lighting of course also includes the correct alignment of the headlights. All this isn’t only relevant for keeping the coveted pass at the German MOT, it’s also part of proper servicing and inspection.
Headlights that aren’t aligned correctly can dazzle oncoming traffic or fail to light the road properly. On drives in the dark this can lead to dangerous situations.
The simplest and best way to check the correct alignment of the headlights is with a beam setter at the workshop. This precisely determines the legally required cut-off line, and you can also check whether the main beam has its focus in the right place.
By the way, in workshops you still sometimes find the older analogue beam setters. These work reliably only with halogen headlights. It can sometimes be tricky to set an LED or xenon headlight on an analogue beam setter, because the cut-off line on an LED headlight is accompanied by a blue fringe, which makes correct alignment harder. In case of doubt the headlights are set too high or too low. For this case there are suitable digital beam setters for LED and xenon headlights.
When setting with a beam setter, you can often not only do the correct alignment, but also check the light value with a so-called lux meter. The light output of a headlight fades over the years, and then there’s no way around repairing the lighting. Reasons for this can include aged bulbs, corroded connectors and so a voltage drop, a reflector gone corroded and dull from moisture ingress, or the outer or diffuser lens gone blunt and dull over time. Xenon headlights in particular fade quickly in power. A problem LED main headlights don’t have.
Here only a systematic fault search and fix helps. More on that later.
Setting headlights yourself on the road
If you don’t have a beam setter to hand, on the road for example, the correct tilt angle of many headlights can often (provisionally) be set well enough by hand. Here’s a short guide:
- Park your off-roader ten metres in front of a (white) wall
- Measure the height of the centre axis of the headlight from the ground and transfer the measurement to the wall, for example with a piece of tape that comes off without residue
- Note the maker’s instructions and look in your vehicle’s manual, for example. The deciding thing now is how much the percentage tilt of the headlight has to be. Sometimes this information is on a small sticker under the bonnet or a note on the headlight itself. You now transfer this percentage tilt to the wall (a common value here is 1.2%, so over the ten metres, 12 cm below the centre line. That’s why you’d now set a 12 on the beam setter mentioned earlier. Fog lights, by the way, are to be set to 2%.
- Now check whether the line and the headlight beam match and correct as needed.
- In addition you can of course (provisionally) check the cut-off line here too, by also transferring the vehicle’s longitudinal axis and the required measurements for the kink in the cut-off line to the wall.
A good guide with easy-to-understand descriptions and a sketch for setting headlights without a setter can also be found at the maker Hella.
Now a few important notes on correct alignment:
- On vehicles with manual headlight levelling, as many of you surely have in your off-roader, this is to be set to the basic setting before checking the headlight alignment.
- Watch the specified tyre pressure.
- The driver’s seat is to be loaded with 75 kg or one person.
- A level surface is a basic requirement for correct alignment.
- Note the vehicle maker’s instructions.
Modern vehicles usually need the workshop for alignment
This isn’t possible on all vehicles, though. For the headlight alignment of many modern vehicles with xenon, LED or even laser technology in the lighting, there’s often no way around the workshop, because parameters in the control unit have to be checked and stored using a tester. The actual headlight alignment is then only possible together with a workshop tester. With the tester’s help, the headlight and levelling are driven to the basic position. After that they’re set in the usual way. The parameters are then stored anew in the control unit.
Further regular checks of the vehicle lighting are sensible and necessary
Further checking of the lighting also includes the power already mentioned and the function of the lights themselves. Here you should watch the condition of the bulbs, reflectors, outer and diffuser lenses.
A regular check of the headlight levelling is also a good idea. This has been compulsory in Germany on all newly registered vehicles since 1990. The important thing is that this levelling is actually used, because depending on the vehicle’s load, the beam reach of the headlights changes too.
In many off-roaders the levelling is manual and set with a small dial in the cockpit. Move this small switch now and then and see whether the light edge, or the headlights, move up and down. Often a fault in the levelling is only noticed when it’s needed, in towing for example, or operated at the MOT. That doesn’t have to happen. Regular movement does not only us good, but the servomotors and the mechanism too.

Is headlight levelling compulsory?
If you look online, there are loads of statements on this topic. They range from the correct statement that it’s compulsory for all vehicles from 01/01/1990 through to the incorrect statement that “what’s in the law can’t be waived”. That is, exceptions aren’t possible. But that’s wrong, headlight levelling can indeed be done without, even on vehicles first registered after 01/01/1990. Exceptions are also possible for import vehicles, but that’s not the topic here.
Exceptions are possible for vehicles first registered in Germany. Let’s work it out briefly. The relevant parts are currently in two blocks of rules: in the road-traffic licensing regulations (StVZO) and in the UN-ECE rules adopted by the European Union. The StVZO rules have been wound down for some years now in favour of the UN-ECE rules. That will take a while yet. De facto the national StVZO rules apply, but they are then either identical to those of the UN-ECE or refer to them. If there’s no rule in the UN-ECE, the StVZO automatically applies. We see this for example with special signals like the blue light.
The relevant parts on headlight levelling are in §50 paragraph 8 of the StVZO and UN-ECE R48 6.2.6.2 for dipped beam. They’re worded a little differently in both texts, but mean the same. If we look in paragraph 8 of §50 StVZO, we find a reference there to the annex of §50. I suspect that many who concluded that exceptions aren’t possible have overlooked this:
“§50 (8) Multi-track motor vehicles, except agricultural or forestry tractors, working machines and forklifts, must be designed so that the alignment of the dipped-beam bundle of headlights mounted no higher than 1,200 mm above the road (paragraph 3) complies with the provisions named in the annex to this regulation.”
In this annex, for §50 there’s a reference to the type-approval directive to be applied: 76/756/EEC. This largely corresponds to UN-ECE R48. There you find the following rules:
“4.2.6.1. The downward inclination of the dipped beam is measured under static conditions for all load states in accordance with Appendix 1. The inclination of the dipped beam must remain, without manual intervention, between 0.5% and 2.5%, if it was initially set to 1% to 1.5% with the vehicle empty and one person on the driver’s seat.
The initial setting must be expressly stated by the maker for each vehicle type and noted on a plate on each vehicle.”
“4.2.6.2. The aforementioned condition may also be met by a device that acts on the relative position of the headlight to the vehicle. On failure of this device, the beam must not be returned to a position less downward than at the moment the device failed. – Revised and updated article”
From 4.2.6.1 it follows that if the downward inclination of the dipped beam stays between 0.5% and 2.5% in all load states to be checked, no headlight levelling is necessary, because the mandatory condition is met. If that’s not given, then under 4.2.6.2 a control device may be used that acts directly on the headlight: headlight levelling. The word “may” has two very relevant meanings. First, no headlight levelling has to be used, and it opens the option of using other technical devices instead that deliver the same result, if the inclination falls outside the required range. Air-suspension self-levelling, for example.
More information on this
For anyone who isn’t satisfied with that as a reason, I recommend reading the book “Lighting equipment on motor vehicles and their trailers” from Kirschbaum Verlag, Bonn. This publisher is a recognised publisher for transport and technology. There, lawyers and test engineers from the big testing organisations like TÜV Süd, TÜV Nord, Dekra, GTÜ and so on write the reading for vehicle makers, control authorities, workshops and testing organisations. In this book all the rules on vehicle lighting, the test directive for lights, the test procedures and the assessment guidelines at the MOT or registration are written down. There you’ll find a corresponding passage that comes to the same conclusion: if a vehicle’s light doesn’t deviate from the tolerated ranges in all required load states, no headlight levelling is necessary.
With some damage the headlights have to be replaced
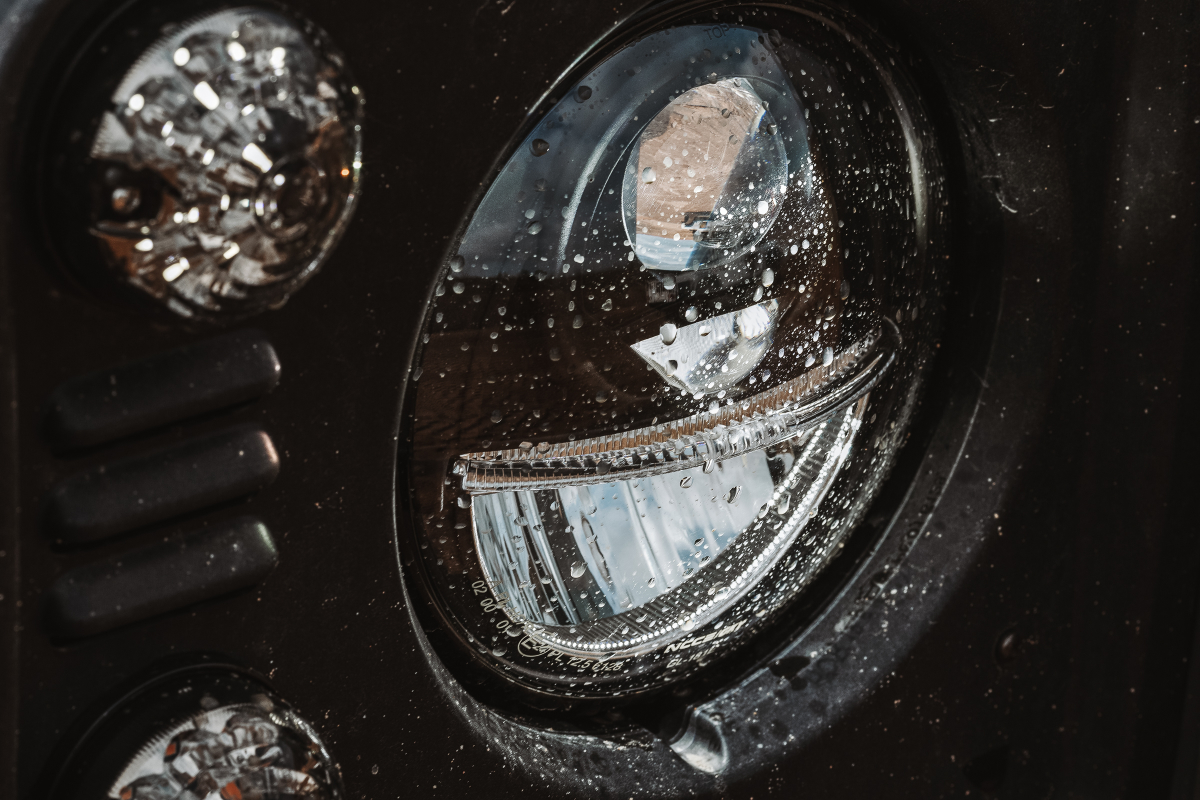
If the reflector has gone old and dull, often only a replacement helps. On off-road vehicles in particular, stone chips, sand or even water in the headlight and other environmental influences cause scratches or even blinding of the diffuser or outer lens or the reflector. UV radiation or unsuitable cleaning products can contribute too. The result is a strong drop in light output and possible dazzling of other road users. At the next MOT at the latest, the pass will probably be refused.
Many now first try polishing the headlights. Sometimes with really good visual results. But at this point a clear note that it’s basically not allowed to polish headlights for this purpose. This is because the grinding removes components of the plastic and so changes the photometric properties with which the headlight was approved. With good-quality headlights in particular, polishing is a no-no! Good headlights have a UV-protective coating on the outer lens. That stops environmental influences like mineral dust and UV radiation yellowing the polycarbonate. With abrasives you remove this protection.
Replacing the damaged headlight is appropriate in any case, because only that way can you reliably provide good light and enough safety. By now at the latest it’s time to think about new, better headlights. Before we look at this topic more closely, one more…
…a tip, the light test
Every year in October there’s the free light test at many workshops of the German motor trade guild. In this road-safety campaign, run since 1956, eight parts of the vehicle lighting are tested for function and correct alignment to the requirements of the road-traffic licensing regulations.
Every second car with vehicle lighting faults
Interesting at this point is also a publication by the ADAC. It’s older, but underlines the importance of the regular check. According to ADAC figures, a total of 1,880 cars were given a light test. Every second (!) car showed faults in the vehicle lighting, and every fifth vehicle was out on the road with a defect. This even though half of all cars now have a light diagnosis system. According to the ADAC, LED and xenon headlights are less prone to defects than halogen lights.
The latter is especially interesting, because in 4×4 forums the topic of LED headlights and (long-distance) travel suitability keeps coming up. I’m happy to share my personal experience on this. In my travel vehicle I’ve relied mostly on LED technology for the lighting for over 300,000 km now, and that without a single failure. But with very good light. Even though I avoid driving in the dark on trips, it happens now and then, and there I don’t want to do without good illumination. That concerns the normal driving light, the close range for small repairs at the roadside or fitting snow chains in the dark and recovery actions, as well as the main beam, especially in areas with poor tracks or where heavy wildlife crossing is to be expected.
What to watch for when buying new vehicle lighting?
So if the vehicle lighting is faulty or the headlights blind, by now at the latest the time has come for a replacement. Given the shorter daylight hours too, it’s worth thinking about vehicle lighting right now. More and more off-roaders go for retrofittable LED headlights here. Why, and what’s recommended, what’s there to watch for when buying and what rules are there? We want to shine a thorough light on all that now.
Why LED technology in vehicle lighting?
Two key advantages of upgrading the vehicle lighting to LED technology are the higher safety and the lifespan already mentioned briefly.
The light output is much better on LED headlights than on classic bulbs like halogen or already-aged xenon. LED headlights produce, depending on the type, a daylight-like light, with more even illumination at the same time. That makes for safer driving, contours stand out more clearly and it’s less tiring. At this point it’s worth a brief mention that xenon headlights surely still have their place, for example when it comes to long-range illumination in the form of auxiliary lights. With xenon technology, enormous ranges are simply possible here. The downside: xenon lights lose a lot of output in a comparatively short time.
LED headlights, thanks to the LED technology, have no switch-on delay and no reduction in output compared with xenon headlights. The light is there at once and at full strength. More on auxiliary lighting later.
Besides the increased safety, LED headlights have a number of further advantages. Thanks to the much lower power draw than a halogen headlight, for example, your vehicle uses less electricity for the lighting and so less fuel too.
LED headlights have a much higher life expectancy than conventional bulbs
With good headlights, especially when they aren’t offered solely on the consumer market, you can reckon with an average life of about 30,000 operating hours, sometimes even more. This is confirmed in practice with good-quality headlights at the moment, as these are now over 15 years in use and still show no weaknesses or faults.
With pure aftermarket headlights it can look different than with headlights developed and built for the automotive industry. With aftermarket models, high lumen figures in particular are often advertised. Without saying which kind of lumens is meant, that isn’t very meaningful. Because a headlight has four lumen figures. For driving headlights the lumens are basically not the relevant value at all. Much more important is the lux value on the respective area. The ISO lux diagram serves for that. And an actually higher light output is bought with a clearly shorter life, because at the same size, and so the same cooling area, more light also means more heat, and that leads to a shorter life.
Good makers, by contrast, improve the lens technology, which is much more expensive. The aim is to make the lens material cleaner and more even. They also work on improving the transitions between individual lens parts that are bonded together. That way, with the same or even less power, more light can be projected onto the area in front of the vehicle, which can be read off in a better ISO lux diagram.
With conventional halogen bulbs the expected life is only a fraction of the life of LED headlights. They’re also far more subject to external influences like vibration and voltage than LED headlights.
Besides the front headlights, there are sometimes also signal lights in LED technology to retrofit. This for example for the popular Defender. You can also get the number-plate lights of various vehicles with LED technology from specialist retailers. And a good reversing light spares your off-roader damage when manoeuvring in the dark.
LED retrofit with LED bulbs
Besides these, there are the so-called LED retrofits for vehicle lighting. Here LED bulbs are used in the sockets of conventional bulbs. Their approval can, as in the case of the Osram LED Nightbreaker H4, be purely national. You can tell by the missing E-mark and by the printed wavy line. That means the bulb is legal in Germany, but not in other countries. Under mutual recognition you can of course drive with it in other countries, but the car couldn’t be registered there.

Please note that an LED bulb is only legal in connection with the respective headlight and its test number. The vehicle plays no role here and only serves to find it on the makers’ websites.
What also stands out is that the makers state a much shorter life. So the Osram LED Nightbreaker H4 only reaches 5,000 operating hours. That’s down to the LEDs being driven with a lot of current to actually achieve an improvement in a reflector headlight, while the cooling area is comparatively small. So small that some models even have to be actively cooled with a fan. Another weak point.
Quality in vehicle lighting pays off
At first glance the retrofittable LED headlights in particular are sometimes a big investment. But quality pays off here too. Because of their often exposed mounting spot alone, the front headlights are heavily exposed to the influences of road and track. So with low-quality headlights or lights not produced in countries where grit salt is used in winter conditions, corrosion on the housing can quickly happen. That’s an annoyance not only visually but technically.
Now and then you’ll see stress cracks on the plastic outer lenses of headlights. Many causes come into play for that. Besides UV radiation, unsuitable cleaners or de-icer sprays, mechanical action from a pressure washer for example, low-quality material that goes brittle comparatively quickly can also be a cause. The “polishing” mentioned above also leads to cracks and yellowing.
Dust and dirt take their toll on the headlights too. With the vehicle lighting of an off-roader in particular, this is an important aspect. The headlights and lights of the German maker Nolden, for example, offer protection class IP6K9K or IP67. This means, among other things, complete sealing against dust and submersion. An important criterion for vehicle headlights, and all the more for the vehicle lighting of a 4×4.
So quality pays off in the choice of headlights too. Because which of us wants to upgrade to great light and then end up standing in the dark.
What to do with snow and ice?
Right on time for winter, the topic of LED headlights and ice and snow keeps cropping up in internet forums. While on halogen and xenon headlights this is a negligible problem thanks to the higher temperature of the headlight at the outer lens, ice and snow supposedly play a special role with LED headlights.
What’s decisive for a headlight clogging up in a snow flurry is its mounting situation, that is whether the snow can run off to the side. Some makers also try to help with heating the headlight. So what’s behind the headlight clogging with snow? As so often, a look at practice helps here. Our author Björn likes to travel to the far north in winter too, and he’s rarely had a problem with clogging headlights, and only in such heavy snow flurries that it’s advisable to pause the journey briefly anyway. Regular cleaning before setting off and at stops in between is needed in winter anyway, because dirt and maybe a salt crust reduce the light output, of the rear lights too by the way, considerably.
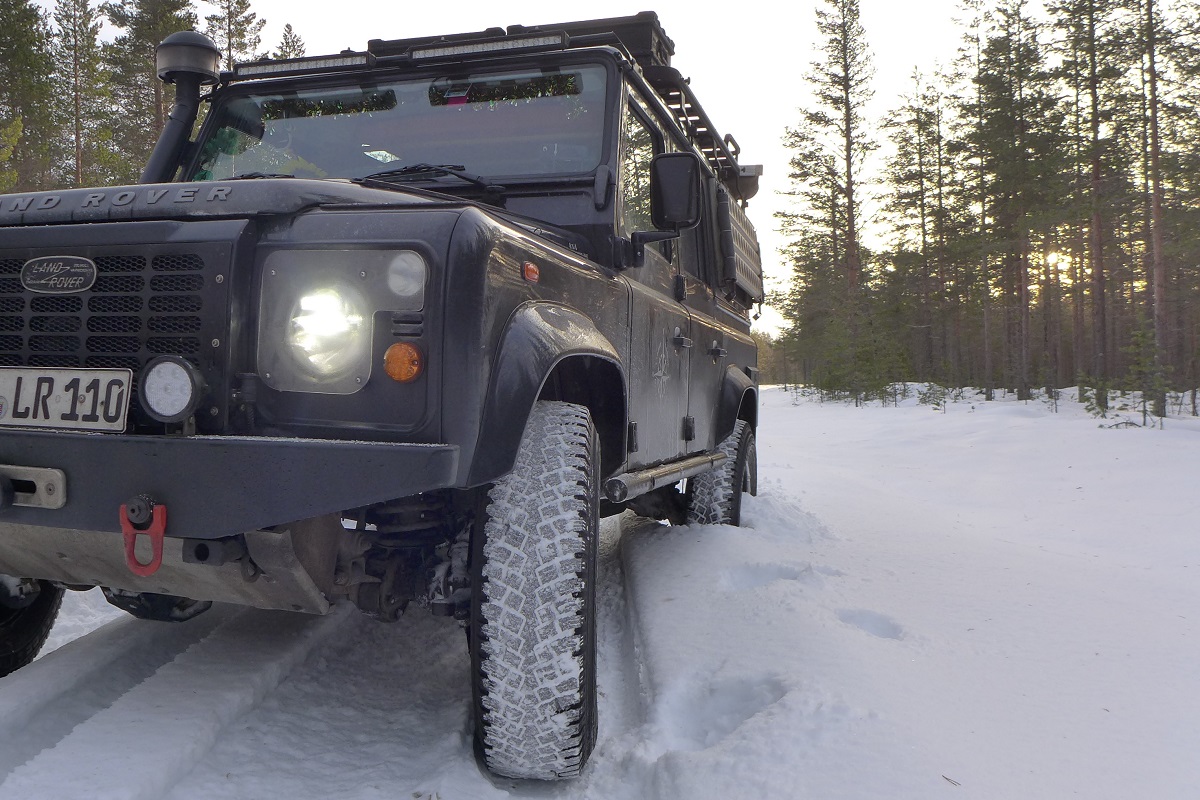
AWo can confirm this experience. There’s an article and a video on it, in which he was able to test the Nolden 7″ Bi-LED headlights at down to -40°.
Which rules do you have to follow with vehicle lighting?
Within the scope of the UN-ECE, which applies in the European Union and 56 countries in total, every headlight has to have an approval, and the corresponding approval marks have to be visibly fitted on the headlight. For each light function a letter code is found on the headlight. More on that here: Scheinwerfer LUXX FAQ.
The same applies to any electronics connected to the vehicle electrical system. Every LED headlight has such electronics. These have to have an approval for electromagnetic compatibility (EMC). You can tell by the E-mark “10R”. This makes sure the headlight causes no interference in the electrical system and also works properly in the vehicle under external interference (e.g. radio, GPS, GSM and others). Conversely, and probably much more important, it also guarantees that your headlight doesn’t disturb any assistance systems, like the emergency brake assistant.
So every LED headlight has to have at least two approval marks (one for lighting, one for electronics). A missing EMC approval is unfortunately still very common. Faked approval marks also occur and are unfortunately hard for the layperson to spot. Which approval marks there are for lights on the vehicle, for electromagnetic compatibility and for the lighting functions, you can read up at Scheinwerfer-Luxx: Correct markings and EMC.
On a vehicle with non-approved headlights, the whole registration can become void. So here too it pays off to use good-quality lights from reputable makers.
More details on the rules
We’ve looked more intensively at the details of the rules around all of vehicle lighting here. You’ll also find many more interesting bits of information around LED headlights in our article What you always wanted, and should, know about LED headlights. A good overview of what’s allowed in vehicle lighting and what isn’t is also given by TÜV Nord on its website.
So much for lighting on the public road. But we off-road travellers also need good vehicle lighting away from the road. Let’s take a closer look at that now.
The right lighting for off-road
Good light off-road isn’t only important in competition. For vehicle lighting when driving off-road, though, different requirements apply than for the road.
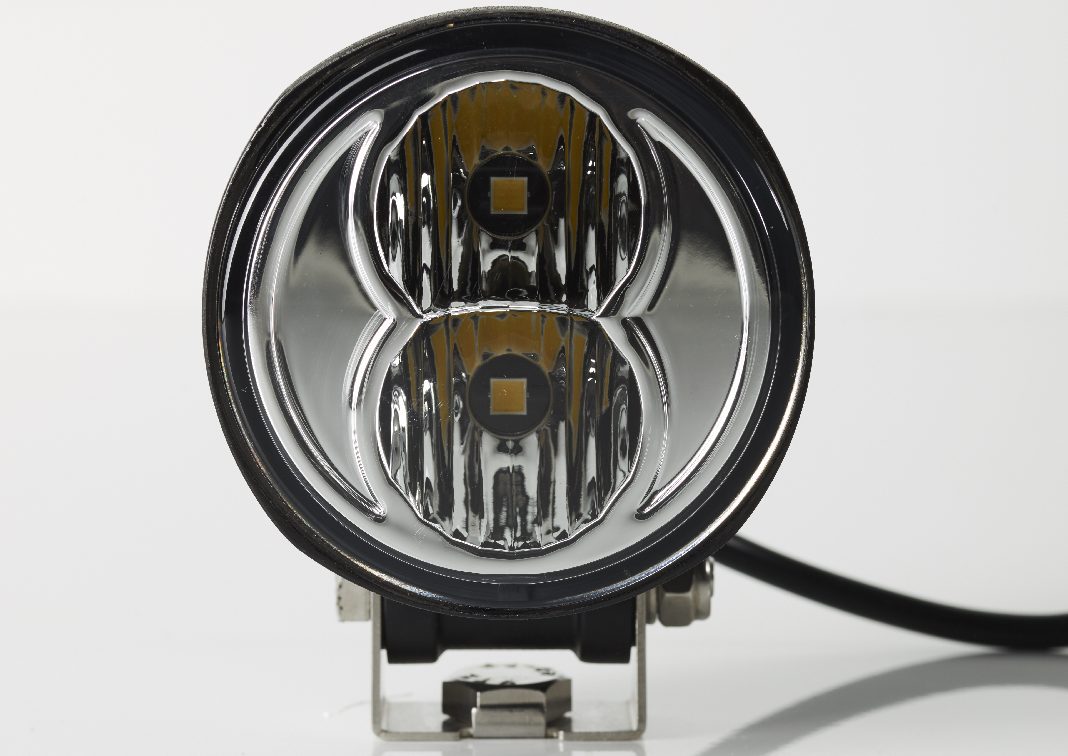
When driving off-road tracks and on jobs around the vehicle, work lights to all sides are useful. This doesn’t have to be a full-on recovery action in the dark, setting up camp when the search for a sleeping spot has run late, or fitting snow chains in winter is made hugely easier by good area lighting too. A light well suited to this, compact yet powerful, is the Nolden AR83, available here in the Scheinwerfer-LUXX shop. This light comes for both close and long-range illumination and is approved as a reversing light to ECE-R23.
Light for the distance, main beam is part of vehicle lighting too
For long-range illumination, so-called light bars are often fitted, like the HELLA LED Light Bar 470 Single Twin available at Scheinwerfer Luxx. Driving lights have to be fitted in pairs on the vehicle. But if you only want one LED bar, the LED Light Bar 470 Single Twin is suitable too. Two individual driving-light blocks are integrated in it, so the legal requirement for fitting in pairs is met.
Anyone out in the dark off-road a lot, or looking for something really unusual in this area, we recommend our test report on infrared lighting for vehicles.
With buying auxiliary lighting too, quality pays off, so you’re not left in the dark when it counts.
You’ll find more useful information around the right lighting for off-road here.
Don’t forget! You need good light to the rear too
Mostly the vehicle is only fitted with lots of and the best light to the front. But anyone who’s once had the “pleasure” of having to reverse in the dark on a wet farm track, maybe in the rain too, knows that’s a real challenge.
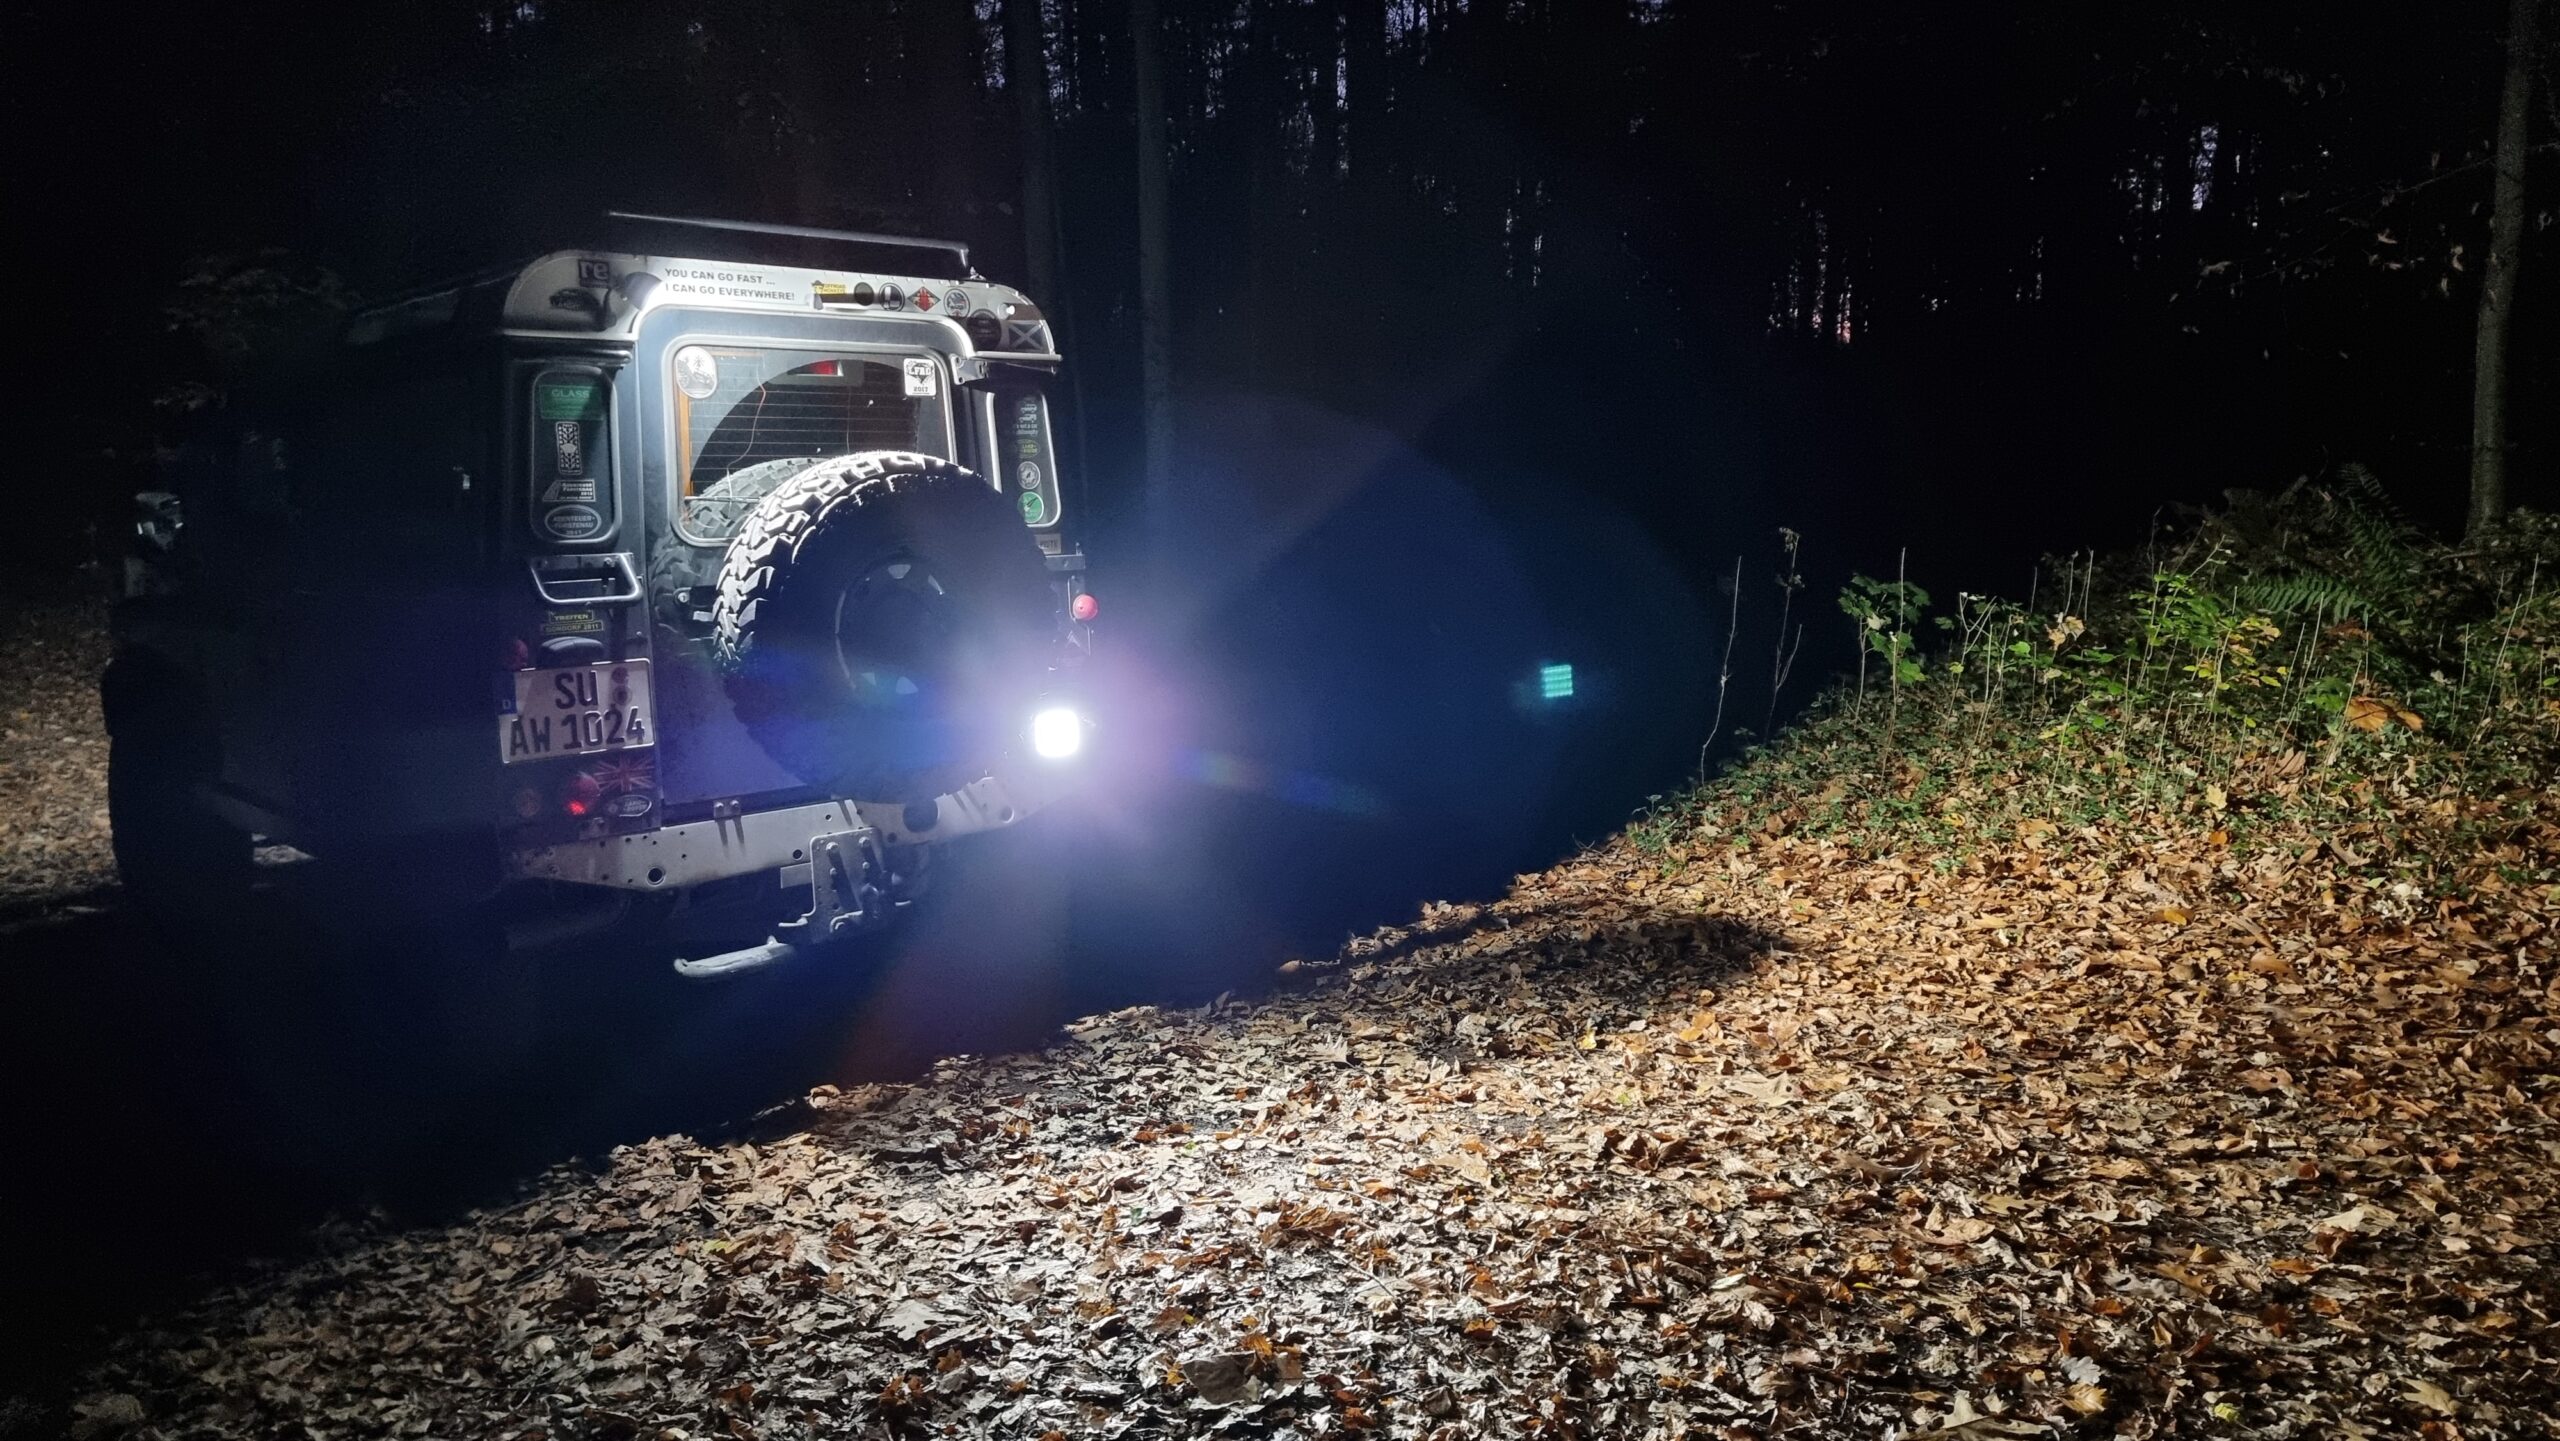
So remember to light the rear well too. Up to two reversing lights are allowed. For that the light has to be approved as a reversing light, then you can couple it with reverse gear. Note that the maximum mounting height for this is 1.2 metres. We’ve had very good experience with these three approved reversing lights:
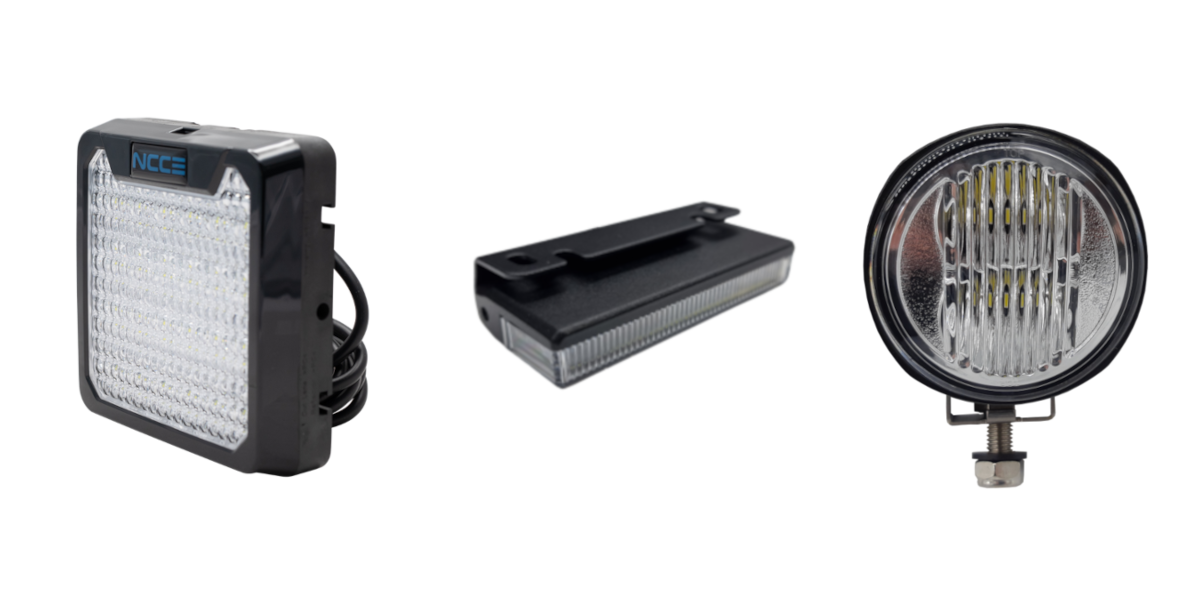
- Nolden AR116 – 11.6 x 11.6 centimetres square and only 3 cm slim. It shines at 500 or optionally 1,000 lumen diagonally to the ground. It can be mounted flat, upright or hanging.
- Strands Unity Ultra Flat Duo – A very small and very powerful reversing light. When it should be discreet.
- Nolden AR83 – Bolt-on reversing light with 900 or 1,800 lumen. This is well suited to pick-ups for mounting next to the tow bar.
In case of doubt, a work light already helps you too, mounted on the roof rack for example, which of course you have to switch on separately.
You have more questions on vehicle lighting?
Scheinwerfer LUXX is there for you with the web shop and online portal for off-road headlights and lights, all around the topic of headlights and vehicle lighting for 4x4s. By off-roaders for off-roaders!
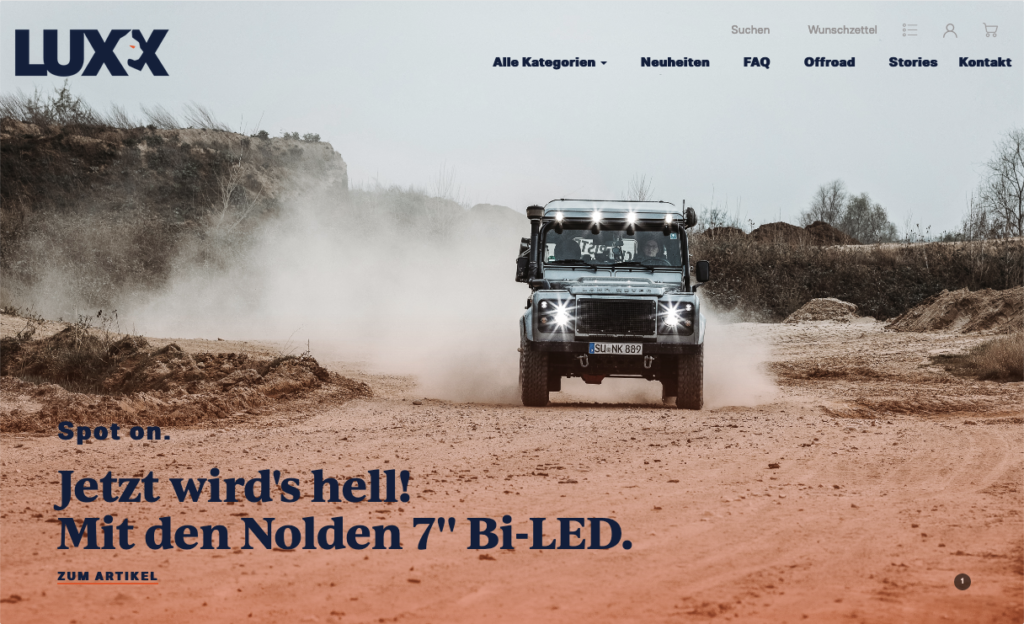
Started as a cooperation with the company Nolden, the shop offers a lot of products around headlights, along with fitting material and electrics in the vehicle. With the FAQ area and the new Light Academy, there’s also a thorough collection of information around vehicle lighting with topics on technology, the legal side and fitting. Because besides good quality, good advice is the be-all and end-all when buying your kit.
And next?
You’ve decided on new lights for your off-roader? For reliable function, good mounting and clean, correct wiring are decisive. What you should watch for when mounting and wiring your off-road lighting, we’ll tell you in a further article.
Text: Andreas Woithon and Björn Eldracher